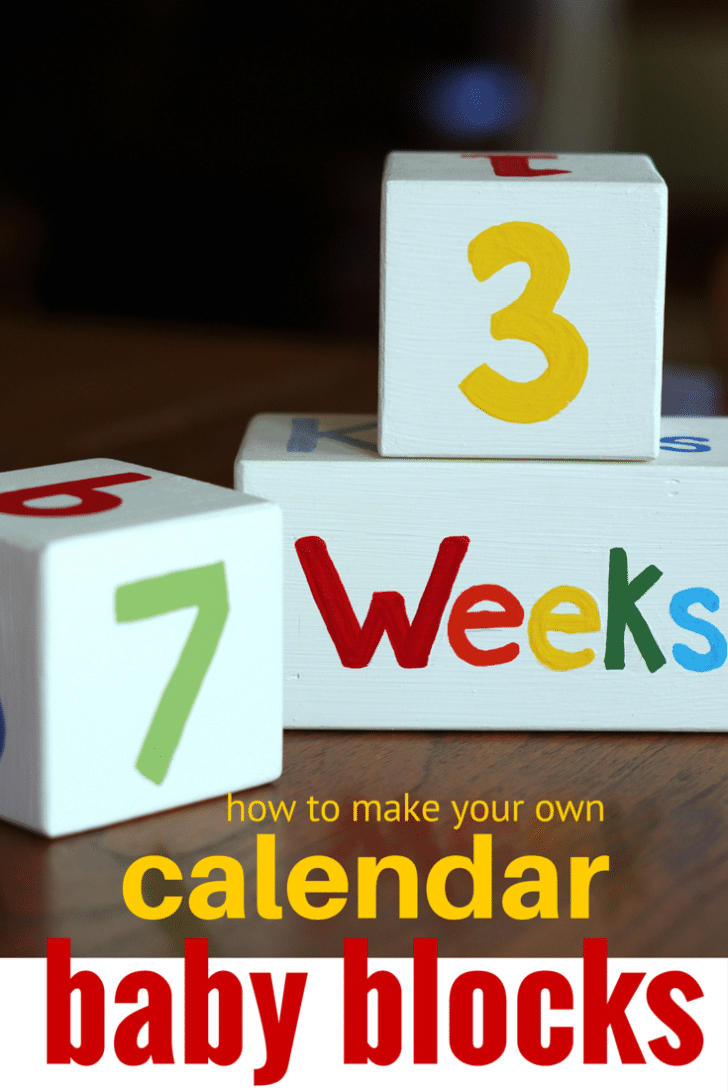
How to make your own months, weeks and years baby wood block calendar.
Over Christmas, my mom and I visited a downtown boutique displaying some really unique handmade gifts. One that caught my eye was a painted wood block calendar set for a children’s room. There were three blocks in the set. Two smaller top blocks with one number painted on each side sat atop one larger bottom block with a word painted on four sides. You could manipulate the blocks to say things like 5 weeks; 10 months; 3 years or 4 grades. I fell in love with the set, but not the $40 price tag!
Before leaving the store, mom and I thought the same thing. We could totally make one of these sets for a fraction of the cost! I had a dear friend’s baby shower coming up, so I thought what better time to DIY?
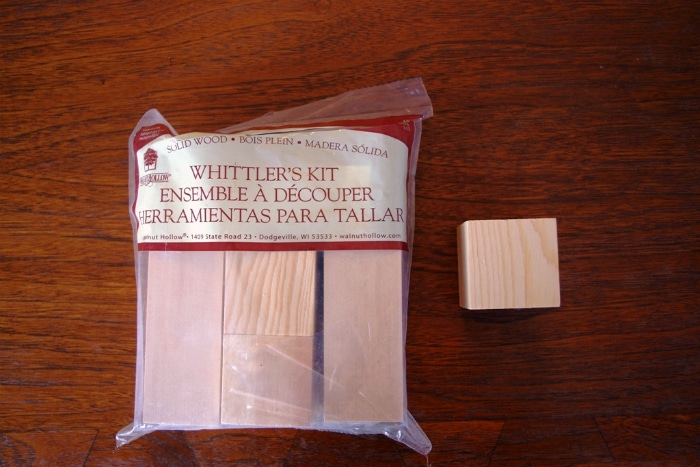
The most challenging part in making these blocks was finding the right sizes. I checked at Hobby Lobby, JoAnn Fabrics, Pat Catans and even WalMart. None of those stores sold two smaller blocks that matched the width of one larger block. Pictured here are a bag of assorted long blocks (Pat Catan’s) and a block from a set of four from Hobby Lobby. Some local home stores will cut blocks to size for you or you can check out online. In the end, I had my husband make me 3 blocks using 3 pine 1×4’s that he glued together. He cut two 2 1/4″ blocks and one 4 1/2″ block. I sanded them all down for a smooth finish.
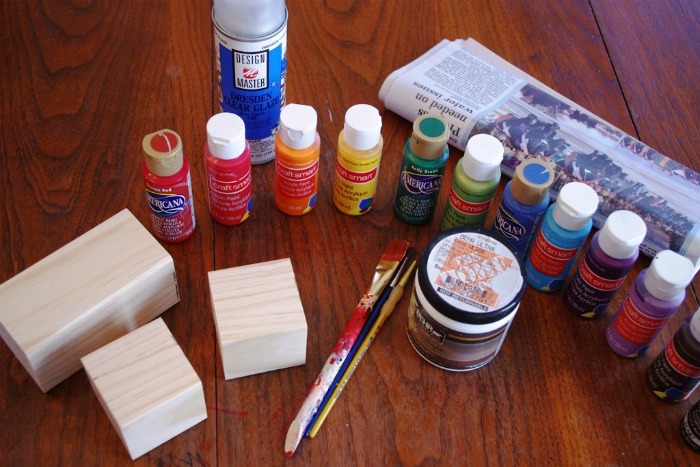
Once you have your cut blocks, you will also need leftover paint, small brushes, a pencil, ruler and some flat sheen spray sealer. If you don’t have any paint around, you can buy latex samples, tempera, acrylic or even oil based bottles at any craft store. Wood takes on most any paint.
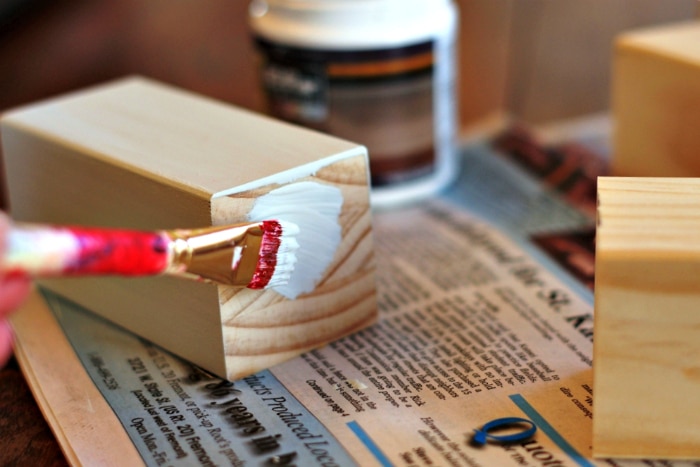
Start by brushing on your background color. Here I am using leftover Behr eggshell paint in a cream color…I knew those samples would pay me back someday! I painted two coats, waiting a couple hours between each coat. If I could do it over, I would have spray painted the background color instead. It’s pretty tricky trying to paint all sides while also holding it with two fingers. Also, spray paint would have avoided any brush marks. But hey, a homemade look is more authentic! 😉
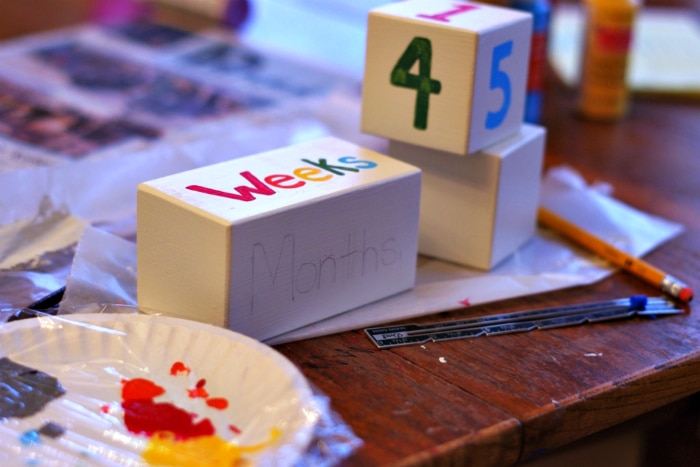
When you are ready to paint the numbers and words, use a small ruler and pencil to mark out where you want to begin and end each digit or letter. This will help you to keep centered as you follow the block combinations below:
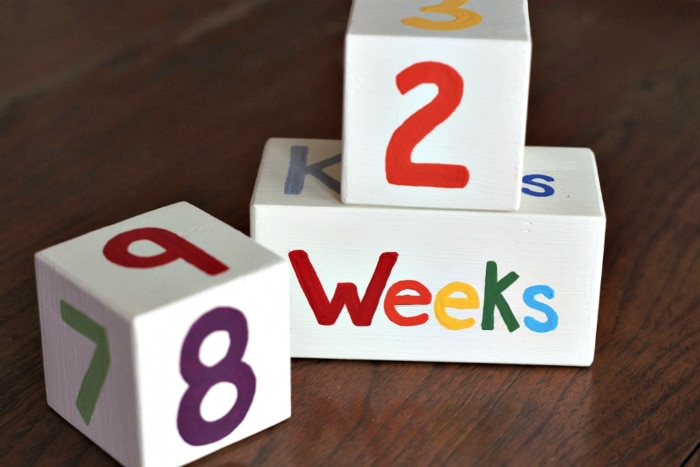
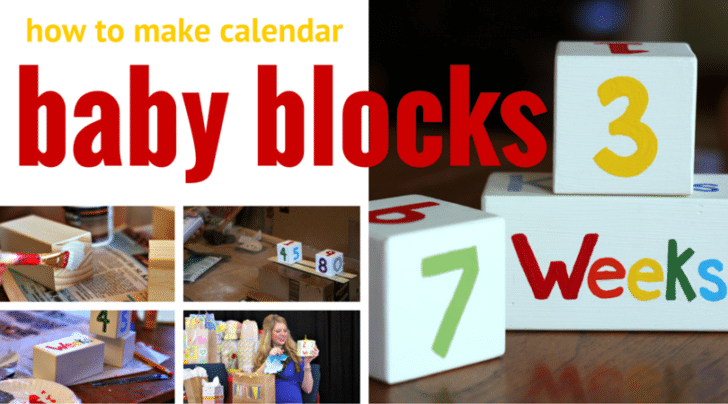
First Top Block : 0 1 2 3 4 5
Second Top Block : 0 6 7 8 9 1
Bottom Block (Pick 4): Days, Weeks, Months, Years, Grades, Kisses, Hugs
Depending on what kind of paint you are using, you may need to do a couple coats for the numbering and lettering as well. Although there is nothing quite like the look of hand painting, it did take much longer than if I had stenciled or used stickers. Use what you have time for! The meaning will be the same.
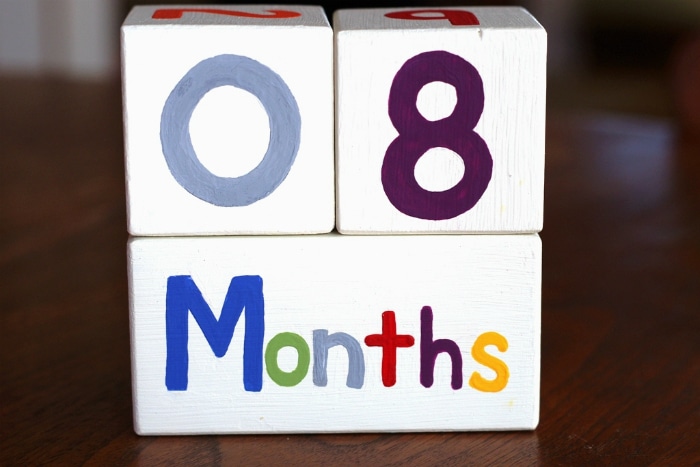
Here are some of the block combinations that I painted so you can see the combos…


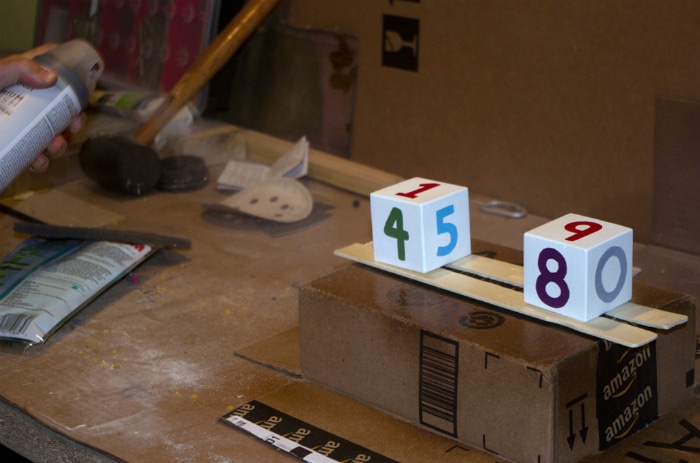
After the paint is dry, spray a good coat of clear sealer over the wood block calendar. I prefer flat, but you can use satin or semi-gloss if want the blocks to shine! Sealers don’t take long to dry, so get your gift bag and tissue paper ready!
And here they are….Colorful handcrafted blocks that were little in cost, but big in thought and love.

I had as much fun making them as I did giving them. What a joy to see my dear friend open them at her shower 🙂


Leave A Reply!