I have another Mother’s Day DIY gift idea for you today! Really, this gift would be appropriate for a number of different occasions. I don’t know about you, but I feel like coasters are way overpriced. I find cute coasters all the time and they’re around $10 – $15 at least for four. That just seems steep for something you put your glass on. At the same time, it’s protecting your furniture – so although it may feel like a wash – I’m here to tell you that you can create them for much less. And I think they look better!
While looking for the cork coasters which you’ll need to personalize for this project, I came across the trivet cork. Why not? I made both and I LOVE them! They’re custom and cute and they didn’t cost a ton of money.
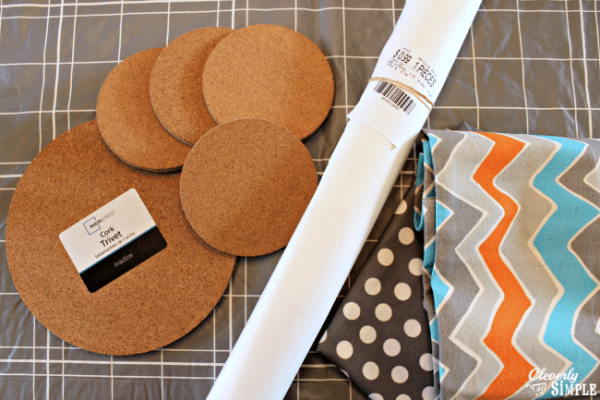
To make these you’ll need to find the cork trivets and the cork coasters. The cork trivet was $2.97 and the coasters (for a set of 4) were $3.47. I found them both at Walmart in the kitchen section.
I used fabric that I had on hand. I like to stalk the Hobby Lobby remnant fabric section. You can get a yard of fabric for very cheap and I love the style of fabric they have there. You’ll also need heat n bond. I bought a half yard and it was only $0.99. I only used a little more than half of that.
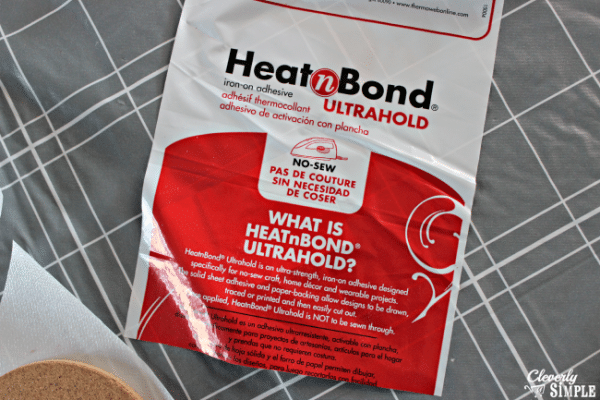
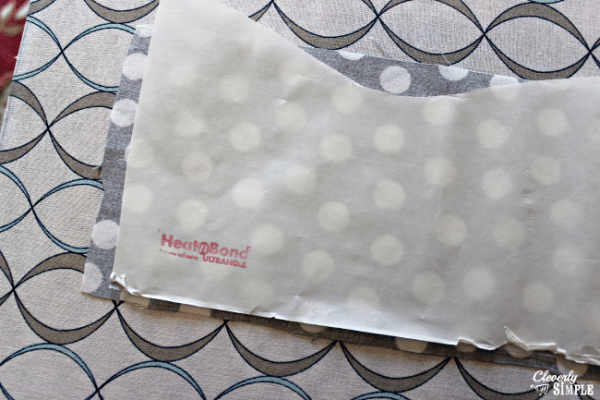
If you’re wondering what heat n bond looks like, here’s a picture. You need the heavy duty kind. You can buy it separate but I think it’s cheaper when you buy it by the yard. It can be found at Walmart if your store carries fabric or any fabric store.
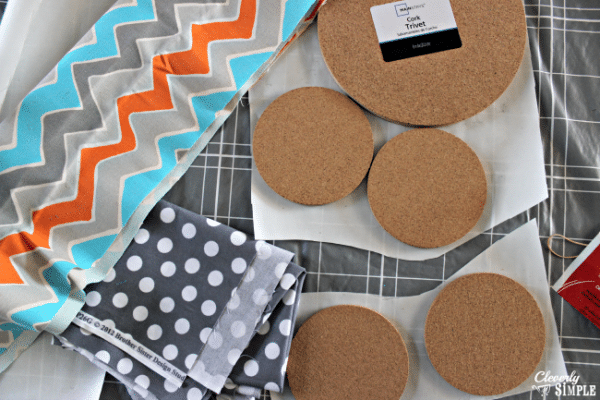
Lay the heat n bond on a flat surface. You’ll want to see how much you’ll need for this project. I decided to use two different fabrics, so therefore I had to cut the heat n bond into two different strips. You can place the cork as close as possible to each other to save heat n bond for later.
Get your ironing board out! Lay the fabric print side down. Before you do anything make sure you iron the fabric! You do not want wrinkles on your pretty coasters. Once ironed, place the heat n bond with the gritty side down. The gritty side is touching the “wrong” side of the fabric. You’ll find that heat n bond has a plastic feel to one side. That is the side you want to touch your iron. You do not want to have the heat n bond stick to your iron. That would be bad. 😉
Press the iron onto the heat n bond for about two seconds. You’ll have to rotate your iron as you go. It will stick to the wrong side of the fabric! Check your edges to make sure they stick well to the fabric.
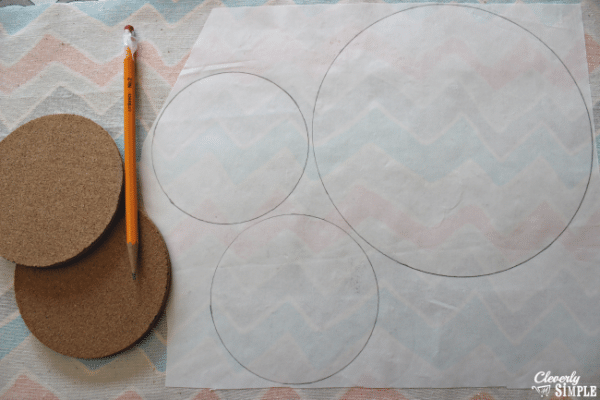
Once your heat n bond is set to the fabric, trace the trivet and coasters onto the fabric. I used a pencil. This will be your cut line.
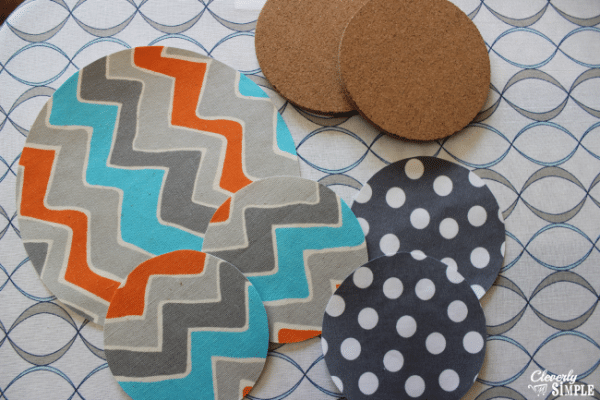
Cut out your circles! They’re now almost ready to iron on to the cork!
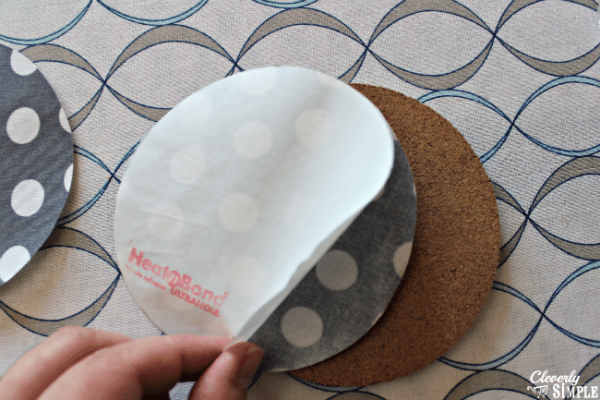
Peal the heat n bond from the back of the fabric. This will leave a residue on the “wrong” side of the fabric. This is the side you want to place against the cork. Again, you don’t want the iron to stick to the fabric. You want this residue to be touching the cork.
Place the fabric onto the cork and place the iron on medium heat onto the cork for at least 9 seconds. Make sure to get all the edges to stick well. And they will! I was really impressed with how well the fabric was sticking to the edges. And because you took the time to cut our the fabric, you’ll be finished.
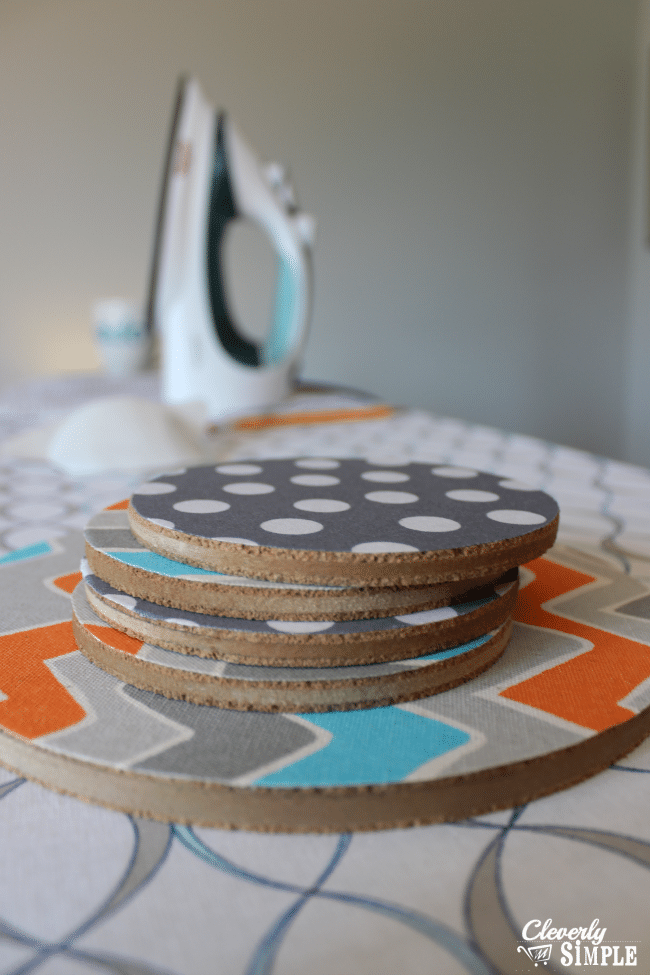
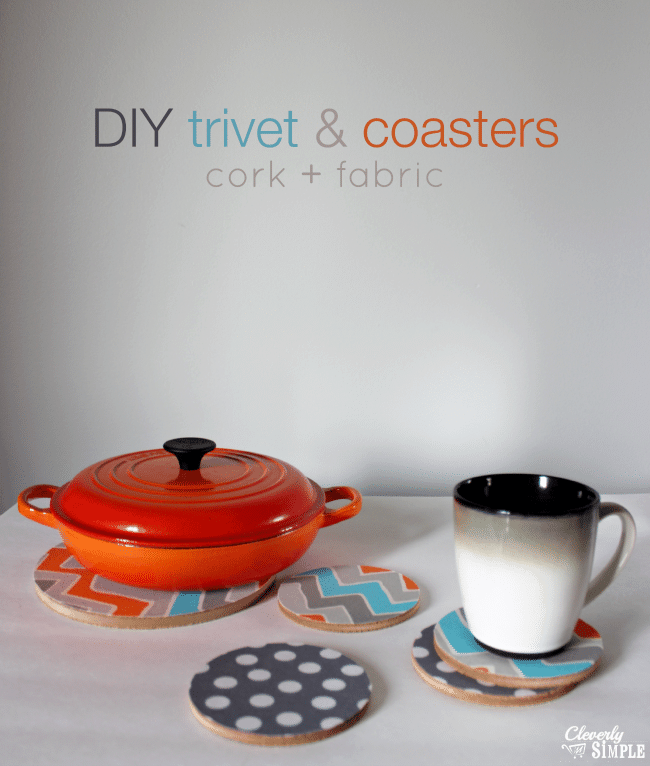
This entire project took less than one hour! It really does go fast. You can see the finished product above. Wrap a bow around them and you have a one of a kind gift for less than $10!!
Have you tried to use heat n bond before? What other things can you add fabric too? I know my mind is thinking!
Looking for another gift idea? Try these Paint Dipped Kitchen Utensils!


Comments & Reviews
Can you place hot serving bowls & dishes on the finished fabric covered cork trivet? I’ve bought 6 cork trivets for my christmas table. Im using placemats & the trivets instead of a table cloth on my wood table for christmas dinner. Also, have you painted cork trivets? If so, what sort of paint would be heat resistant? thanks, Anne-(not very crafty….)
Very cute and easy too. Score!
Love this idea…. what a wonderful idea to allow me to enjoy my favourite fabrics day after day! Thanks for the tutorial.