Want to save this recipe?
Enter your email & I'll send it to your inbox. Plus, get great new recipes from me every week!
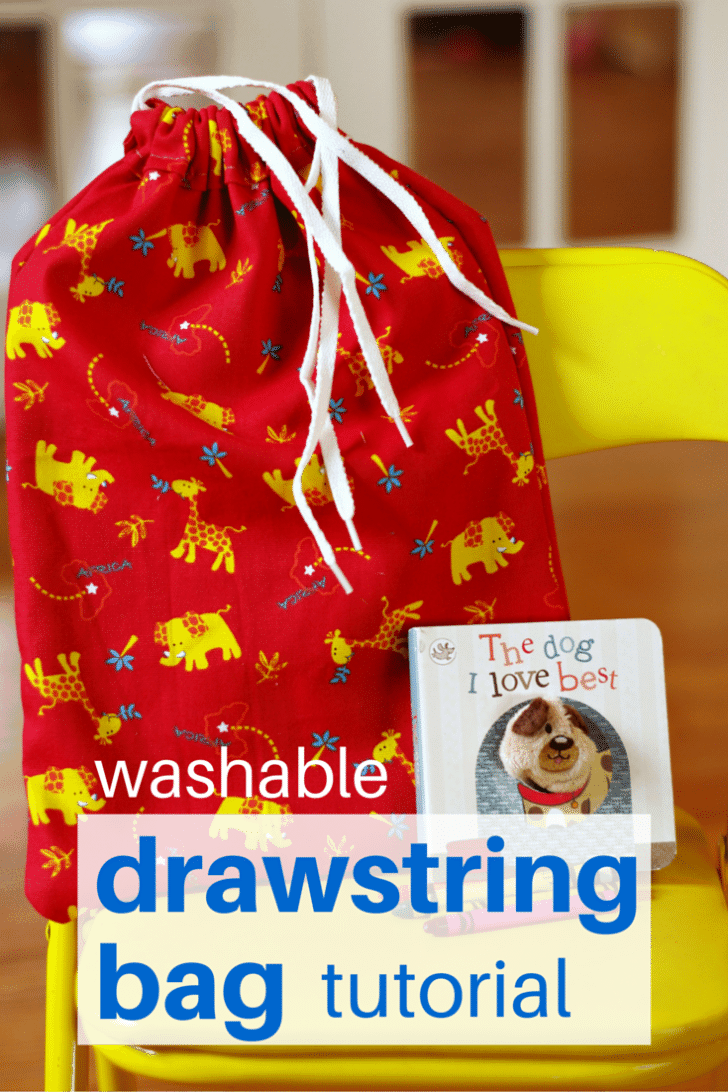
Easy Drawstring Bag Tutorial
A few years back, a friend gave my daughter a homemade drawstring bag made out of a pillowcase. It had her name sweetly painted on the front and bright pink shoelaces to pull it closed at the top. At first, I wasn’t quite sure how to use it… but then we went camping! We used that bag for our dirty clothes and when we got home, I just threw the entire bag into the wash. Cleverly simple, eh? Drawstring bags the size of a pillowcase were just the beginning for me. I soon thought of many other ways to utilize a bag like that. By adjusting the size, you can use drawstring bags for wine bottles, groceries, kindles or for a unique way to wrap a gift. Anyone can benefit from these!
Today, I’m going to show you how to make a quick and easy medium sized bag for things like coloring books and crayons when you’re on the go. One yard of 45″ fabric will make two fully lined drawstring bags. All you need is a sewing machine and some basic sewing essentials.
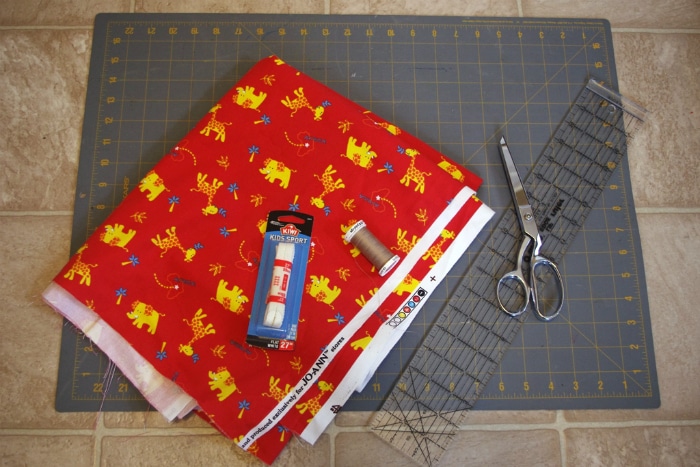
Each lined bag uses 1/2 yard of 45″ fabric. You will also need a cutting tool and ruler or measuring tap, some thread, iron, pins, sewing machine and a pair of shoelaces that are at least 27 inches long. Keep in mind, a heavier weight fabric will create a more durable bag. My fabric here almost has a canvas feel to it. If you would like the bag to be waterproof for wet swim suits, be sure to use waterproof PUL fabric.
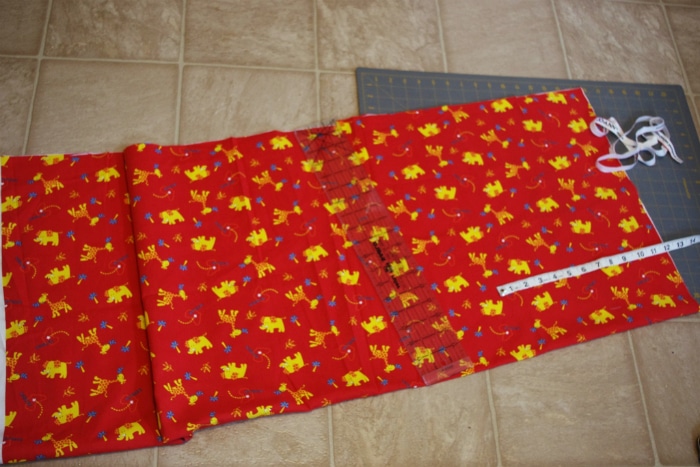
The key to making this drawstring bag so simple is using only one piece of fabric. Having a fold eliminates some of the sewing for you. Here I have one yard of fabric that I will cut down to make my bag. With wrong sides together, I folded my fabric piece “hamburger style” and matched all edges together with the fold at the bottom. Next, I cut off the salvage edge. Then, I got out my measuring tape.
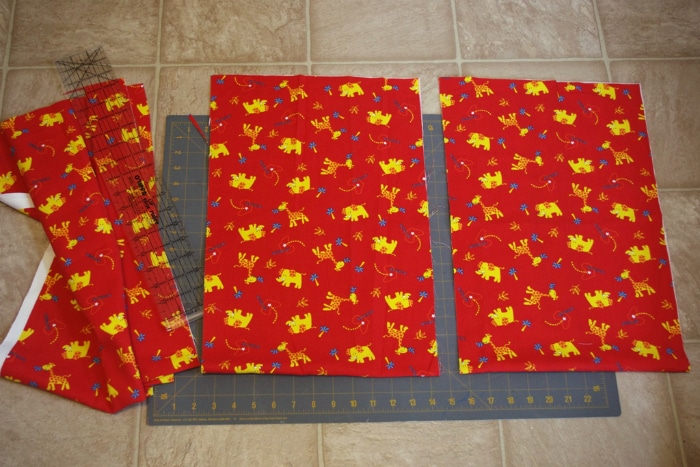
Cut off two 11 inch wide strips, keeping that fold at the bottom. Save the remaining half of fabric for another drawstring bag next week! If you want your bag to be wider, you can cut off 12 – 15 inch wide strips. Just keep in mind that you will need more than one yard of fabric to make two bags.

STEP 1:
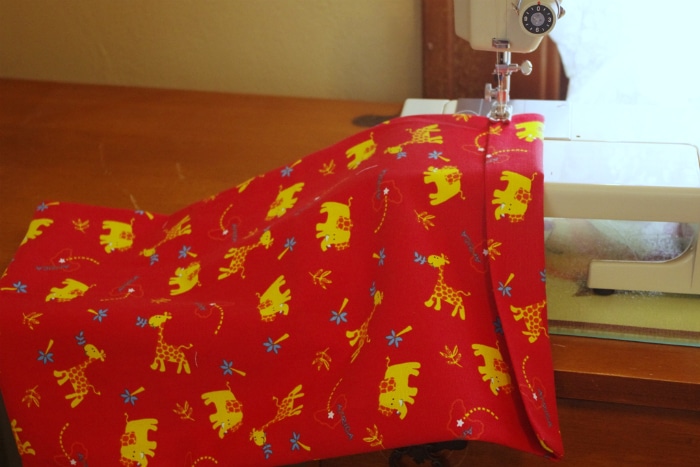
Starting with one of your strips, turn it right sides together; matching edges. Sew a 1/4 inch seam allowance around the three open sides except for a 4-inch section along one of the open sides. For example, pictured here is my strip with the fold at the top. I have sewn the three open sides, but left alone a 4-inch section near the bottom, creating an opening.

STEP 2:
Why that opening, you ask? We are going to fit our hand into the opening and turn the strip right side out! Be sure to push your fingers into the corners to pop them out.
STEP 3:
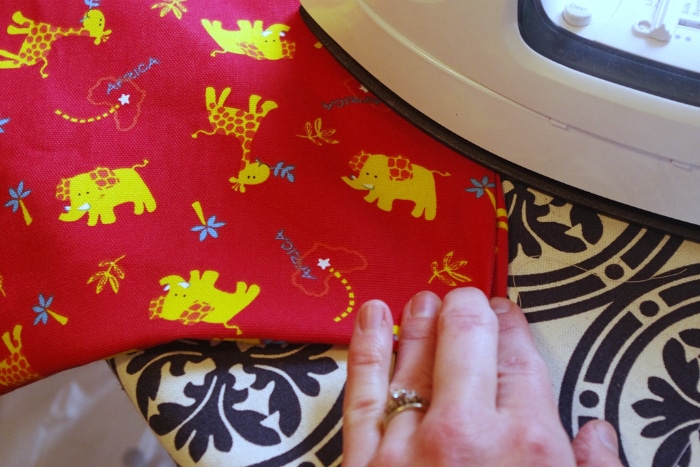
Press the 4 inch opening so that it correctly lays with the rest of the strip (raw edge folded inward). It will be sewn closed later.
STEP 4:
Fold down 1 1/2 inches from the original folded side and press. Since we are only using one design of fabric, it doesn’t matter which way you fold down! Sew 1/4 inch seam allowance (horizontally) at the bottom of the fold down – creating an open ended tunnel.
Repeat steps 1 – 4 for the second strip you made.
We are almost done!
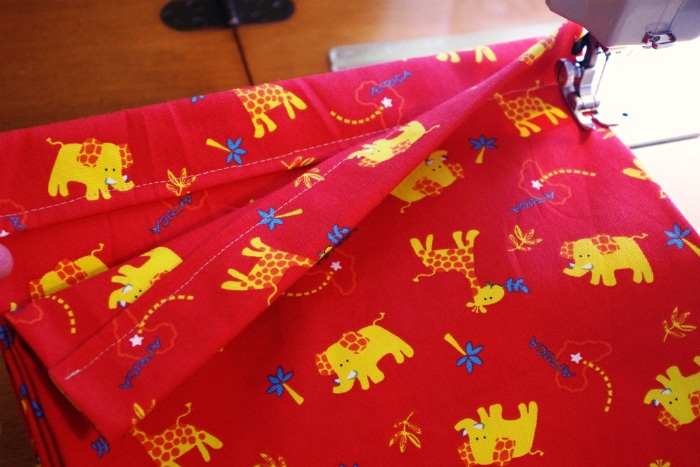
STEP 5:
With both strips nearly completed, match them together with the fold downs on the inside. This is your new “wrong side out.” Starting just BELOW the fold down on one side, sew a 1/4 inch seam allowance all the way around three sides (sewing the strips together) but STOP just before touching the other end of the fold down. Remember the fold downs create the tunnel where our shoelaces go, so we don’t want to sew them closed. The pressed opening from step 3 should be closed shut now, but if you didn’t catch it, sew over that section again with a 1/8 seam allowance. That should do it.

STEP 6:
Turn the bag right side out (fold downs facing the outside). Insert the beginning of one shoe lace through one of the four tunnel openings. Making a “U,” follow it around until it meets the end of the same shoelace back at the beginning. In other words, the shoelace’s beginning and end will be sticking out at the same side. Repeat this with the other shoelace, except , start inserting it through the opposite side (where there are no lace ends sticking out) Making a “U,”follow it around to meet back at the beginning so both of these ends are sticking out together as well.
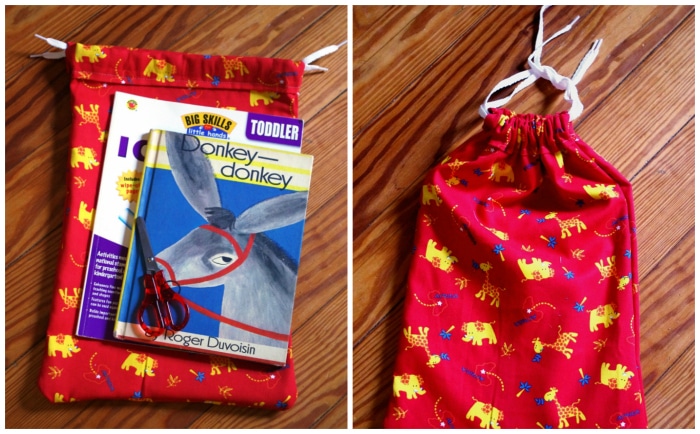
Give yourself a big drawstring pat on the back!! In less than an hour, I’ve made a medium sized bag for my toddler’s special books and supplies. With a little pull on the shoelace ends, it closes the top of the bag and will stay that way until I manually open it with my hand. If you have a toddler like mine, you can make it even more secure by knotting the shoelace ends together 🙂

Imagine the possibilities with cleverly simple drawstring washable bags in any shape and size. They are just as fun to make as they are useful!
Enjoy!


Leave A Reply!