My jewelry box was driving me insane. I was desperate to find a way to organize my jewelry. I really don’t own that many pieces of jewelry, but what I did own was exploding out of my “organizer”. I decided to take the same concept I used when I made the Christmas Card Holder and use a push pin board.
My goal was to find a way to see most of what I had. I like to be able to visually look at each piece of jewelry not only to pick out what to wear but to not buy anything that is the same. I found myself looking at similar pieces in the store that I already owned at home. Whoops!
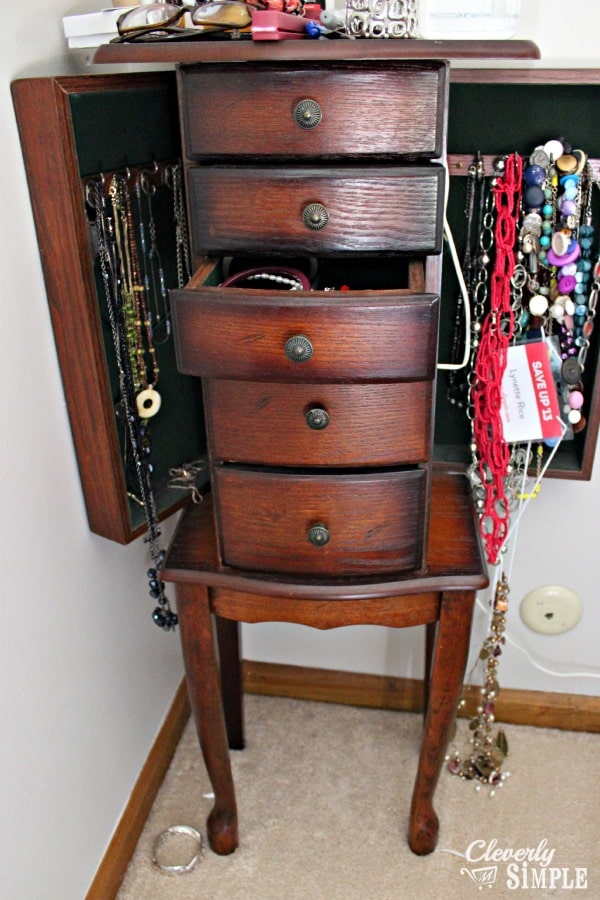
Here’s how to organize your jewelry at home using a push pin board.First, you need the motivation to complete a project like this. This was my jewelry organizer. My thoughtful husband bought it for me years ago, but it’s just not working in terms of keeping everything organized. It’s a big ol’ mess.
And I intentionally cropped the top which had bracelets and eye glasses and a bag clip. What?

Here’s what you need to make this jewelry organizer.
Push Pin board (I paid $5.39 with a 40% OFF coupon at Hobby Lobby.)
Staple Gun
Staples
Fabric
Push Pins
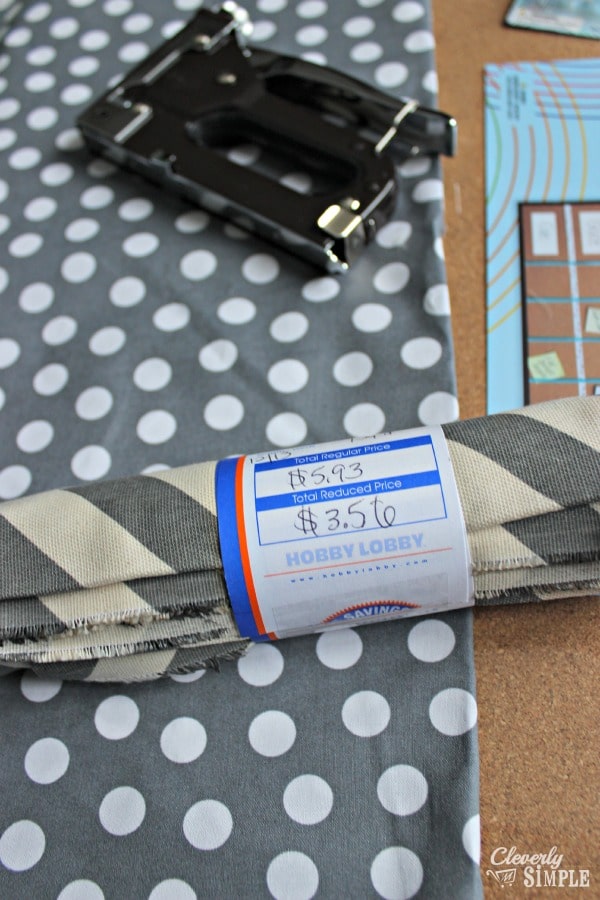
One of the ways I save money is by using coupons. (Does that surprise you? 🙂 Ha!) I used a coupon to buy the pushpin board. However, when it comes to fabric I love to check out the fabric remnants at Hobby Lobby. I love their fabric selection and the prices can’t be beat. I will typically buy a few remnants if they catch my eye to put in my craft bin for later.
I had thought about going with the gray chevron pictured above. However, it looked really busy when I opened it up. I wanted something a bit less busy since my jewelry was going to be on it. So, I went with polka dots!
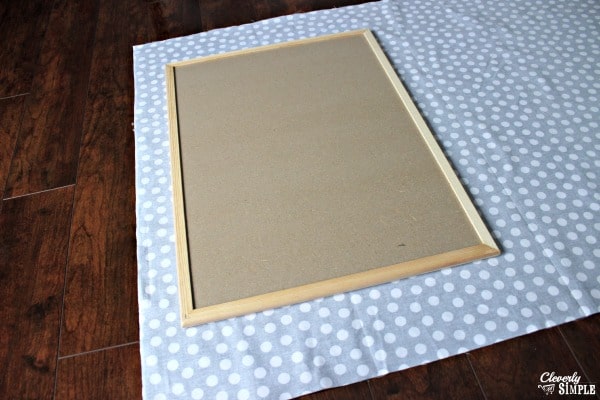
Make sure you first iron your fabric. Once ironed, lay it out on a flat surface and place your push pin board on top to center it.
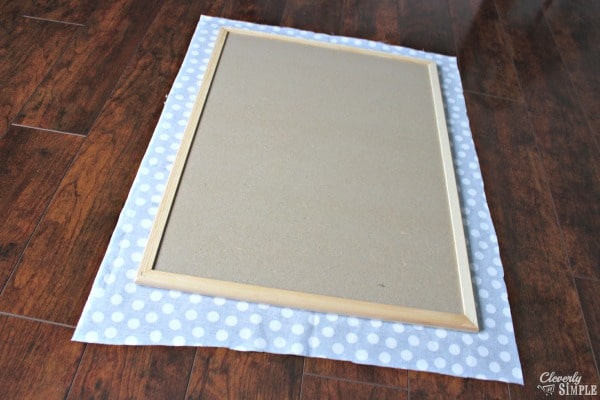
Cut off the extra fabric from the edges so that it will be easy to staple gun the fabric to the push pin board. I left about 3 inches on all sides.
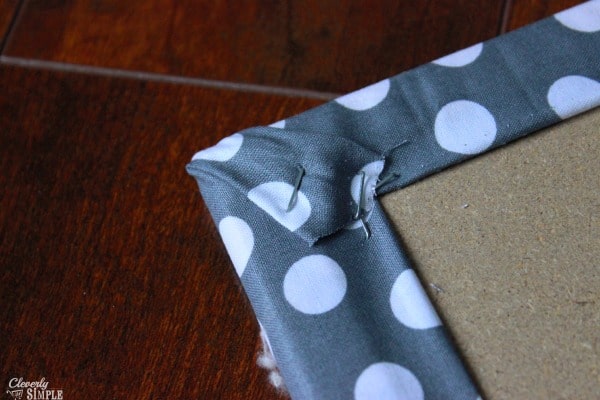
Staple gun each edge to the board. I rolled the fabric into itself as well to give it a clean edge. It’s not completely necessary because it won’t be seen, but I like it to look good.
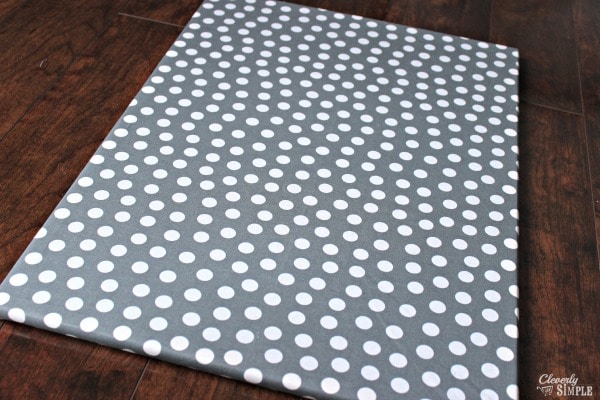
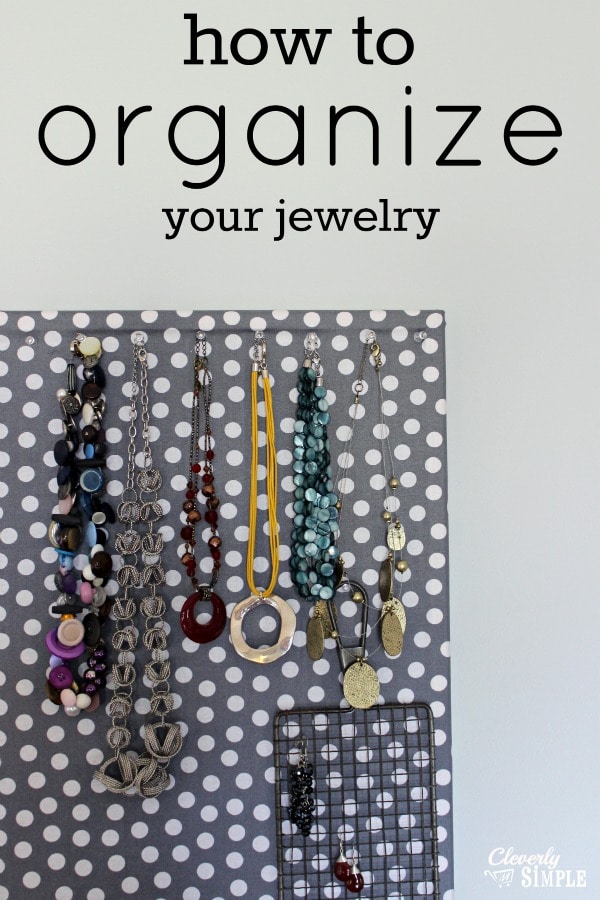
Here’s the finished product. It would be easy to use this for so many things. However, jewelry organization was the goal.
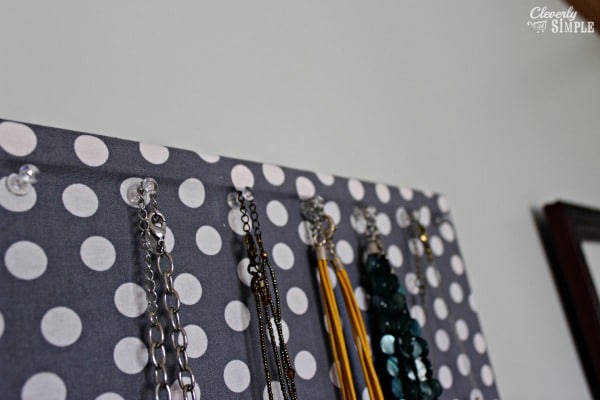
Once I had the push pin board covered in fabric, I pushed in the clear push pins to hang my necklaces. At this point, it’s purely based on taste. I should also mention that I used this time to donate a number of necklaces that I had not worn in YEARS.
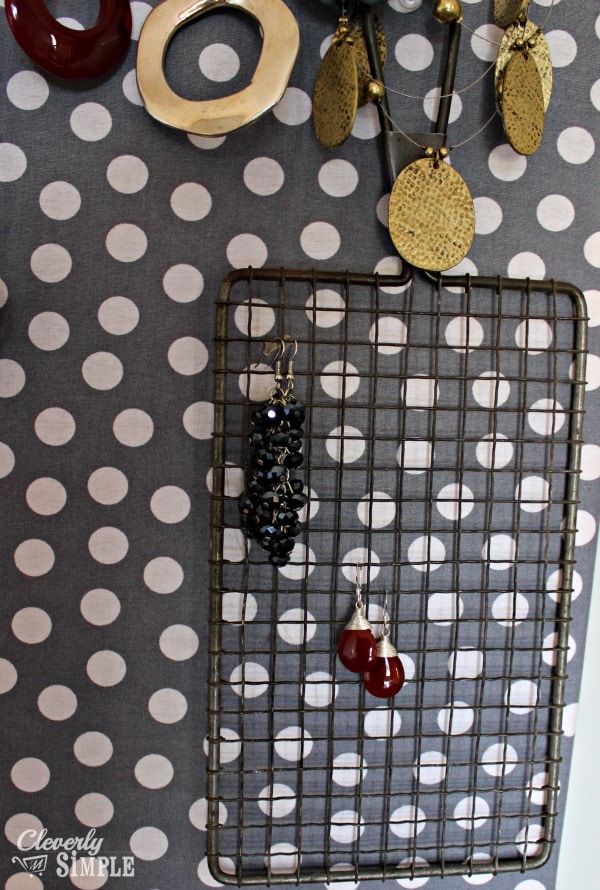
To hang my earrings, I bought this antique cheese grater at our local antique store. It’s perfect for this and has been hanging on the pushpin board since I bought it. I love that I can have my necklaces and earrings in one place. It’s been working well for me for a month now, and I won’t go back.
If you’re wondering where the rest of my earrings are – well…. here’s the funny story. I took this pushpin board to Fox28Columbus and used it to show how to reuse items. And, somewhere in the news studio is a couple of my earrings. They never made it home. It’s a bummer too because one set was my favorite! Isn’t that the way it always is?
Now, bracelets are a different stories. Any ideas on how to display those?
And that’s it. I feel like I have all my necklaces and earrings within reach. It’s holding up well and I now can get rid of the “organizer” I had before. And I did it for less than $10! Whoo hoo!


Leave A Reply!