If you are like me, you love the elegant look of silver-plated tea sets from the 20th century. When I see complete silver tea sets in antique stores, I have to stop and admire them. I am both fascinated by the cultural afternoon tea these sets were used for and also by the beautiful pieces themselves. Ceramics and porcelain don’t seem to have the same charm as silver!
Today, I’m going to show you an easy DIY project that incorporates silver-plated plates and platters that are lost from their complete set. These pieces are easily found at auctions, garage sales, and flea markets. Once beautiful, they are now tarnished from years of neglect. We will make them shine once again and put them on display for you and your family to appreciate! For this project, you will need old tarnished silver plates or platters, a little elbow grease, a few tools, and an hour or so of your time.
Let’s get started!
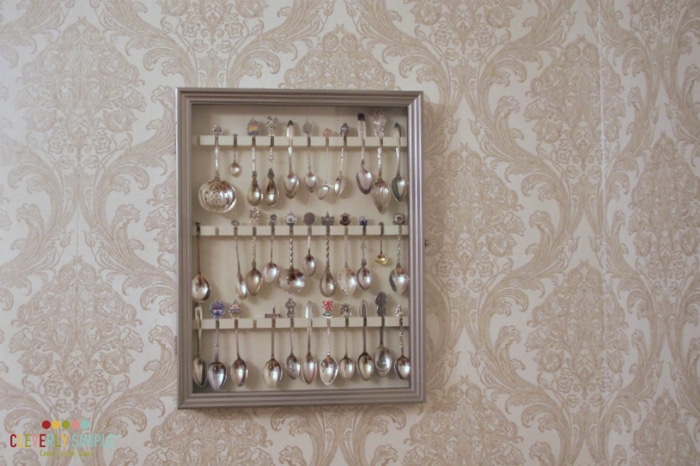
First of all, think of a place in your home that needs some zip. We have an archway in our dining room that provides wall space on the right and left. Pictured here is a display box that I repainted for a set of silver spoons collected from around the world from my late grandmother.
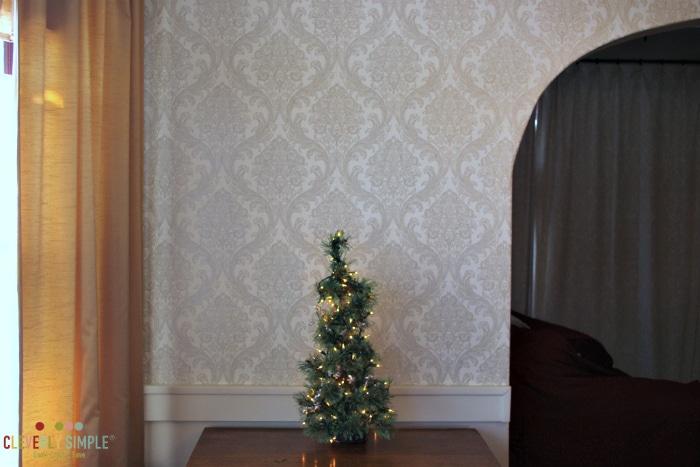
The box of spoons is what initially inspired today’s DIY project for the opposing wall space. As you can see, I tried to hide this side’s nakedness with a lighted winter tree. (So sad) I think this is the perfect space for me to hang some polished silver tea plates!
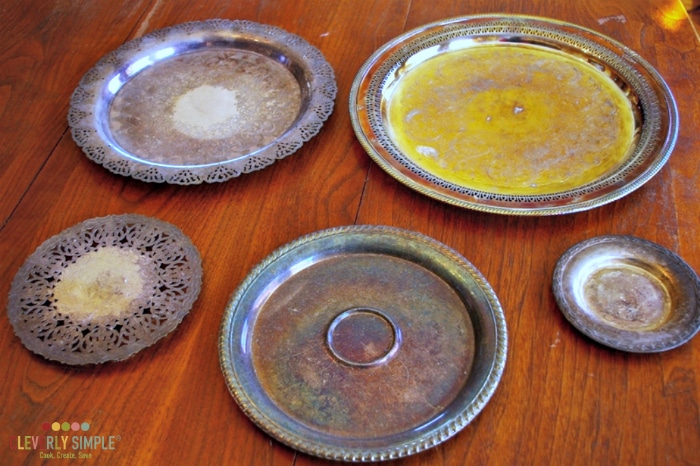
Don’t let the term silver fool you into thinking these pieces are going to be expensive! Most pieces are not pure silver or sterling silver, but merely coated in a thin layer of silver. Also, since you don’t need a complete set, lost pieces can be purchased for just a few dollars. The plates I am using today were found by a dear friend at a flea market (Hi Sara!) Now, I just have to decide which ones I’m going to use on the wall. Remember that sometimes less is more, so don’t feel like you have to use all the pieces you have. Even just one plate can make a statement!
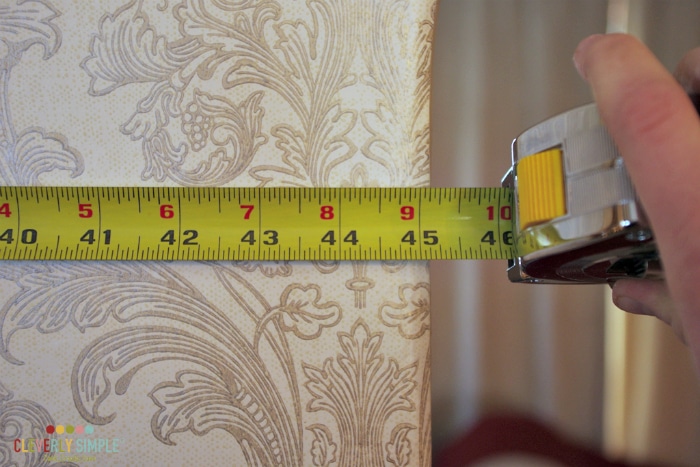
When you have decided which plates or platters you are going to use, go ahead and measure the allowable space (height and width), figuring that your design will be in the center.

Map out the wall space on your floor with some tape and lay out the pieces you are going to use with the appropriate spacing in between. Play around with them until you see what works. This process not only helps to visualize the design, but if you are using several pieces like me, take measurements in between each piece so they can be hung correctly on the wall.
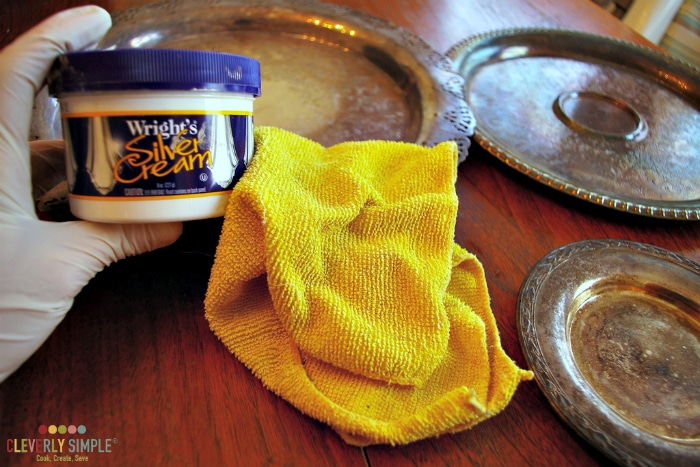
Now comes the fun (I mean, the elbow grease!) part! You will need a silver polishing cream, microfiber cloth, and rubber gloves. I found this Wrights Silver Cream at the grocery store for about $5 and have used it several times before today. A little goes a long way!
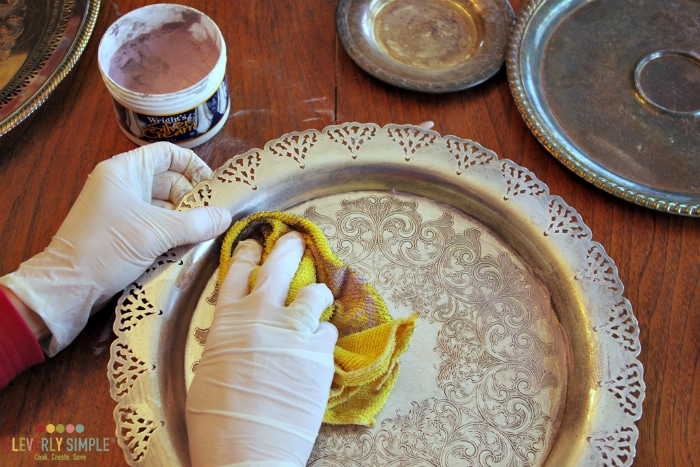
Dab some cream onto the cloth and working in a circular motion, rub off the tarnish, inch by inch. You will need to use some pressure to remove some of the most stubborn tarnished spots. The more black that comes off on the cloth, the better!
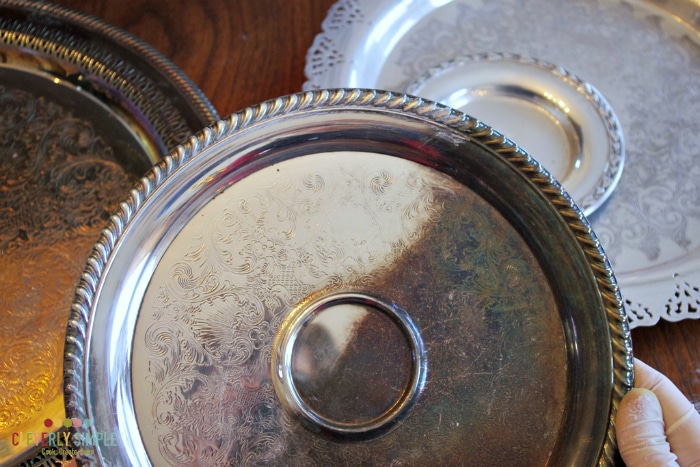
Look at the difference! Now I understand why polishing silver was a necessary chore in the 20th century. Removing tarnish uncovers the original beauty. These plates are beginning to look like a treasure. Once you have finished removing the tarnish, simply rinse them in warm water and pat dry with a clean cloth. Done!
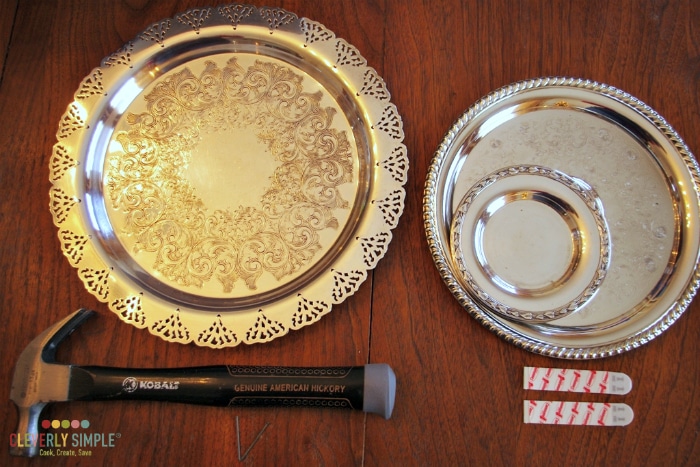
There are a couple of ways to hang your newly polished pieces. Plates and platters that have decorative holes on the edge can be nailed into the wall with size 6 finish nails. Those that don’t have any holes can be hung with sturdy 3M strips. Silver plates are typically not heavy and one strip per plate should do the trick. This option is nice if you don’t want to put holes in your wall.
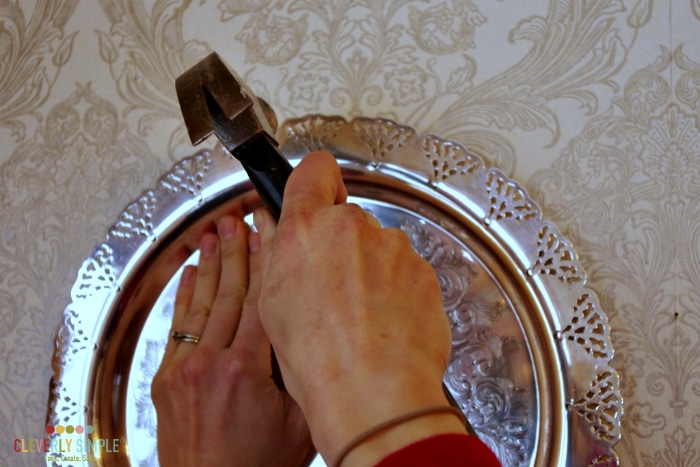
If you are using 3M strips, be sure to leave the tab free from the back of the plate so if you need to remove the plate, you can easily grab the tab with pliers and pull the strip down from underneath with no damage to the wall. If you are using nails, insert the nail into one of the decorative holes and hammer away. For this 12-inch platter, I hammered one nail into the 12-clock position and another at the 3’o clock position. Two nails are all you will need.
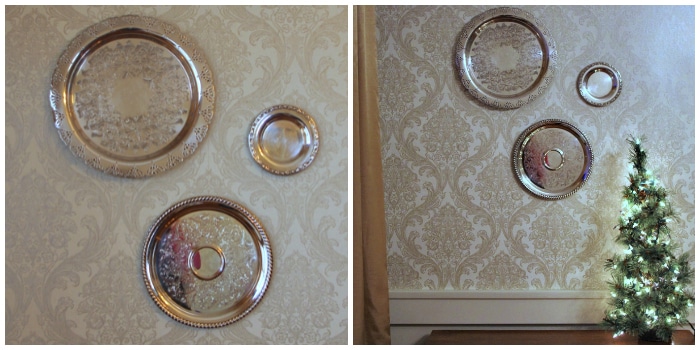
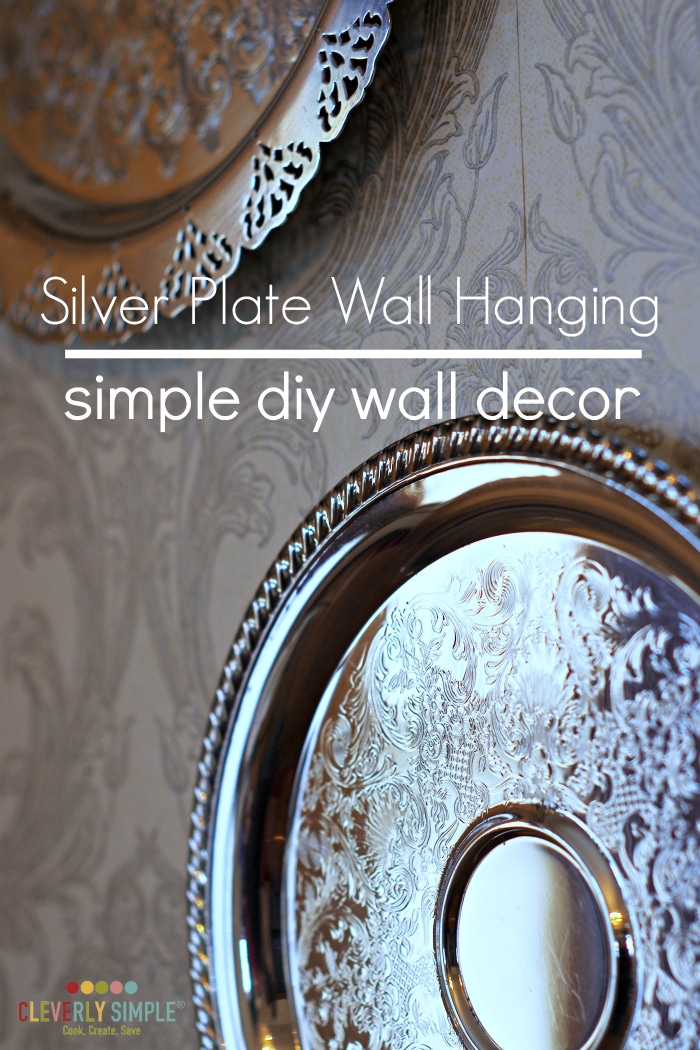
There you have it! Three silver-plated pieces bring both beauty and history to the wall. I took the picture on the left just after finishing. The picture on the right was taken in the evening with our little winter tree aglow. The project not only adds elegance and history to the wall but can also bring great interest to a small space.
I think I’ll go make myself a cup of tea now 🙂
Need some more decor ideas? Here are some lovely and frugal Fall Home Decor projects!


Comments & Reviews
Thank you for sharing. For the last several years, I have been buying up silver plates and platters from yard sales and thrift stores and I have quite a few. I have had this same exact idea in mind for mine. You have given me the inspiration to start hanging them all up! I plan to use groups in every room in our home. Yours looks very pretty and I really love the “less is more” thing. God bless!
Thank you! Sometimes all it takes is a little inspiration. 🙂
Thank you. I live at the beach and I want to display my mom’s silver trays. My silver jewelry tarnishes so quickly. Is there something to treat the trays with so I am not polishing every month?
Hi Cathy! That is the silver question! 🙂 Unfortunately, I have not found anything that permanently prevents silver from tarnish…. other than sealing your trays up in glass glasses to prevent air contact. I just keep the chore of polishing in my cleaning rotation. Sorry, that is not much help!