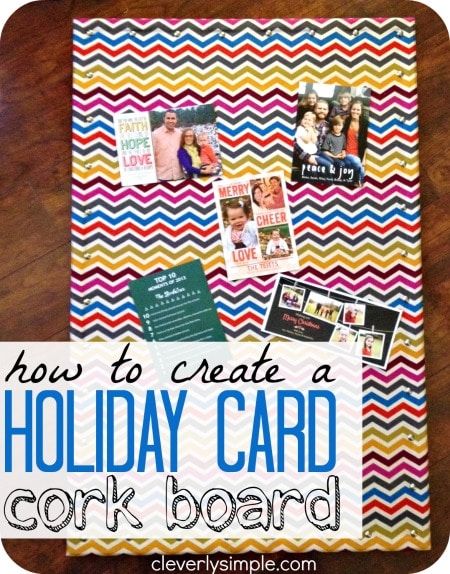
I am so excited to share with you this Christmas Card Holder I created this week! There was a couple of reasons we needed something like this. The entire idea started because my mantel is ugly. Yes, ugly. You’ll get to see it later this week when I reveal my Christmas additions. However, one of the big focal points this time of year is our Christmas cards. The last few years, we have literally taped our Christmas cards onto the mantel as it reaches to the ceiling. It made it’s dark wood more bearable.
This year, I decided to really attempt to soften the dark wood with some Christmas decorations. The first thing I would need was a place to put all our cards. As much as I wanted to decorate the mantel, I also wanted to maintain our tradition of putting all our friends and family up on the mantel to look at. I love getting mail this time of year. Don’t you?
Anyways, I started with the idea of a cork board and everything snowballed from there. I found the right fabric, I found tack pins. And then I fell in love with the result! Although, you won’t see it on my mantel until later this week, I wanted to share a step by step story of how I created it. It’s seriously so easy to do!
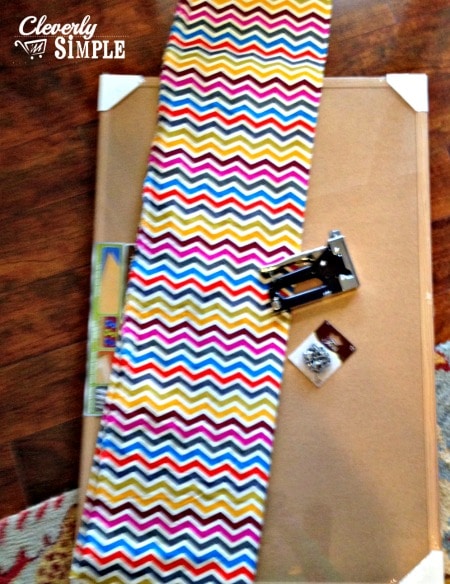
The first thing you need to gather are the supplies. (I apologize for the blurriness of this photo. I blame my excitement.)
Supplies for Christmas Card Holder Cork Board:
Cork Board (I found mind at Target for around $10)
Fabric (I found mine at Hobby Lobby and used a little over 1 yard.)
Staple Gun
Staples for Staple Gun
Tacks
Total Cost for this project was around $15!
(That doesn’t count the cost of the staple gun or staples.)
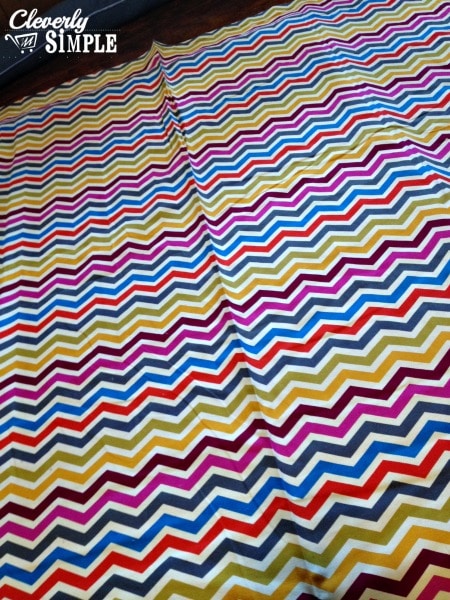
The first step is to make sure that the fabric completely covers the front of the cork board. At this point you may be thinking, “Gee Lynette, that fabric is loud.” Why yes, yes it is. I needed something really bold because of our big and ugly mantel and this looks great with it. You may want to select something that is softer or maybe even more plain. Whatever you decide, make sure you center the pattern the way you want it.
Also, iron the fabric. I really hate to iron but there was no point in creating this masterpiece with a huge crease down the middle.
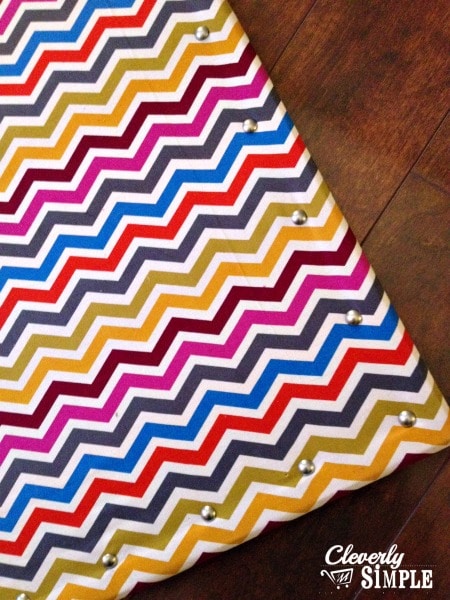
Once I had the fabric ironed and ready, I cut around the edges so that I didn’t have too much extra fabric. I was then ready to staple! You’ll want to line up the edges so that you keep the pattern straight. That is, if you pick a fabric that has a loud pattern like mine does. Thankfully, I could line up the chevron edges with the edge of the board. As you can see in the picture above, I could pull the fabric to stay straight. This was super helpful.
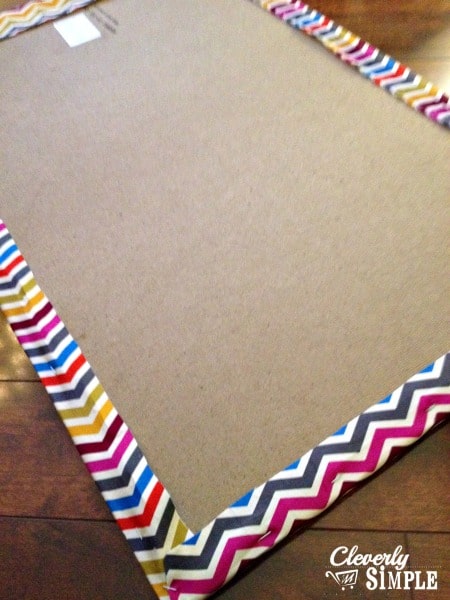
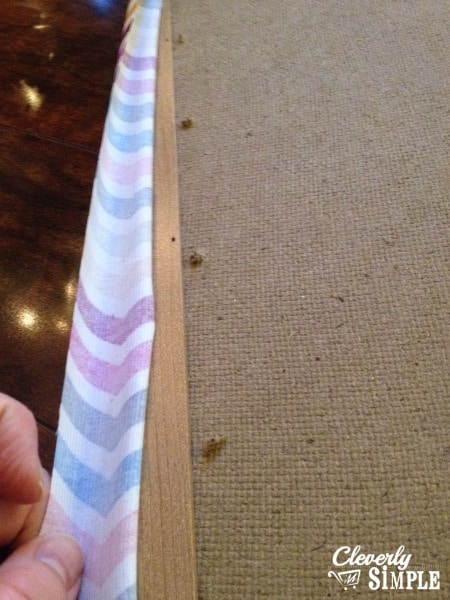
This is what it looked like as I stapled around the edges. You want to do one side, then the opposite side. THEN you tackle the perpendicular sides. So in this case I did the top, bottom, left then right. You’ll want to make sure that you pull the fabric tight.
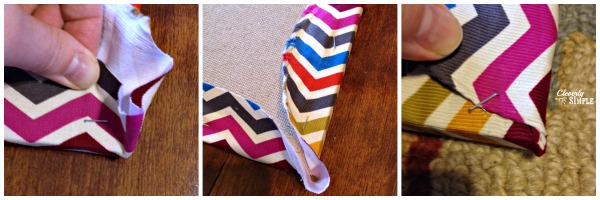
Once all the sides were stapled it was time to tackle each corner. I first placed a staple tightly in the corner using one side. I then cut any additional fabric so that I could get a tight edge. I folded down the other side and wrapped it like a present. One staple and it was held in place.
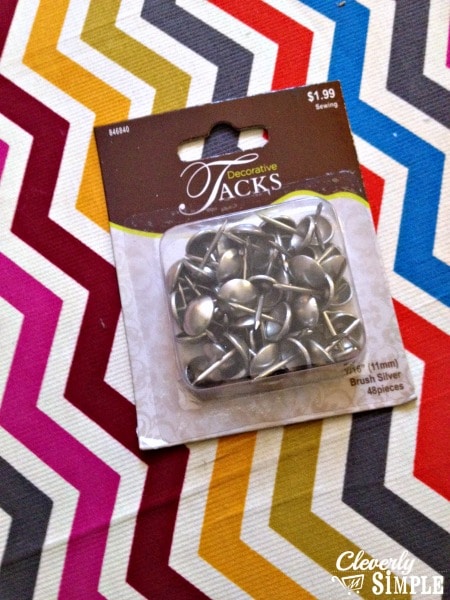
You could stop there, or you can add these decorative tacks I found at Hobby Lobby for only $1.99. I wanted something that would make the project “pop!”.
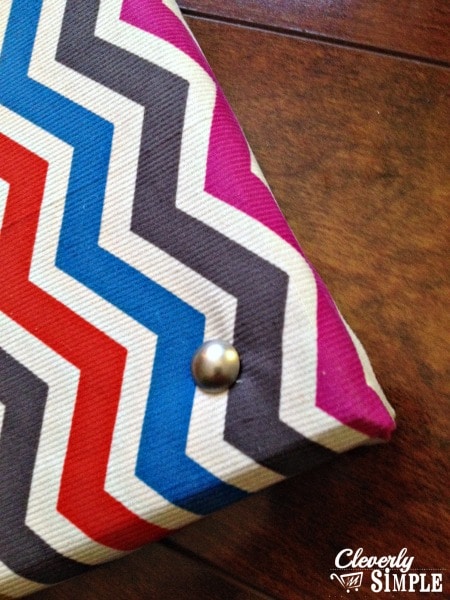
It’s really important to get the tacks right because they are very visible. I did the four corners first to get them in place. These tacks only needed to be pushed in tightly. There was no need for a hammer. If I messed up, I could pull them out and try again. Keep in mind they do leave a little hole, so I wanted to get it right the first time.
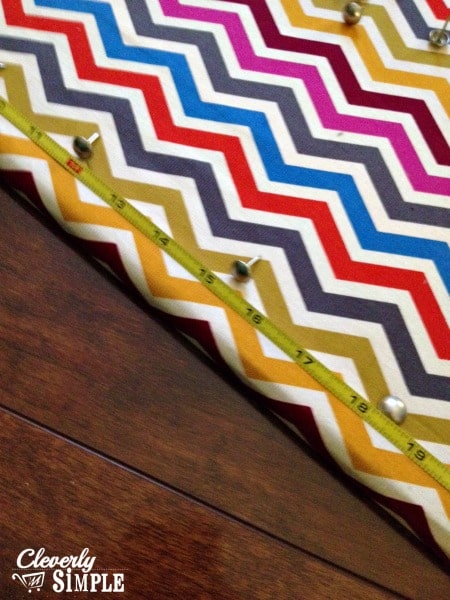
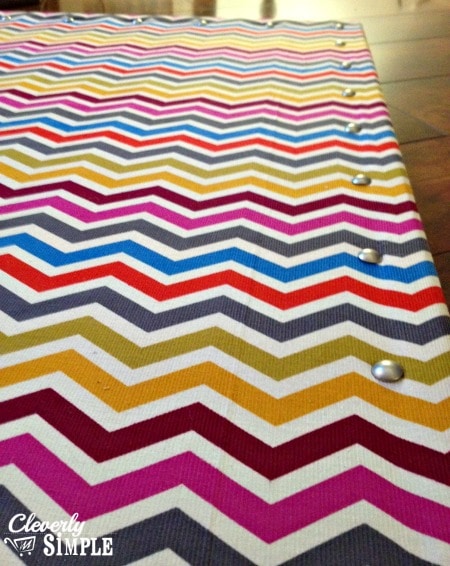
Once the tacks were in each corner, I took a tape measure to line up each additional tack. Lucky for me, it worked perfectly to place them every three inches. I left the tape measure on the cork board as I did each side. It was very easy to line up where each tack went and they stayed very even.
This is where I really got excited as it was finally coming together. The tacks really help the edges to stand out and it gives the cork board more definition. I really think the $1.99 investment is worth it.
One thing to mention, is that the tacks I purchased were a bit longer than I needed. This happened. When I went to grab the board, my fingers went into the board. Ouch! Make sure that your tacks don’t do this, or keep the kids away when you’re hanging it. A simple bit of putty will fix this problem and I plan to do that this week.
And that’s it! The entire project took no more than 15 minutes. It was really fun and I’m thinking about making something similar for each of my kids to display in their rooms.
What do you think? I plan to use the tacks to display our Christmas cards as they arrive and keep them on display. With such a loud color pattern, I think most of it will be covered with cards anyway.
How do you display your Holiday Cards?


Leave A Reply!