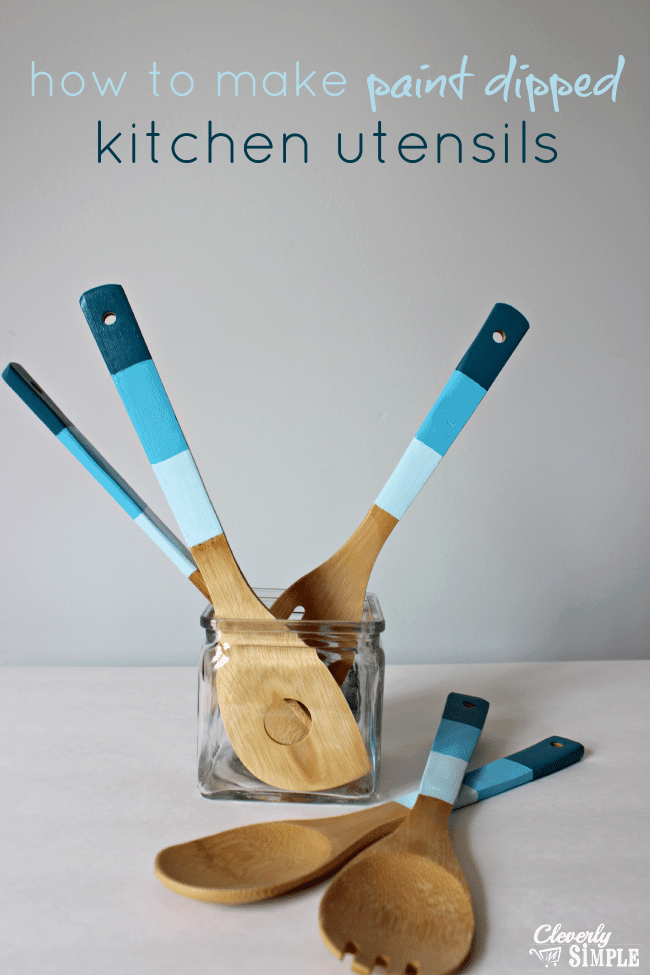
Paint Dipped Kitchen Utensils
I’m back with another DIY gift idea today for Mother’s Day! It’s the week that keeps on giving! I don’t know about you but my kitchen utensils are all mis-matched and they definitely don’t look cute on my counter. I was inspired to dress up a new pair of bamboo kitchen utensils so I got out some paint and look at how they turned out! They’re now not only functional but they look great. Plus, the total cost for this project was only $9!
If you’re looking for another way to dress up mom’s kitchen, put a personal touch on kitchen utensils with paint. These Paint Dipped Kitchen Utensils look custom and they didn’t break the budget.
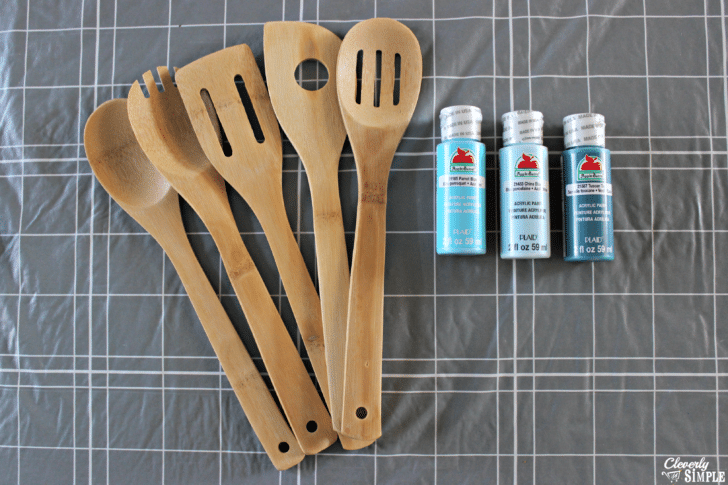
To make these you’ll need wooden or bamboo wooden utensils. I bought mine at Walmart for $4.97 total. You’ll also need paint. I bought acrylic paint for $0.50 each. To finish it off you’ll need a clear gloss. (Not pictured.) I used Rustoleum’s Painters Touch 2x clear gloss. It was around $3. The paint and gloss I can use again for another project.
The color of paint you use is really up to you. You could also use one color per utensil. You could use two colors or five colors or 10 colors. It’s really up to you how you want these to turn out! I had thought about letting my kids paint them as well. It would be cute to have little drawings on a spoon to give to grandma.
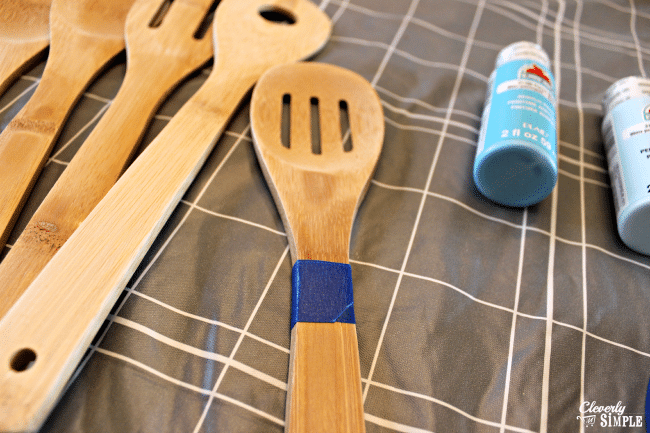
The first thing you want to do is to put painter’s tape on the utensils to mark a line. You could “eye ball” this step as well. You don’t want the paint or the gloss to go where food will touch the kitchen utensils. I won’t be using these for a deep pot of soup. 🙂 I decided to put the painter’s tape about 2 inches above the spoon section.
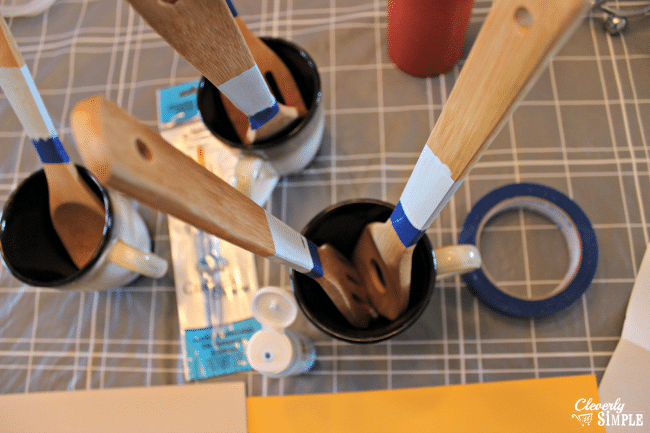
Start painting! I decided to go with three colors so I started with the lightest one at the base of the utensil. Each one took about two coats of paint. To let them dry I used coffee mugs so that they didn’t touch anything.
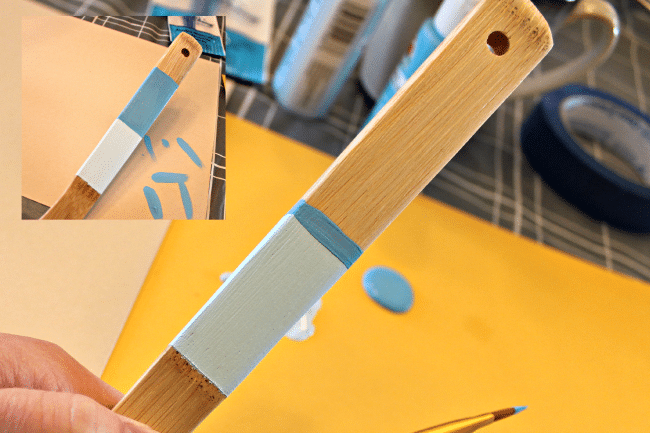
To start the next color, I painting a line around the first color and then painted the dark color where I wanted it. You could let the lighter color dry and then use painter’s tape again. I wasn’t into waiting forever for it to dry. 🙂 As you can see here, I also took the painter’s tape off while the paint was a bit wet. I wanted to make sure it was going to look right.
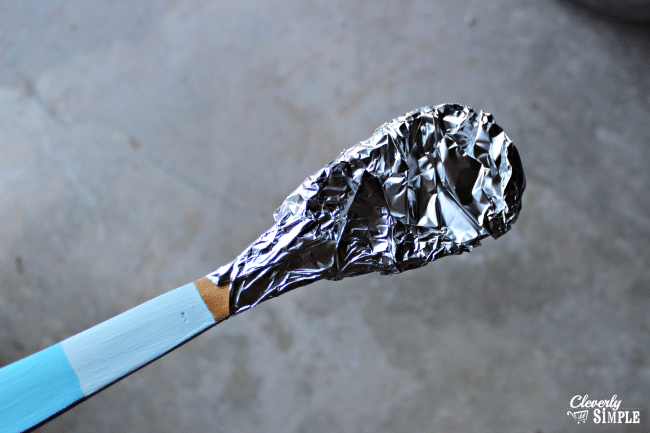
Let the paint dry overnight. Once the paint is dry, you’ll need to add the gloss. To avoid getting the gloss on the part of the utensil that will touch food, I put foil around the base of the utensil. I’m creative like that. 🙂 I bought a spray gloss so it was easy to take these out to the garage to spray them down.
Just stand upwind. Learn from me. 🙂
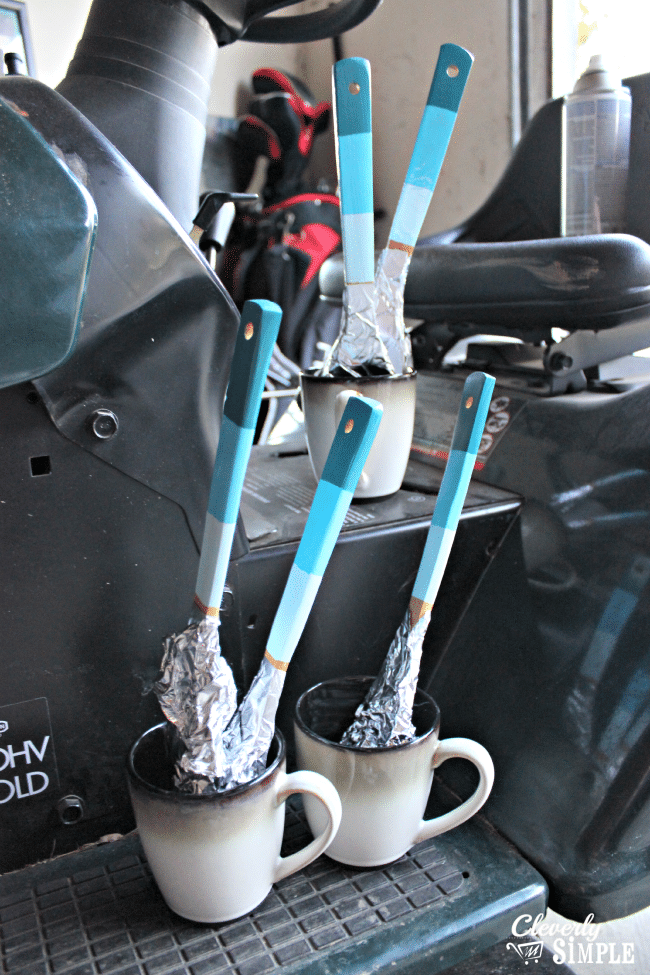
Here they are drying. This is the real life picture of drying utensils. You use what you have and what I had was a lawnmower and coffee cups!
I LOVE the finished product! These Paint Dipped Kitchen Utensils were an easy project and one that will dress up any kitchen!
Want to save this recipe?
Enter your email & I'll send it to your inbox. Plus, get great new recipes from me every week!


Comments & Reviews
Hi! When you hand wash these does any of the paint or gloss chop off? Sometimes my food splatters and I wanna check if these would have to be repainted.
Hi! When you hand wash these does any of the paint or gloss chop off? Sometimes my food splatters and I wanna check if these would have to be repainted.
Are these food safe?
The part that is not painted is food safe which is why I only paint the handles. I would not use any part that is painted with food.
Thanks for this great idea!!!