I love, love jewelry, but most often, I find that jewelry is one of those things that can be expensive to buy, but inexpensive to create. And that got me thinking. Why not revitalize or recycle some of my old, tired pieces? Earrings that have lost their partner or unused chain necklaces with nothing to shine on them. Perhaps I’ll even create new pieces along the way.
Off to the craft store I went. I sought out the clearance section for jewelry overstock and gathered inspiration. I bought beads, crystal pendants, sliders and stretch cord all on clearance. I also nabbed some leather cord, fasteners, bail mounts and Mod Podge Dimensional Magic. You will see why! Then I brought out my old worn jewelry pieces along with small pliers, glue and some crimp beads that I had on hand.
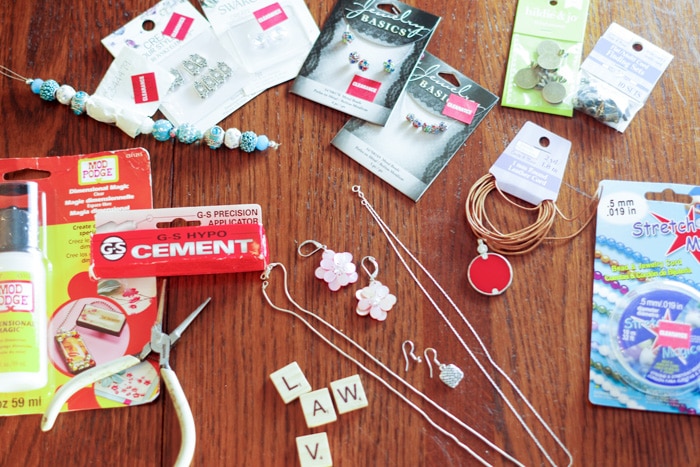
For very little money, I am going to show you six simple ways to DIY Jewelry. Are you with me? Come on in to my dining room!
Easy Earring Necklace
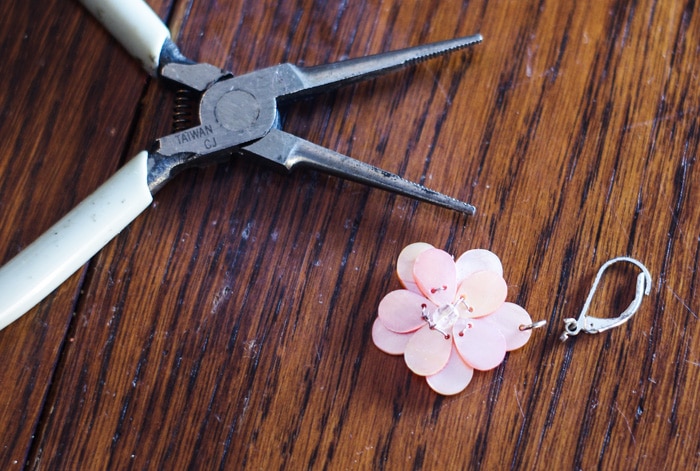
Let’s start easy. A friend gave me some pink flower earrings a while ago and I have never worn them. I think they are pretty, but would look much better on a neck rather than an ear, don’t you think?
When you remove the earring hook (save it for another project!), see if you can keep the jump ring attached. These are just little circles that can be pinched open or closed. This is what we’ll push our chain necklace through.
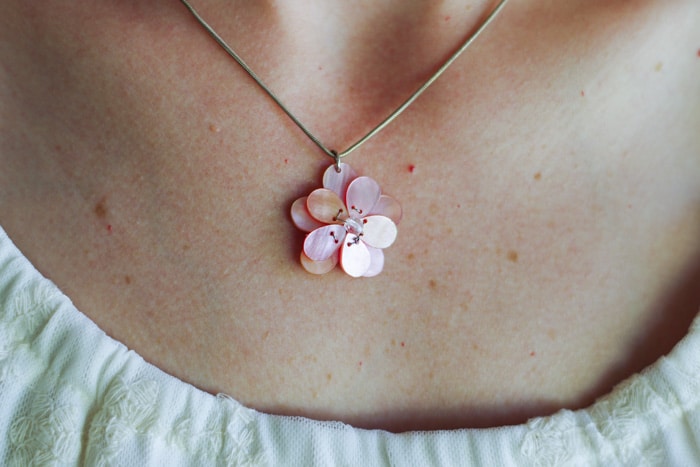
No one will ever know that this was once an earring and the cost was virtually free. Love it!
Materials:
One old earring – FREE
Jump ring if needed- FREE
Unused chain necklace – FREE
Elegant Crystal Necklace
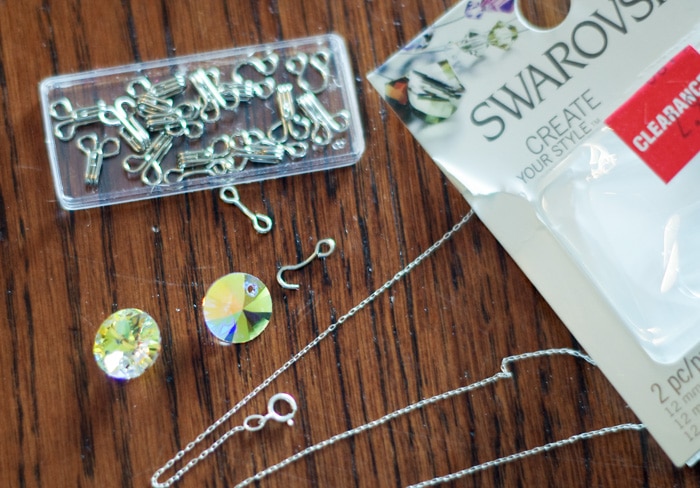
Don’t you just love simplicity and sparkle? I found a pair of 12 mm Swarosvki crystal pendants at Joann Fabrics for $2.97 clearance price. Score! I thought attaching one at the bottom of a delicate chain would look really elegant.
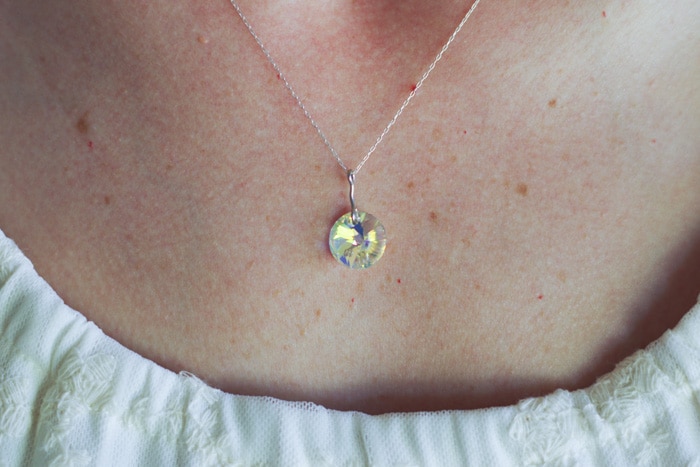
To make this necklace, you can use an eyelet from a hook and eye set to attach the crystal pendant to a chain necklace. I like using eyelets because they have a top and bottom loop that can be opened and closed with pliers. Feed the bottom of the eyelet into the hole at the top of the pendant and use the top of the eyelet to hold your chain necklace. If you ever get tired of your necklace, use the other pendant to turn them both into earrings some day!
Materials:
Eyelet from “hook and eye” set – FREE
12 mm Xilion Swarovski pendants ($2.97 clearance price)
Unused chain necklace – FREE
Sentimental Scrabble Necklace
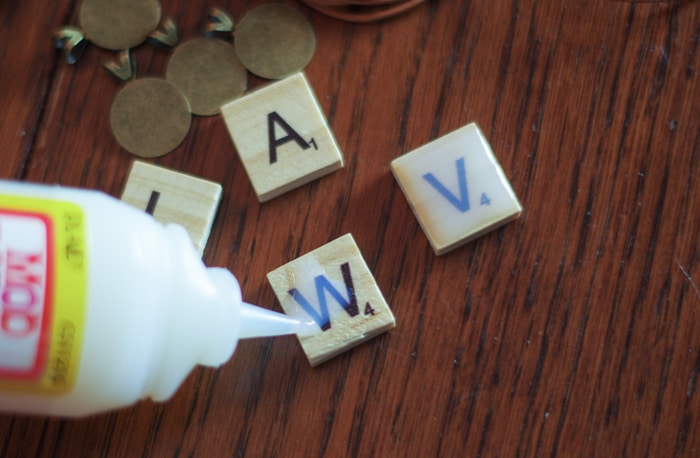
This one is one of my favorites. I gathered some extra scrabble tiles with letters that begin the first names of our four children. What fun to carry them around my day with me!
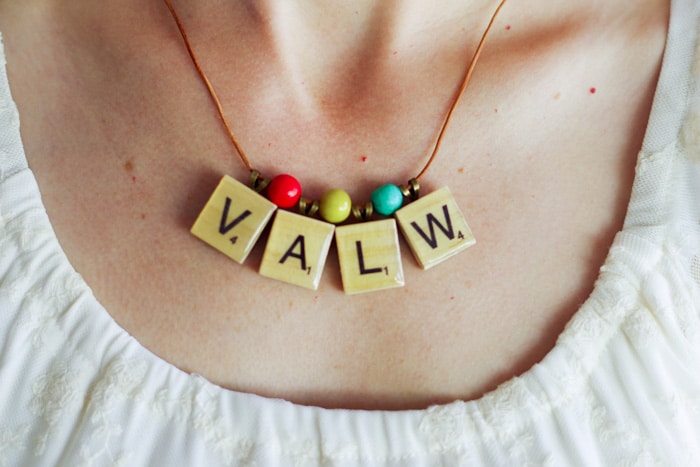
Aside from the tiles, you will need a way to display them. I chose a 1mm leather cord for the necklace and a package of flat closures. To make the tiles look more like jewelry, Mod Podge makes this amazing dimensional glue that you can squeeze onto each tile. It dries clear and forms a dome over the top, giving the illusion of glass. It’s quite magical, indeed! When the tiles are ready, glue a 16 mm bail mount onto the back of the tile and string onto your cord. To keep the tiles from bunching together when wearing them, I inserted three colorful balls in between each letter.
Materials:
Scrabble squares – FREE
Dimensional Magic made by Mod Podge ($3 with coupon)
16 mm Bail Mounts ($1.80 with coupon)
1 mm round leather cord ($1.75 with coupon)
Flat finding sets ($1.75 with sale)
Pretty Paper Pendant

After making our scrabble necklace, I moved on to a paper pendant. I have seen people use glass tiles over paper with Dimensional Magic and thought they were so creative. So why not use a tired, old pendant in place of the glass tile? I had a bright red circle pendant since high school that could really use a makeover. The end result was this pretty flower pendant with purples, greens and yes, red
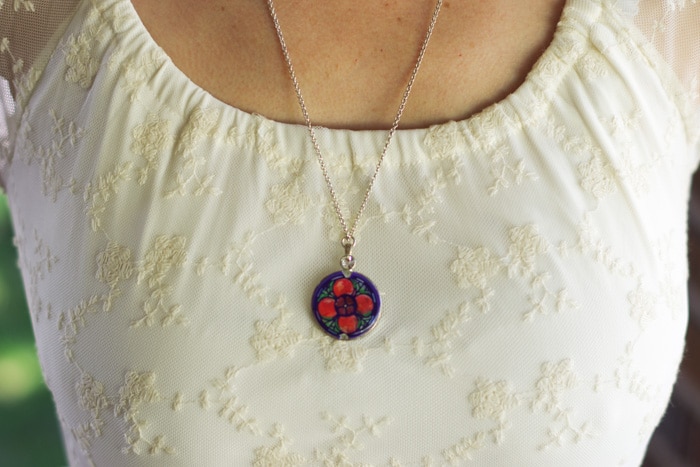
The process is simple. Cut pieces of old greeting cards to fit just inside of the pendant’s edge. Sometimes you have to cut out several designs to know what will look best in such a small space. When you choose your design, glue it on and then coat the paper with Dimensional Magic. The next day, it will be ready to hang and enjoy!
Materials:
Old flat pendant – FREE
Piece of greeting card – FREE
Dimensional Magic made by Mod Podge ($3 with coupon)
Unused chain necklace – FREE
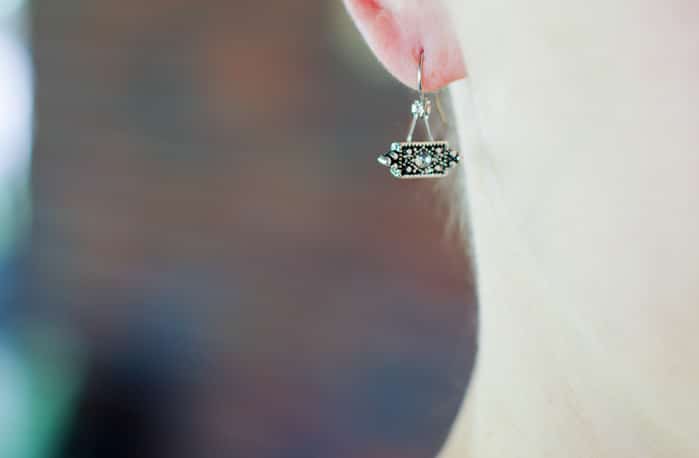
Unique Recycled Earrings
We’ve all had a favorite earring that lost its partner. I’ve lost earrings in dressing rooms, at the bottom of swimming pools and down registers. Sometimes I lose the pretty charm or pendant, but the actual part that goes into my ear is.. well, still in my ear!
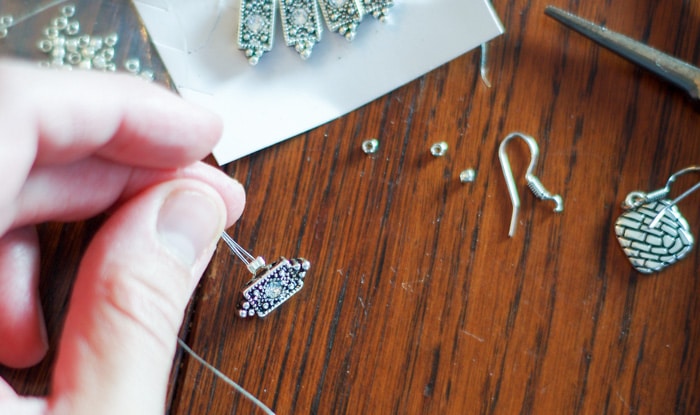
I stumbled upon these beautiful Swarovski Sliders at Joann’s for less than $3. There are 8 in a package! Sliders, beads and pendants typically have at least one hole in which to string some stretch cord. String the cord through the hole(s) and if needed, attach a crimp bead to hold them together. Pinch the crimp bead closed with pliers and you have a perfect place for the old kidney wire to pinch on to. This baby isn’t going to be lost anytime soon!
Materials:
Kidney wire earrings from previous pair – FREE
Swarovski Sliders ($2.97 clearance price)
32 ft of .5 mm stretch cord ($1.97 clearance price)
Crimp beads …FREE (still using my bag of crimp beads from 10 years ago!)
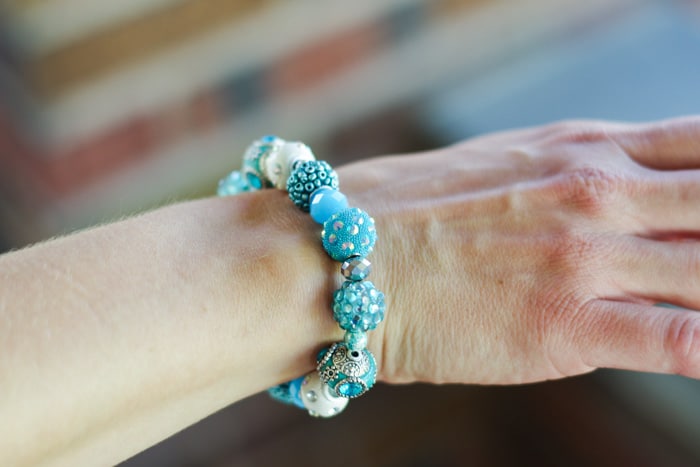
Simple Bead Bracelet
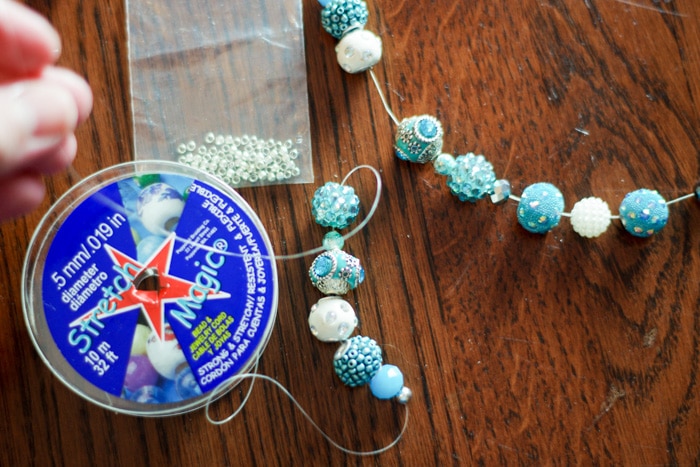
If any of the above DIY jewelry makeovers intimidate you, allow me to show you how to make this simple, yet stunning bead bracelet. You do not need any old jewelry or pliers for this one! And if you can find strands of beads on clearance, it’s a real value too.
After you choose a strand of beads at your local craft store, all you have to do is transfer the beads from the strand to a piece of stretch cord. String them on in a pattern that you like and then tie the ends off in a triple knot – just like you tie your shoe, but three times. Apply a touch of super glue or jewelry cement to the knot and away you go!
Materials:
Strand of beads ($3.97 clearance price)
.5 mm stretch cord ($1.97 clearance price)
Six inexpensive and simple ways to revitalize, recycle or make new. DIY jewelry can be so rewarding!


Leave A Reply!