

This graham cracker crust for a 9×13 pan is just what you need to make your favorite bars, pies, and desserts! It’s flaky, buttery, and thick, making it the perfect base for all your treats.

You can purchase a graham cracker crust in a pie pan size, but you can’t buy a 9×13 graham cracker crust. Having a recipe ready to make with your favorite toppings makes all the difference. With this homemade crust, you can enjoy the perfect ratio of crust to filling in every bite.
Want to use this recipe to make some delicious desserts? Then you’ll definitely want to try my magic cookie bar recipe. And if you’re a fan of pies, my Oreo pudding pie with a cookie crust is a must-try. And for a different twist, these chewy toffee cookie bars are a family favorite.
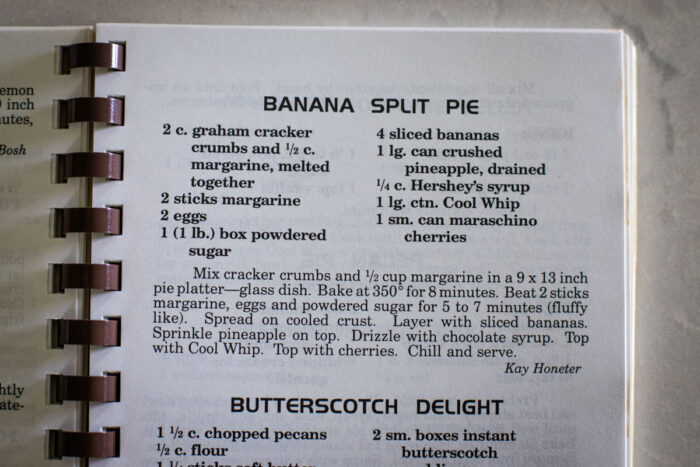
This recipe was part of a recipe for Banana Split Cake found in an old school cookbook. I wanted to highlight it here because of it’s great flavor and how easy it was to make!
Why I Love This Recipe
- Quick and Easy: This recipe is a time-saver. It takes just a few minutes to mix the ingredients, press the crust into the pan, and bake. That’s it!
- No-Fail: This recipe is virtually foolproof. As long as you follow the simple instructions, you’ll end up with a perfect graham cracker crust every time.
- Pan: The quantities in this recipe are just right for a 9×13 pan, so you don’t have to worry about any adjustments.
- Classic Flavor: The combination of graham crackers, butter, and sugar gives this crust a delicious, old-fashioned flavor that’s perfect for all your favorite dessert bars.
- Budget-Friendly: With just 3 simple ingredients, this recipe is easy on the wallet, making it perfect for any occasion, especially when you’re cooking or baking on a budget.
Key Ingredients
- Graham Cracker Crumbs: These will form the base of our crust, providing a sweet, buttery flavor and a crumbly texture.
- Butter: This ingredient will bind the graham cracker crumbs together, giving our crust its structure and a rich, buttery flavor.
- Sugar: It will add a touch of sweetness to the crust, complement the buttery flavor, and help to brown the crust as it bakes.
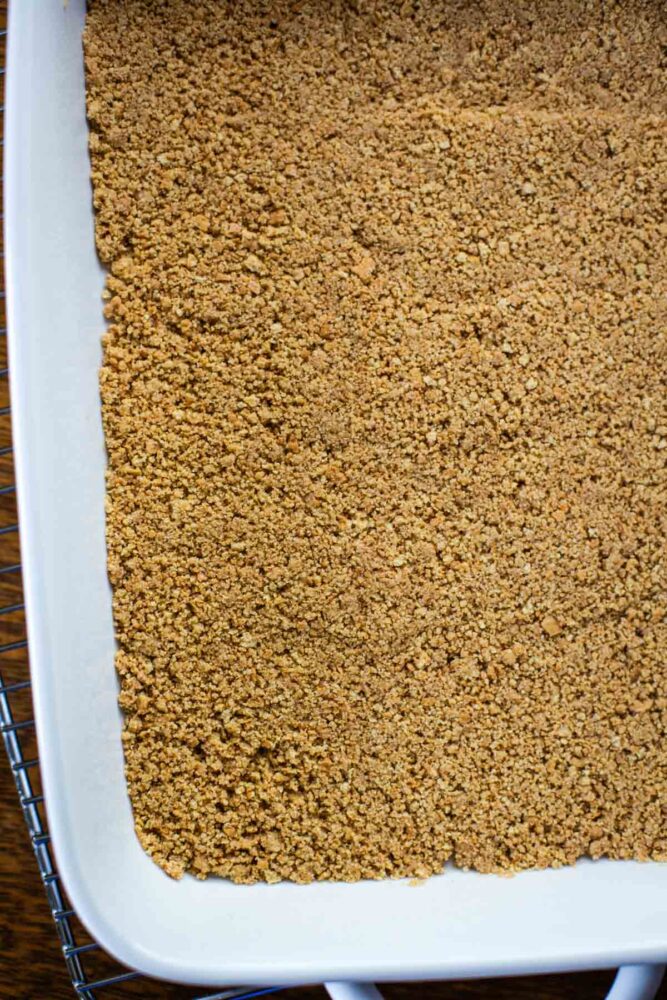
Equipment
- 9×13 Pan – This is the most crucial piece of equipment for this recipe. It’s where you’ll press the graham cracker mixture to form the crust and bake it.
- Large Bowl – You’ll need this to mix the graham cracker crumbs, sugar, and melted butter. This is where all the magic happens to form the crust.
- Food Processor or Ziploc Bag & Rolling Pin – You’ll need one of these to crush the graham crackers into fine crumbs.
How to Make Graham Cracker Crust For 9X13 Pan
Preparation
First, preheat your oven to 350˚ F and butter your 9×13 baking dish. This will make sure that your graham cracker crust doesn’t stick to the pan and bakes evenly.

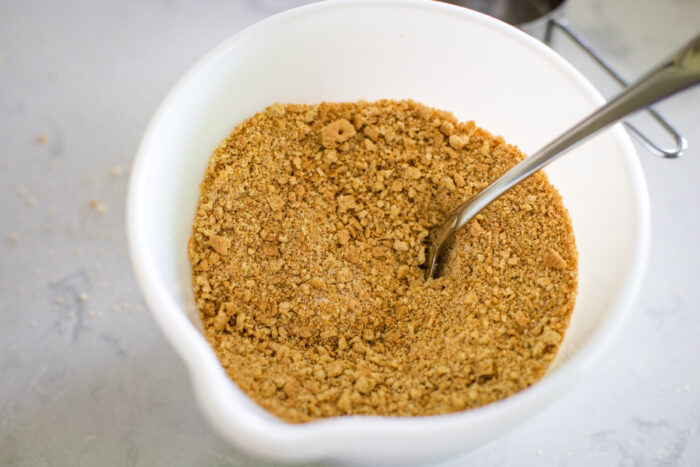
Step 1 – Crush and Mix
Next, crush your graham crackers into fine crumbs. Combine these crumbs with the granulated sugar, and then add the melted butter. Mix it all together until it’s crumbly.

Step 2 – Press and Bake
Now, press this graham cracker mixture into your 9×13 baking pan. Pop it in the preheated oven and bake for 8 minutes. This will help set the crust and give it a nice, toasty flavor.
Step 3 – Cool and Fill
After baking, let your graham cracker crust cool completely. Once it’s cooled, you can add your favorite dessert topping, like a creamy cheesecake filling or a lusciously fruity layer.

Expert Tip
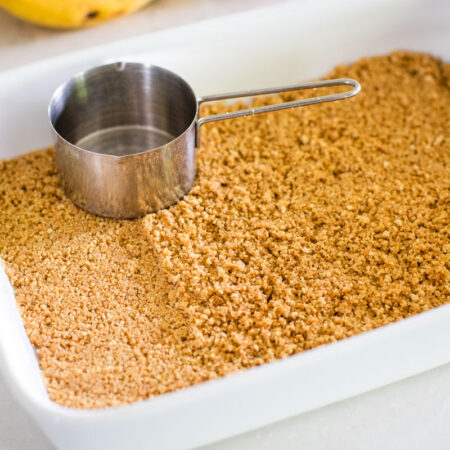
To ensure a perfectly even and firmly packed crust, use the bottom of a measuring cup to press the graham cracker crumbs into the baking pan. This simple step guarantees a professional-looking crust that holds together beautifully.
Recipe Variations
- No Sugar: If you prefer a less sweet crust, you can simply leave out the sugar. The graham crackers will still provide a delicious base for your dessert.
- Add Cocoa: Add a chocolatey twist to your crust by mixing in a couple of tablespoons of cocoa powder with the graham cracker crumbs. This is perfect for chocolate-based desserts.
- Spiced: For a warm, spiced flavor, add a teaspoon of cinnamon to the graham cracker crumbs before mixing in the melted butter. This is great for fall-themed desserts.

What to Serve With
- This Graham Cracker Crust is perfect for your favorite dessert bars. Once the crust has cooled, pour your favorite cheesecake or lemon bar filling over it, then bake according to the recipe instructions.
- You can also use this crust for a delicious icebox cake. Simply spread a layer of your favorite pudding over the cooled crust, then top with whipped cream. Repeat the layers and let it set in the fridge for a few hours before serving.
- If you’re a fan of fruity desserts, this crust is a great base for a fresh fruit tart. After the crust has cooled, fill it with a mixture of cream cheese and your favorite fruit, such as berries or sliced peaches.
Recipe FAQs
If you don’t have graham crackers on hand, you can substitute them with an equal amount of digestive biscuits. The crust will have a slightly different flavor and texture, but it will still work well.
The sugar is optional, but it does help to sweeten the crust a bit. If you prefer a less sweet crust, you can leave the sugar out or reduce the amount according to your preference.
While you can use margarine as a substitute for butter, the crust may not have the same rich flavor. Additionally, make sure the margarine is solid and not spread, as this can affect the texture of the crust.
The graham cracker crust has a high butter content, so it’s not necessary to grease the pan. However, greasing the pan can make it easier to remove the dessert bars after they’re done.
Storing and Reheating
- Storing: After enjoying your delicious dessert, you can store any leftovers in the fridge. Simply cover the 9×13 pan with plastic wrap or aluminum foil. It will keep well in the refrigerator for up to 3 days.
- Freezing: This graham cracker crust is not suitable for freezing due to the butter content. Freezing can cause the crust to become too hard and lose its desirable texture.
More Recipes Using Graham Crackers


Serving Size
- What to Expect: This graham cracker crust recipe yields enough for a 9×13 pan, with a deliciously thick crust that perfectly complements your dessert.
- How to Scale: The best part about this recipe is that it’s perfect for a 9×13 pan. You can also double it for a 13” x 18” half-sheet pan by doubling the ingredients and following the rest of the instructions as mentioned.
Want to save this recipe?
Enter your email & I’ll send it to your inbox. Plus, get great new recipes from me every week!
Graham Cracker Crust for 9×13 Pan
Ingredients
- 2 Cups graham cracker crumbs approx. 12 graham crackers
- ½ Cup butter melted
- 2 Tablespoons sugar
Instructions
- Preheat oven to 350˚ F. And butter a 9×13 baking dish.
- Crush graham crackers into crumbs. Mix the crumbs with the sugar and then the melted butter until crumbly.
- Press into 9×13 baking pan. Bake for 8 minutes. Let cool before adding your favorite dessert topping.








Thank you so much. Looking forward to receiving more od your recipes