Hummus with tahini. What was once a specialty to Middle Eastern and Arabic cultures has now become extremely popular on the American table. Shall we call it hummus hysteria? And why not get wild about it? Hummus has some great healthy qualities. There are two essential players in the makeup of hummus: chickpeas (aka: garbanzo beans) and tahini (pronounced tah-hee-knee). The little beans are loaded with immune boosting zinc and the ground sesame seeds that make up tahini are rich in protein, good fatty acids and lots of B vitamins. In a standard recipe, the remaining hummus ingredients also hold their own when it comes to health: extra virgin olive oil, garlic and real lemon.
Aside from being good for us, hummus is extremely simple to make. Just to prove it to you, I have a busy friend with 7 young home schooled children. Nearly every morning, she whips up a batch of fresh hummus in just minutes and stores it in the fridge until lunch break. Her kids devour the stuff with cut veggies, pita bread and sometimes just a spoon. I too often make it for my toddler and she loves to dip tortilla chips in it. It’s the perfect marriage between Mediterranean and Mexican. Why not?
Though we can find many things to love about our hummus, the price tag attached to a container of it at the grocery story is not so lovely. The better the hummus, the higher the price. However, I have found that I can make one batch of delicious homemade hummus (2 cups) for about $2.50. One batch is all you will need for a meal for 4, especially if you serve it with hearty pita and veggie toppings. Take a look…
15 oz. can of organic chickpeas/garbanzo beans = $1.00
3 heaping T. tahini = $0.90
2 T. extra virgin olive oil = $0.25
Half lemon = $0.25
1 clove garlic = $0.10
1/8 tsp. cumin = $0.5
½ tsp. salt = pennies?
You may be thinking that $2.50 is still quite a lot for 2 cups of hummus. Keep in mind that overall cost will go down if you make your own tahini and/or use dried chickpeas instead of canned. We can all agree, however, that homemade is the way to go. I invite you into my kitchen to see how easy it is to make delicious, healthy hummus on a budget!
Come on in!

Here are the key ingredients, though like many of the recipes I post on here, there is room for variation! Hummus can include other goodies like roasted red peppers, jalapeno, artichoke…and the list goes on. You will also need a food processor or blender to make hummus.
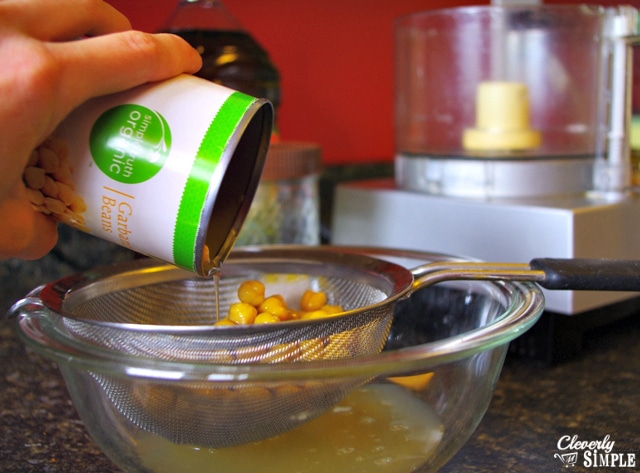
If you are using canned beans like me, start out by draining them from their liquid. You will notice that I like to use organic beans in my hummus. The reason is simple. Organic beans typically only have three ingredients: beans, water and sea salt. Since I don’t rinse my beans before using them and I use a portion of the bean liquid in the actual recipe, I like that there are no added chemicals or preservatives. Plus, they are not much more expensive than non-organic. Kroger often has Simple Truth organic garbanzo beans on sale 10 for $10.
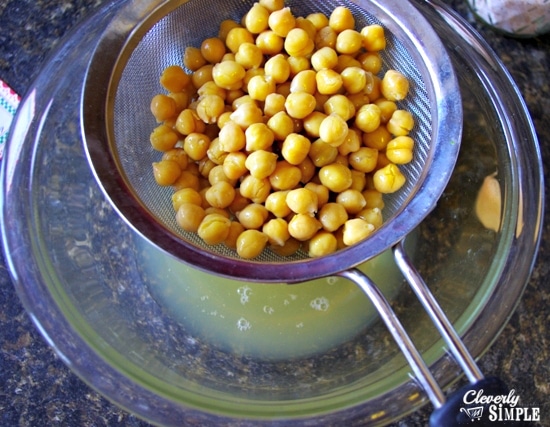
Here is a look at one can of drained beans. You will add them to your food processor or blender, but remember to preserve that liquid. We’ll use it later!

Juice half a large lemon (about 2 T) and add it to your food processor as well.
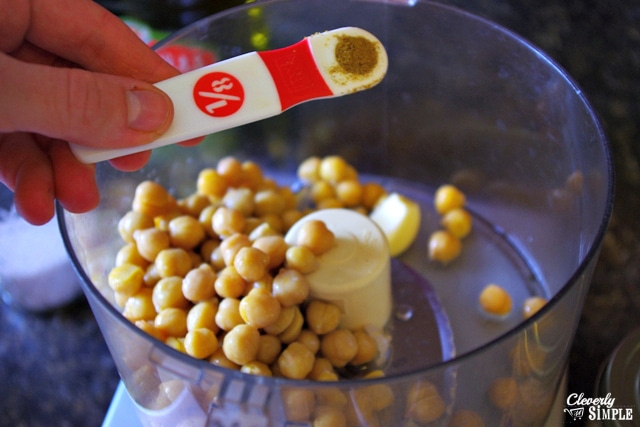
Add 1/8 tsp. of cumin. Cumin goes really well in hummus because it too has Mediterranean roots. Of course, if you don’t care for the taste of cumin, leave it out and your hummus will still be delicious.

Add ½ tsp. of sea salt. Even though my canned beans were stored in salt water, hummus needs a good amount of salt to help bring out the flavors. If you are going to serve your hummus with only unsalted goodies like veggies or pita bread, you may want to add a bit more salt here.

Get out your olive oil…yet another Mediterranean element that most of us have on hand. I recommend a good quality extra virgin olive oil since hummus is not cooked and you will be able to taste a rich oil from a cheap one. Pour in 2 Tablespoons.
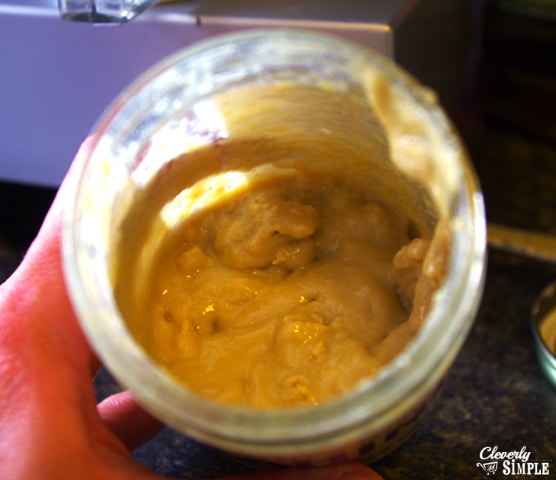
Now comes the tahini! Can you make hummus without it? No. I had a friend tell me that she made homemade hummus, but it didn’t taste right. I asked her if she used tahini and she said “No, I didn’t have any” Well, there you have it my friends. Hummus without tahini is like spaghetti sauce without tomatoes. If you leave it out, you will notice. Of course, there are those who like to substitute it with peanut butter to save money, but I’m sorry, that is not real hummus 🙂
Add 3 heaping T. of tahini to your food processor… we are almost done!
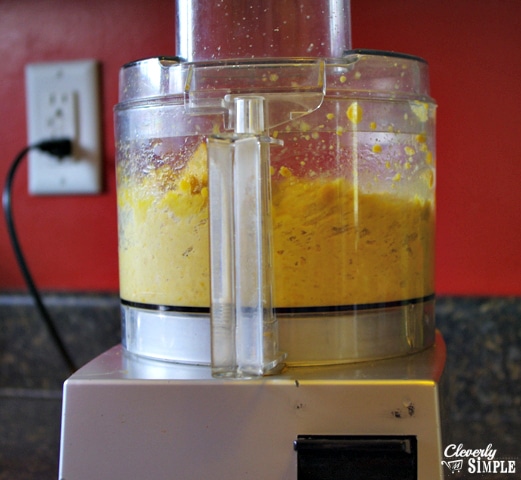
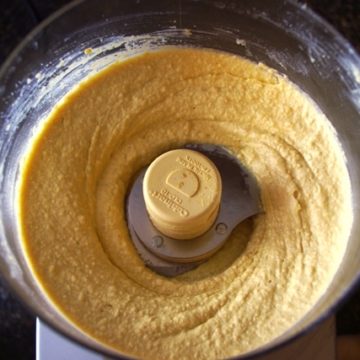
Turn on your food processor and watch the ingredients turn into a thick puree. Whirl, baby whirl!
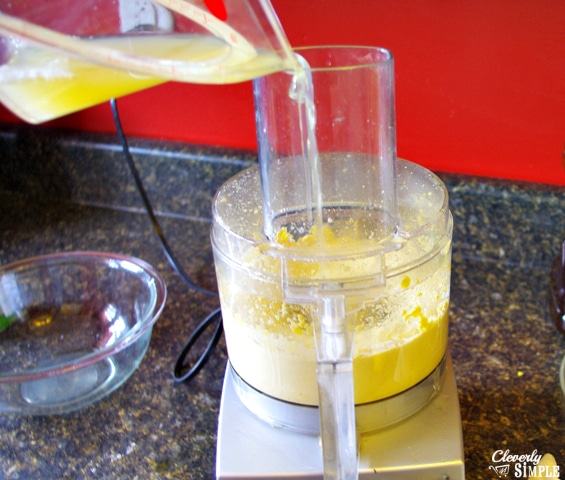
After about 20 seconds on continuous whirling, slowly add ¼ cup of the bean liquid back into the mixture. One can of beans has about ¾ cup of liquid, but you don’t want to add all of it back in. If after ¼ cup, you would like the hummus to be thinner, feel free to add a bit more until you get the right consistency. I usually add somewhere between ¼ – ½ cup of liquid.
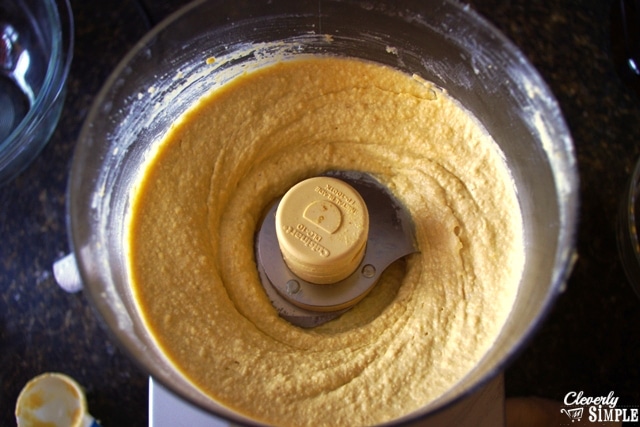
Wha-la! Hummus in less than 60 seconds in your food processor. Now, dip a carrot or cracker into it to make sure you like it. Need more lemon? Want more garlic bite? You get the idea.

This is how my little girl likes to eat her hummus…
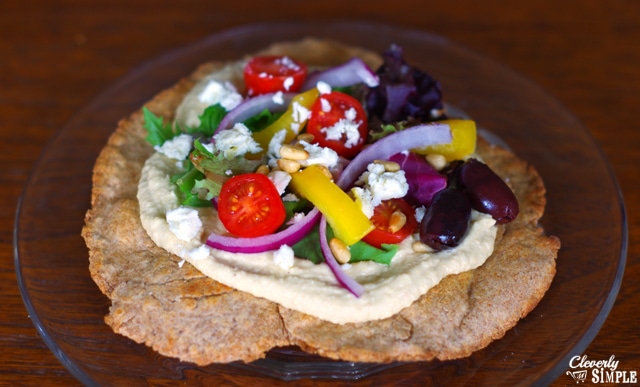
And THIS is how I like to eat mine. Smeared over a whole wheat pita and topped with fresh veggies, toasted pine nuts, feta cheese and a couple kalamata olives. Amazing…and filling too!
Hummus hysteria is a great thing.
Enjoy 🙂
Homemade Hummus
Ingredients
- 15 oz chickpeas/garbanzo beans
- 3 Tablespoon tahini
- 2 Tablespoon extra virgin olive oil
- 1 clove garlic
- 1/2 teaspoon sea salt
- 1/8 teaspoon cumin
Instructions
- Drain the can of beans from their liquid and put in a food processor. Set the liquid aside.
- Juice half a large lemon (about 2 T) and add it to your food processor. Add 3 heaping T. of tahini, 2 T. olive oil, 1 garlic clove, 1/2 tsp. salt and 1/8 tsp. cumin to the food processor as well. Turn on your food processor and puree the mixture (will be thick).
- After about 20 seconds and while the machine is running, slowly pour 1/4 cup reserved bean liquid into the processor to thin it out. If needed, add more liquid, lemon, garlic, salt...all to preference & taste!
- Serve with chips, veggies and/or pita bread.
Nutrition
Meredith is a pastor’s wife and stay-at-home mom living in NW Ohio. She loves to adapt recipes to her family’s eclectic tastes and is learning to provide nourishment for any bellies who walk through the door at a moment’s notice. If not in the kitchen, you’ll find Meredith in front of her sewing machine or spending quality time with her home and church families. Life goes by so fast!


Comments & Reviews
Chickpeas are aka garbanzo beans, not gorgonzola 😉 but I knew what you meant. I thought you may want to correct that to not confuse readers.
Oh my gosh! Ha! I’m just making sure you’re paying attention. Yes, they are garbanzo beans. I updated the post. Thanks!