
I love to garage sale. I’m not out there every single Saturday, but when I do venture out, I’m always on the hunt for unique pieces for our home. This past June, I found just that. Not only did I find something unique. I found something that needed a bit of a clean up that included spray paint. And boy, did I learn a lot. Sure, I’ve spray painted picture frames and other small decorative items, but it’s a whole different story when you attempt to spray paint a large furniture piece. Let’s just say, I messed up. But then I fixed it. Win.
Let me share the back story of this piece. Every year there is one community garage sale that we mark on our calendar in red. I’ve never been to this community garage sale and not found amazing things. My theory is that the town is filled with retired folks who took great care of their home and their property. They also sell for a low price. Into our van was packed myself, my mom, my 1 year old niece and my sister in law. We set out around 8:30am as the garage sale started at 9am.
Our first stop lent itself to lots of Antiques which I loved but were not what we were looking for. Our second stop almost didn’t happen. We pulled around and looked and didn’t see anything we were interested in. We started to leave without getting out of the van. However, at the last minute my sister-in-law spotted a VCR/DVD player which we were in the hunt for. So, out of the car we went. And I’m so glad we did!
After purchasing the DVD player (for $3, I might add) I wandered over to the open garage and discovered an old library card organizer. It was in pretty good shape and I instantly fell in love. I asked the home owner how much he was asking for it, and …. he said he wanted $10! I honestly would have paid $40 because I loved it so much and it was so unique, but $10 was even better. I didn’t haggle. He was really excited to see that someone bought it.
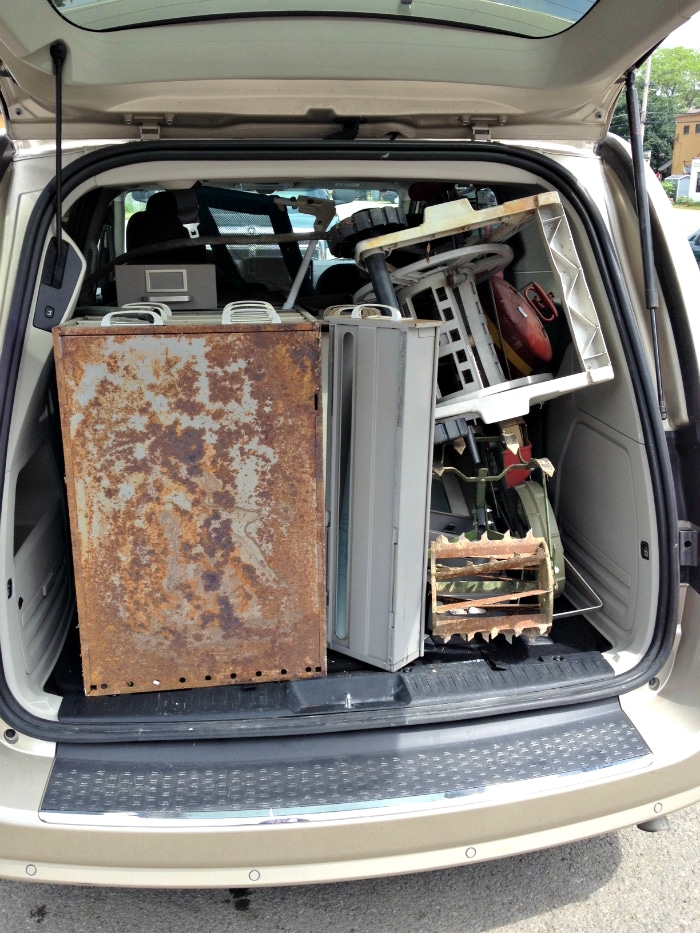
As you can see our van was packed to the max within the first 20 minutes of the garage sale. I guess that’s a great way to stay within budget! You know you’re done when there’s no more room!:)
One more important part to this story is that on our way out of town we stopped at their little IGA for something to drink and a gentleman walked up to me, seeing the massive amount of items in the back of my van, and asked me how much I had paid for the library organizer. I told him $10. He said he had offered more than that to scrap it for the gentleman earlier that day and was happy someone had bought. I’m so glad I rescued it! This library card holder is HEAVY and is built amazingly. It would be a shame to see it destroyed.
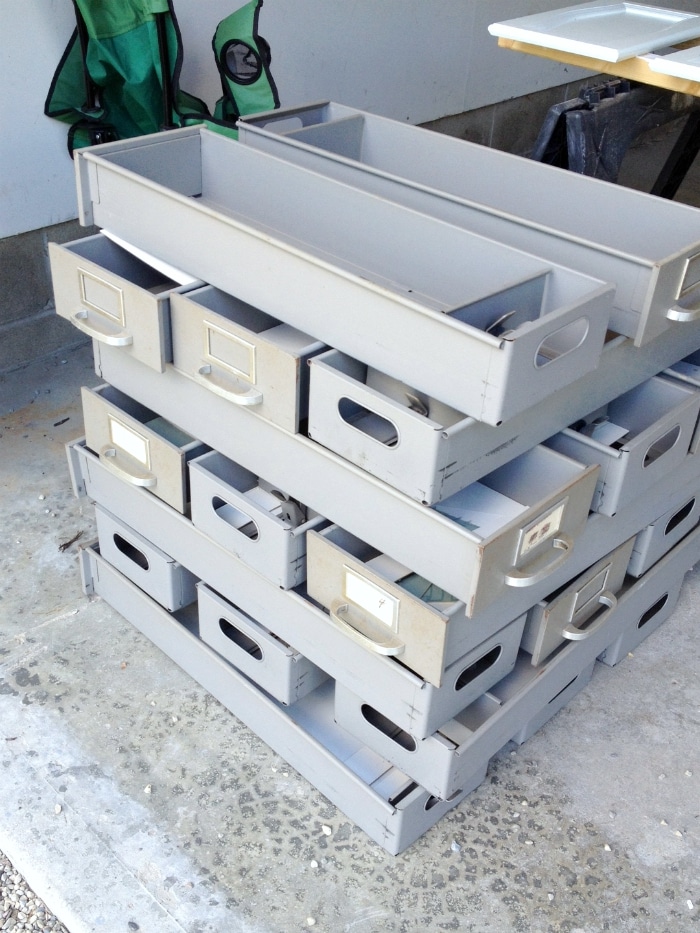
This picture gives you a taste of what it looks like. There were some rust spots, especially on the bottom. Overall though, I thought it was in pretty good shape.
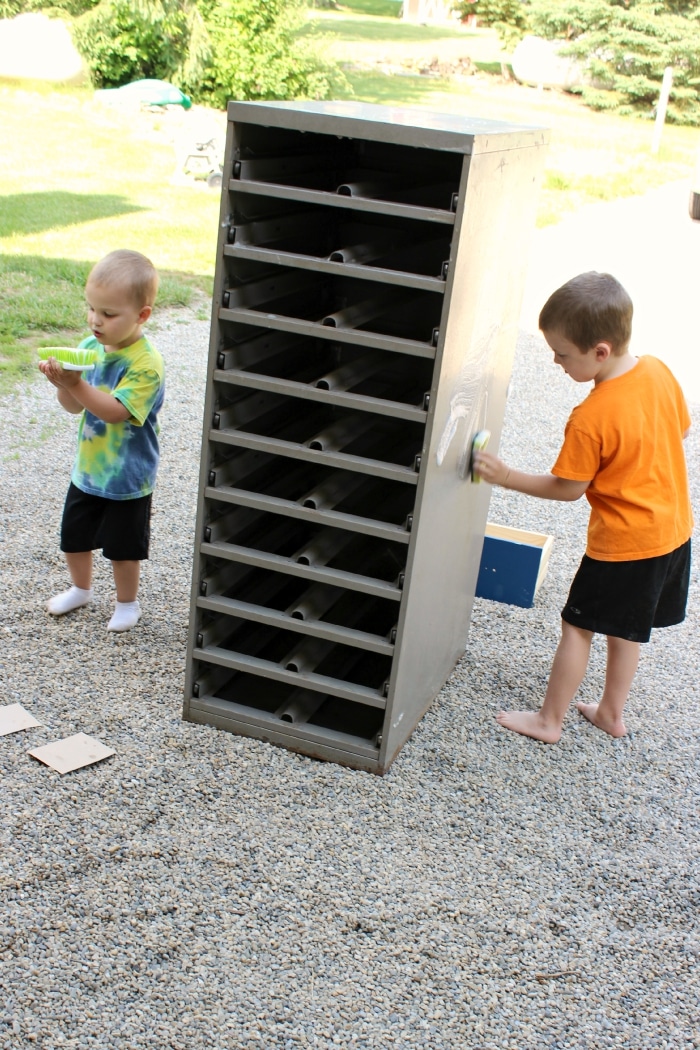
I put the boys to work scrubbing the library card cabinet. At first I thought I could just scrub the cabinet . But after careful examination, I ended up taking the hose to it. It worked much faster. But the boys had fun with the scrubbing while it lasted.
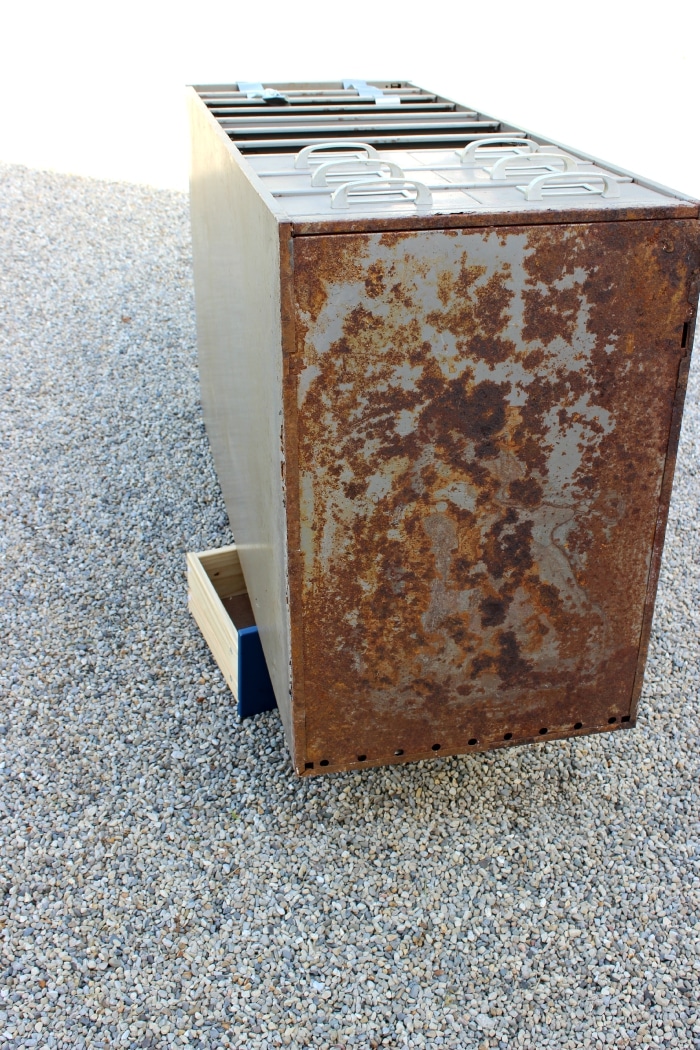
Once I let it dry over night, I tackled the problem area. The bottom of the library card cabinet was very rusted. However, it had not rusted through. I knew it wasn’t a deal breaker when I bought the cabinet and since it was on the bottom, who cares? Right?

I bought a can of Rustoleum Rust Reformer. It’s black which made me a little nervous since I knew that I would be spraying painting it white. However, in the end it didn’t matter. I’m not sure what the rust reformer really does but it seemed to keep the rust from breaking off. I, of course, followed the directions carefully on the packaging and sanded and scrapped the rust before application.
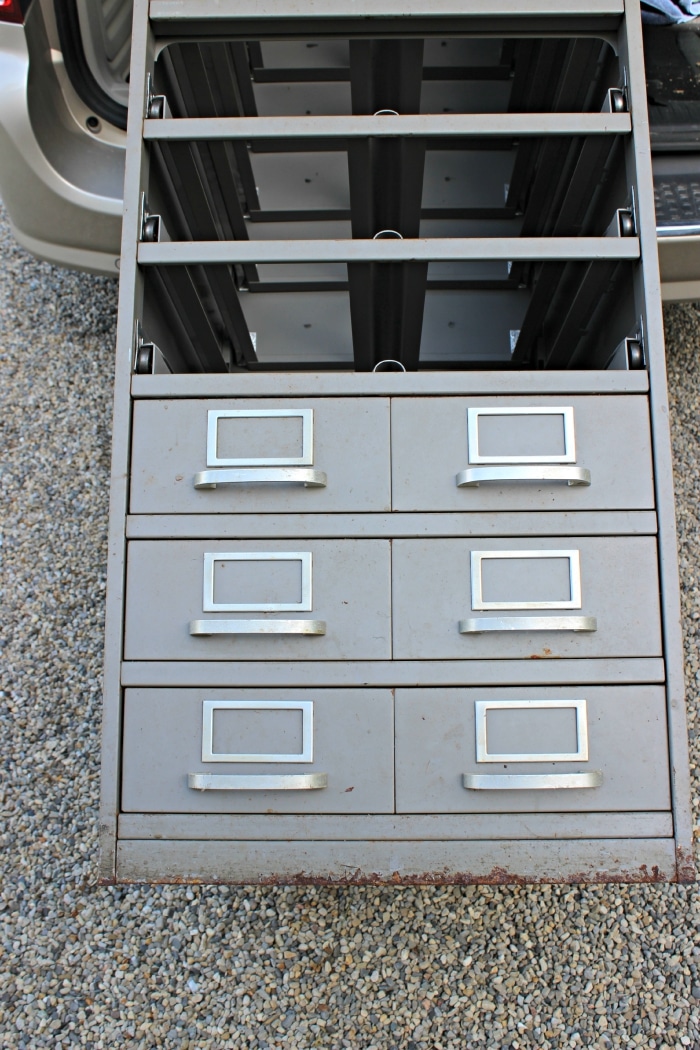
Look at all those drawers! It really is amazing how much storage there is!
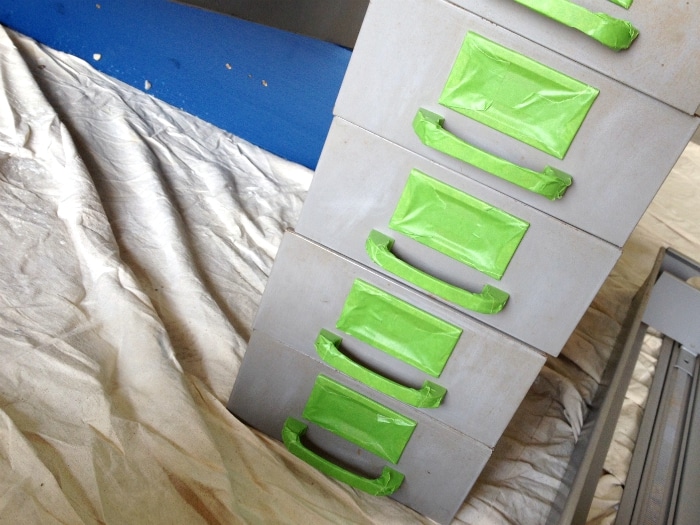
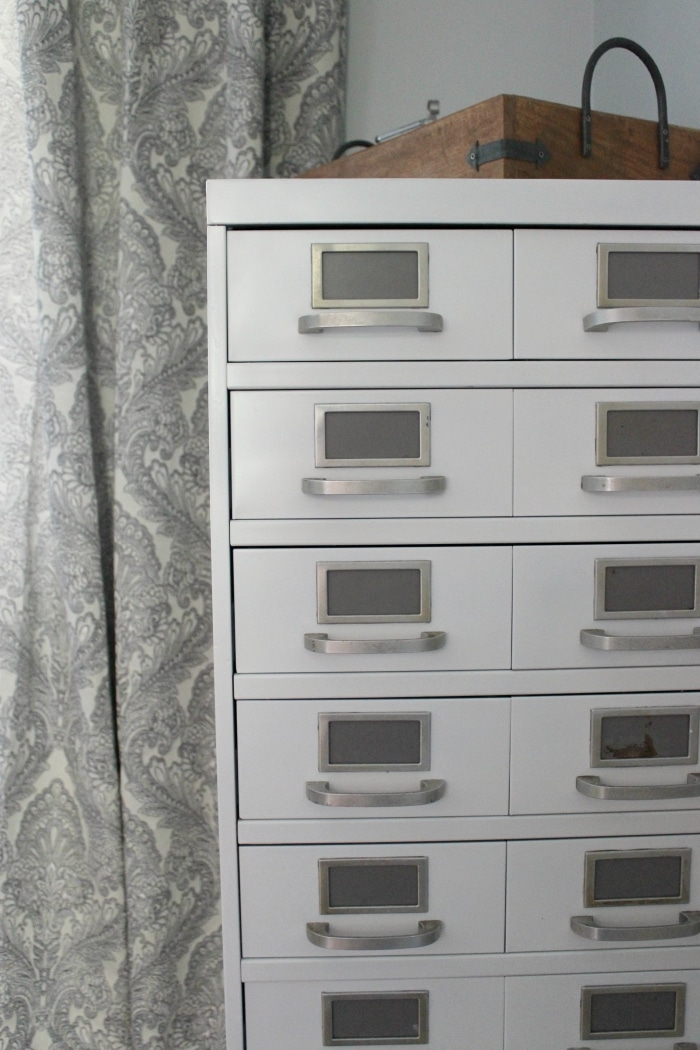
I wanted to keep the same hardware. And to be honest, I didn’t have a choice. There was no way to remove them. I took some Frog Tape and carefully taped around all the hardware and the little frame that holds the label. I highly recommend using Frog Tape over anything else. It doesn’t bleed.
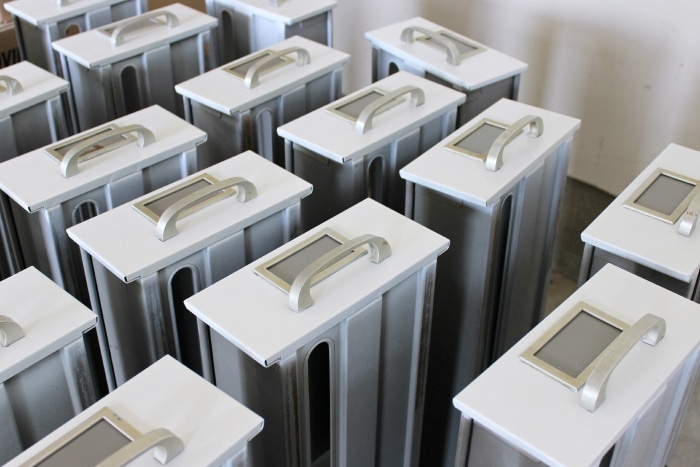
The drawers received a couple of coats of spray paint primer made for metal and then I used Rustoleum Blossom White spray paint. I let them dry for a few days and then pealed off the painters tape. If you want to make things easy for yourself, as I did when doing a big project like this, use a piece of cardboard from a box to block the spray paint on the sides.
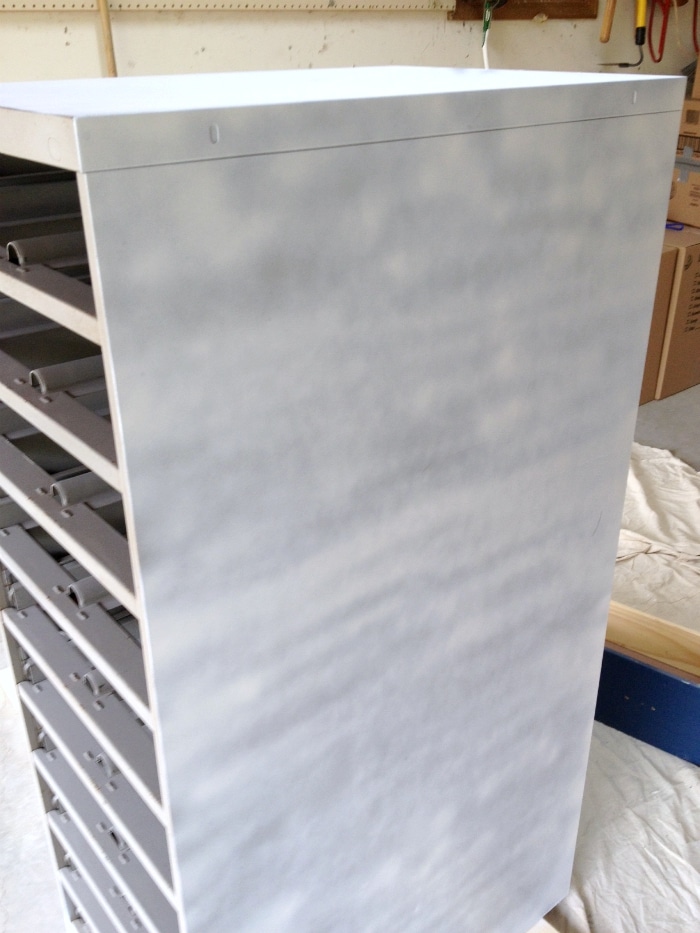
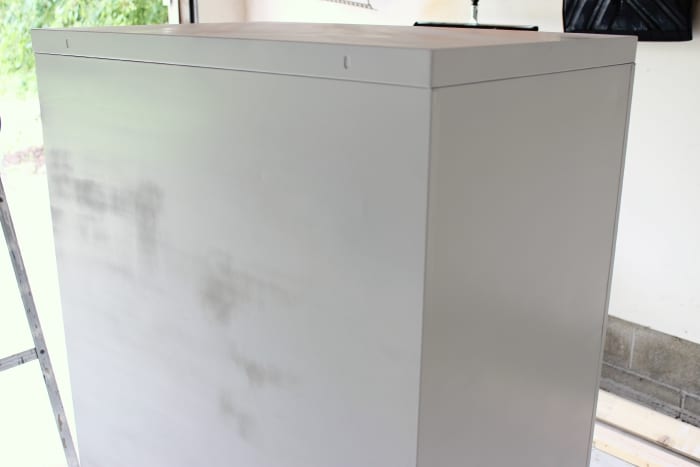
And then there was this. The large surface of the sides were a much different experience than the drawers. The length was 27 inches and it was not easy to spray paint it. I watched YouTube videos and no matter how slow and intentional I went, it looked like this. Layer after layer.
Here’s another picture after a few coats of spray painting. UGH!
So, I decided to not spray paint the sides any longer. It looked AWFUL. Instead, I spray painted a piece of cardboard with my Rustoleum Blossom White and took it into the hardware store and got a color match. I purchased a can of outdoor paint that worked well on a metal surface and rolled on the rest of the cabinet.
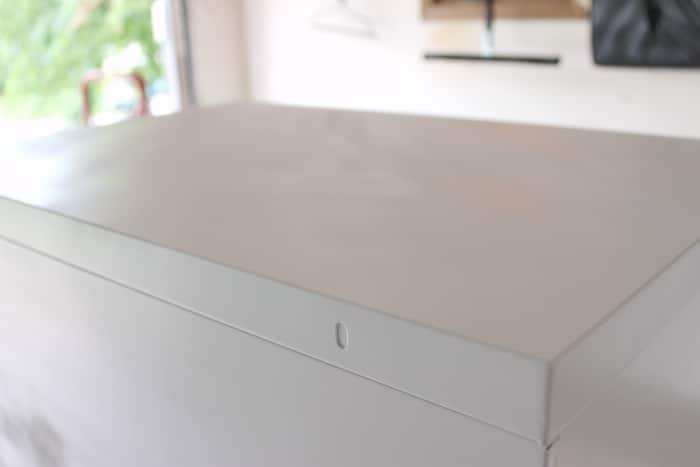
Here’s a great picture to illustrate why spray paint should be used on smaller surfaces. While the rest of the side looked terrible, this top area looked great. I could control it more and the spray paint made a nice, smooth finish. The big sides? Not so much.
In the end, I invested about $40 into the entire piece including the original $10 price. Pretty great, eh? I learned quite a bit about spray paint as well. I would have saved more if I had not attempted to spray paint the very large sides as many times as I did.
So the moral of the story is, don’t spray paint very large areas. Color match the spray paint to roll it on. You can then use the spray paint to get into all the nooks and crannies of the small spaces.
Looking for another fun project? Check out this hack using Ikea Dressers or learn How to Paint Cabinets.
What do you think? Have you attempted a spray paint project this large before?


Comments & Reviews
Luckily I read your article JUST in the nick of time because I had planned to spray paint my super ugly ugly tub and surround. We can’t afford to replace it at this time, so I thought one of the sprays for renewing outdoor plastic furniture might do it, but after reading about your troubles, I’m afraid spraying an even larger area than your beautiful cabinet.
Can you or anyone suggest a fix for this sad bath? It’s not ceramic, it’s sort a plastic (or vinyl?)
25yr. old version that needs to last another 2-3 yrs. ANY help/suggestions/warning is welcomed-thank you!!
Oh, yes. A tub would be quite hard to get even. I’m sure the pros can do it well, but if you’re like me it was so hard to get a large surface even with spray paint. I’m not sure I would use paint that’s for outdoor furniture since a bath would get much more wear and water. However, I did google and find that there are bath refinishing kits. That might be worth a try.
This is great! I bought something similar, with less rust but painted brown. All brown, even the hardware!Tell if you think this would work: strip the paint. Spray paint the hardware, tape it off with frogtape like you did and then spray paint the drawers and roll the sides, like you did. Thoughts? It’s a big beautiful beast but it is BROWN.
HI Lauren, I’m not sure you have to strip the paint. I didn’t with mine. I would definitely sand it well, but I haven’t had any trouble with the paint I put on since it’s made for metal surfaces. If you spray paint the hardware first, make sure to use a the frog tape that is sensitive or less sticky. Since you will have just painted it, it may not have fully cured.