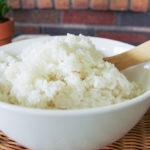
Cooking rice in the instant pot is so easy! This instant pot rice recipe makes the perfect sticky white rice for California rolls or your favorite Chinese dinner. If you prefer your rice for casseroles or curries, simply decrease the liquid.
Rice is king. Did you know it is the most widely consumed food in all the world? Both industrialized and third world countries prioritize rice into their diets. You can also find it in nearly every culture…Mexican, Indian, Asian and so on. In America, we have thrown it at newly married couples, introduced it to our babies as a first food and saturated the gluten and allergy free markets with rice as the main ingredient. Our family loves rice in a number of meals like simple chicken and rice or my hubby’s favorite – California rolls. In the past, when I needed cooked rice for a recipe, I used a big stockpot on the stove and did lots of hovering. I had to maintain the heat and timing just right for a perfect texture. Most of the time, it went OK…but there were those dinners where my kids found me frantically scraping off hard, stuck rice from the bottom of the pot. I needed every bit of that rice!
With the invention of the Instant Pot, I no longer find myself hoping that the rice will turn out. In fact, making rice with the pressure cooker is as easy as throwing a load of laundry into the washer and doing something else productive while you wait. Let the cooker have the pressure, so they say 😉 The recipe I’m going to share with you today makes perfect sticky white rice for California rolls or your favorite Chinese dinner. It is also adjustable to your liking. If you prefer your rice for casseroles or curries, we’ll simply decrease the liquid.
How to Cook Rice In The Pressure Cooker
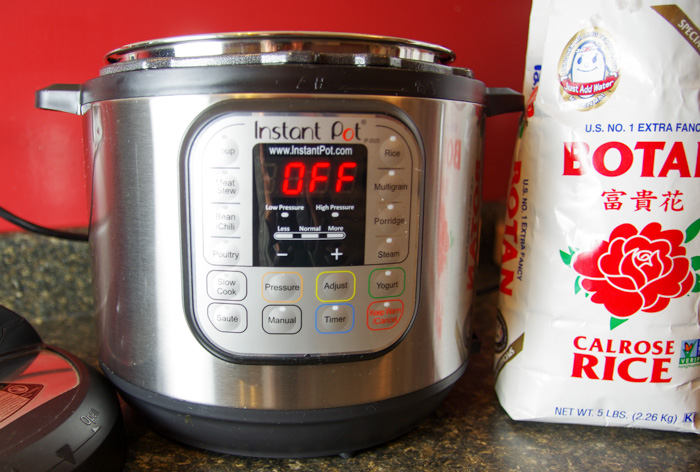
Here we go! All you need is your Instant Pot, water and your favorite type of rice. For California rolls, I am using calrose rice.
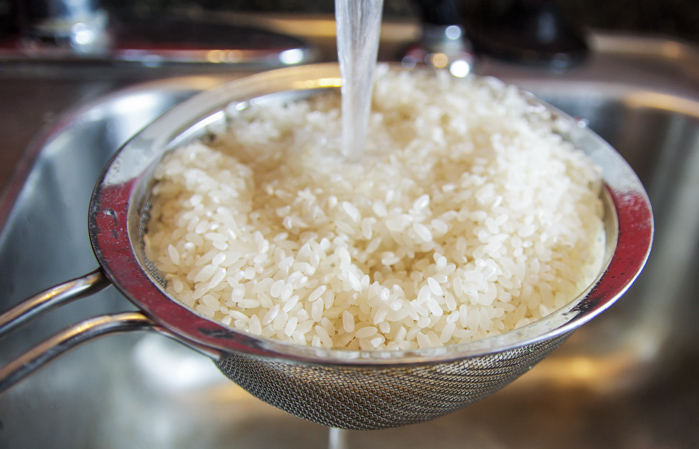
For a medium bowl of cooked rice to serve 3-4 people or for enough rice to fill 5 California rolls, you will need two cups of uncooked white rice. Always rinse your rice before cooking it to remove the starch. Here I am rinsing it with water for a few minutes until the water is no longer milky, but clear.
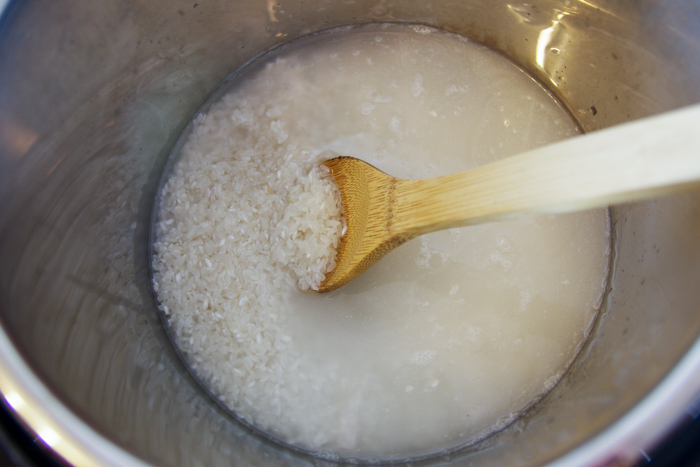
To your Instant Pot, add your two cups of rinsed, uncooked rice and 2 ½ cups of water. If you plan to use your rice for casseroles or curries, use only 2 ¼ cups water.
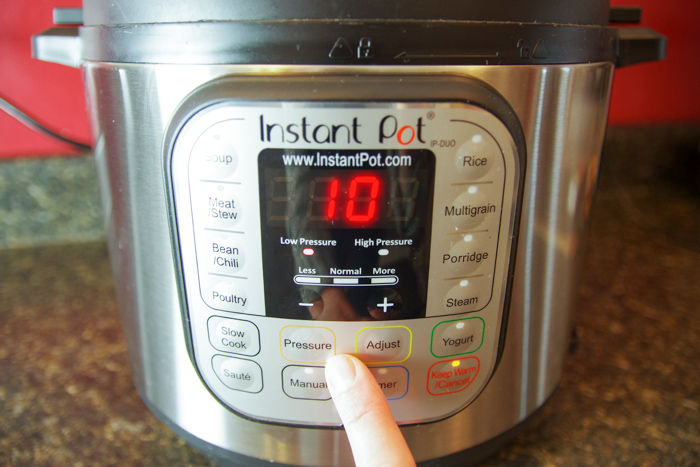
Secure the lid and select the manual button to choose 10 minutes. Then select the pressure button to change to low pressure. Now, let the cooker do its job and enjoy the ability to walk away. I love you Instant Pot rice!
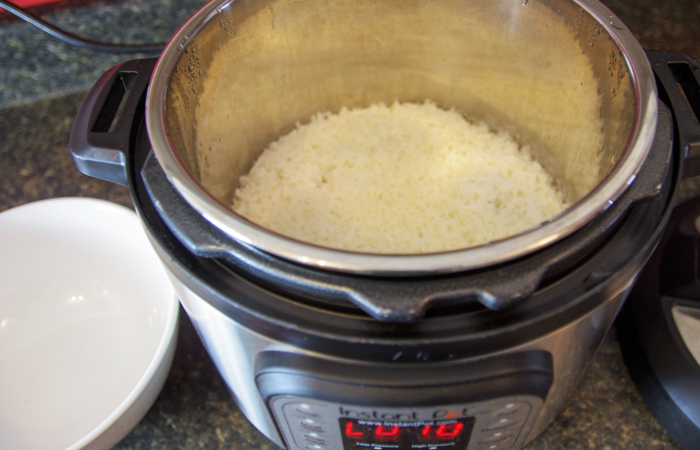
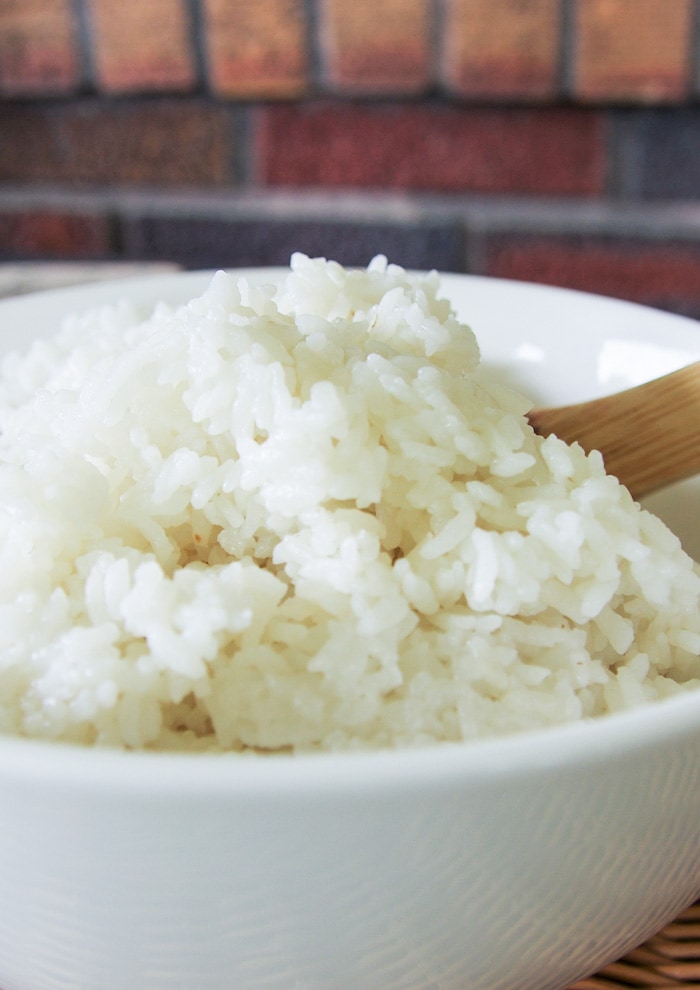
After the 10 minutes, allow the pressure to naturally release for another 10 minutes. Then open the lid and you will have a nice texture of rice that easily sticks together.
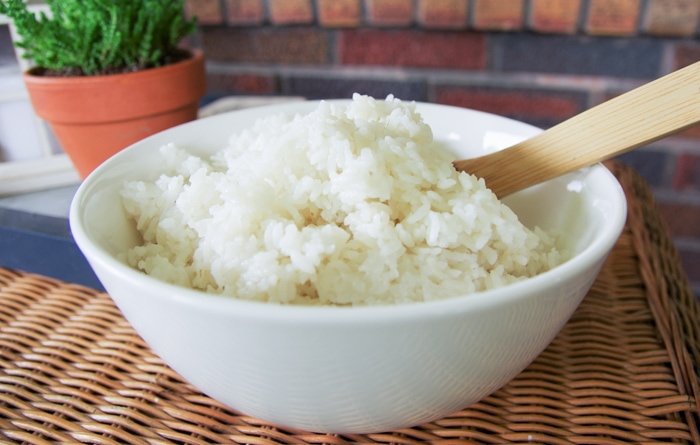
Scoop it out into a bowl and either set it out with your dinner to be enjoyed…
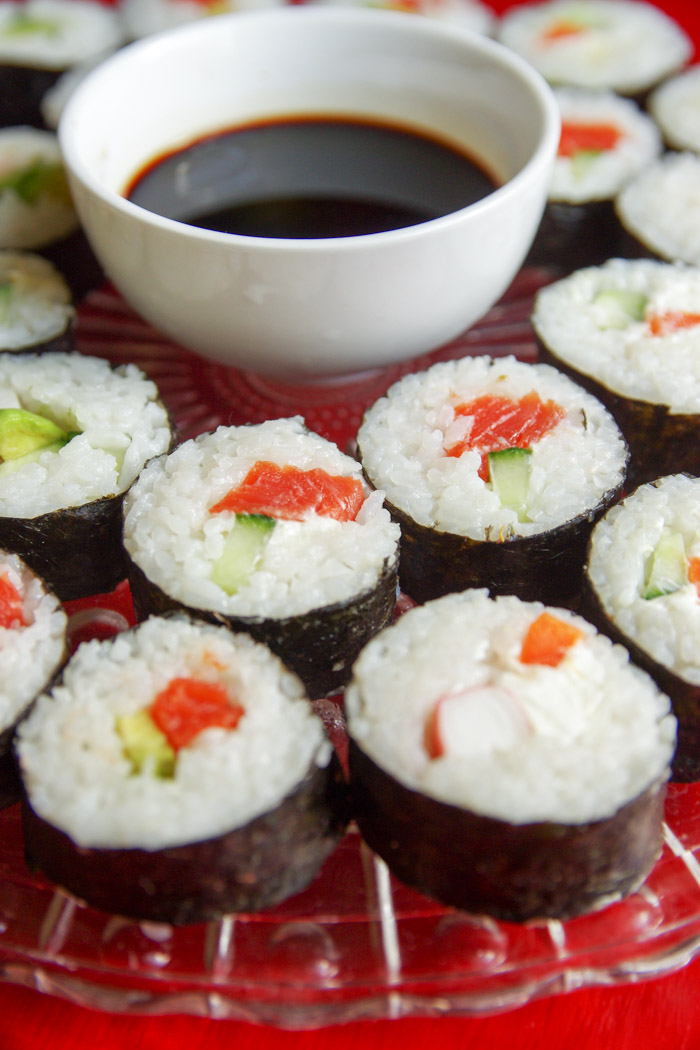
… or use it to make some yummy California rolls for your hubby! By the way, does anybody know why they are called California rolls??
Ah well, I guess it doesn’t matter when instant pot rice is king!
Enjoy 😉
More Instant Pot Recipes

Want to save this recipe?
Enter your email & I'll send it to your inbox. Plus, get great new recipes from me every week!
Instant Pot Rice
Ingredients
- 2 cups uncooked white rice
- 2 1/2 cups water
Instructions
- Rinse your uncooked rice with water for a couple of minutes to remove the starch.
- To your Instant Pot, add your two cups of rinsed, uncooked rice and 2 ½ cups of water.
- Secure the lid and select the manual button to choose 10 minutes. Then select the pressure button to change to low pressure.
- After the 10 minutes, allow the pressure to naturally release for another 10 minutes. Then open the lid and serve or use in a recipe such as California rolls.







Comments & Reviews
Can this be doubled for big families?
Yes! As long as it fits into your size Instant Pot 🙂