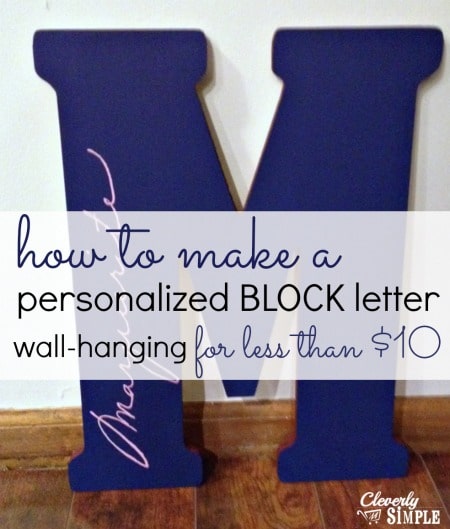
I am so excited to share with you my latest DIY project that happens to be a letter craft. I created this wooden letter before Christmas, but had to wait to share it until I gave it away. Not only is this a frugal craft, but it’s easy to do and completely customizable. It’s a simple craft to make and I bought all of what I needed at the Hobby Lobby Craft Store.
What makes this wooden letter so unique is that the name on it is my grandmother’s signature. We lost my grandmother, Marguerite, at the amazing age of 96 this past fall. What is so special, is that my newest baby girl niece that was born in late December was named after her. Long before she was born, I had thought of using my grandmother’s beautiful signature as something special to place in the baby’s nursery. The only delay was that we didn’t know if she … would be a she. My brother and his wife decided not to find out and since the baby was born only a few short days before Christmas, this was also a very fast project!
Even if you don’t have a kid that’s named after someone in your family with a beautiful signature, you can create this using a famous person’s signature. How about Andrew Jackson? Or George Washington? Miley? Maybe not. Either way, a simple google search and you’ll find a unique addition to your wooden letter to hang on the wall.
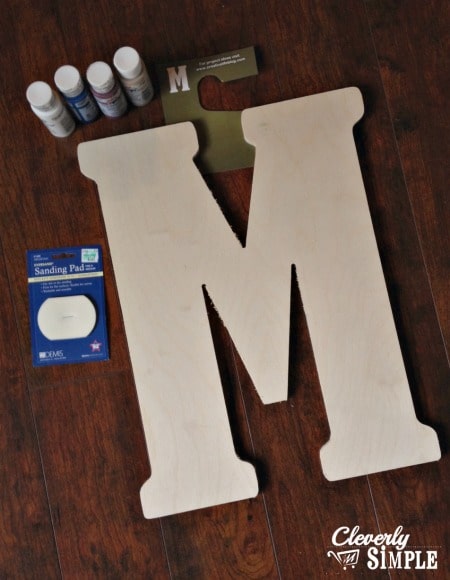
Here’s the supplies you’ll need:
Wooden Block Letter of your Choice – $7.80 ( I found mine at Hobby Lobby. I used a 40% OFF coupon.)
Acrylic Paints – $0.67 each (On sale at Hobby Lobby and I bought 3.)
Foam Paint Brushes – Free (I already had some on hand.)
Small brush for signature – Free (I already had one on hand.)
Total Cost: $9.81
Optional: Sandpaper
The first thing you’ll want to do is sand down any rough edges. I found that the little edges on my “M” were really rough. A little bit of sandpaper fixed that right up.
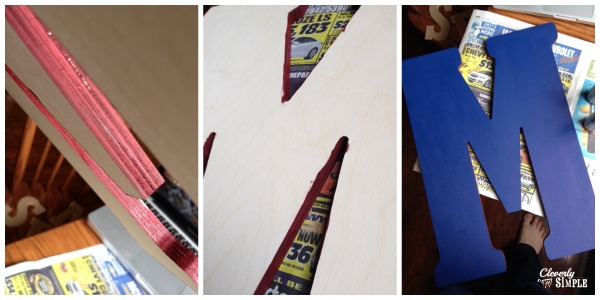
I chose to add a different color on the edges so I started with it. You may be wondering why I chose such bold colors for a girl’s room. My sister-in-law had picked out an awesome vintage rug that has block letters as part of it. I knew these colors would match. Don’t worry, there’s some pink coming.
Once the edges were painted, I started on the letter. I needed two coats. Don’t worry if the first coat doesn’t look quite right in color. The second coat is where you’ll get the true color.
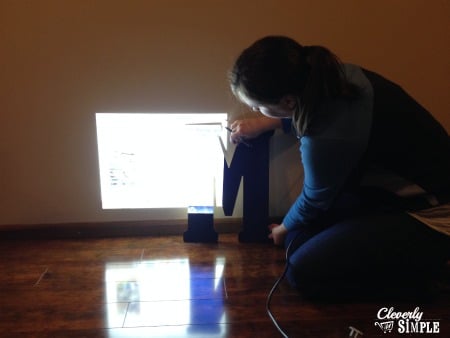
To get the signature on the block letter I used a projector. I put my grandmother’s signature that had been scanned on my computer and was able to project it onto the wall. Once I did that I positioned the block letter where I wanted the signature and used the pencil to trace the signature so that it would be exact.
I realize that not everyone has a projector. I only have one because of the classes I teach. If you don’t have one, you can print out the signature in the size you want, and write it in pencil using your own skills as you copy it. I find it’s easiest to copy something like that when you’ve first created a paper copy of the exact same size.
Update: My mom reminded me that you could also use Carbon Paper. Just simply place the carbon paper below your copied signature and trace it onto the letter.

Here’s what my signature looked like on the block letter. I just love my grandmother’s signature. It was wispy and beautiful. My grandmother wrote out every single wedding invitation I sent out when I was married. I wish I had saved a few.
Anyways, once you have the signature in pencil, you’ll want a fine brush and the paint you’ll be using. In this case I used the red from the edges and mixed it with some white I had on hand. PINK! You’ll want to make sure that you make enough if mixing colors. Acrylic dries fast which means if you run out or leave it alone, you’ll have to remix the paint. It’s never easy to get the same color twice.
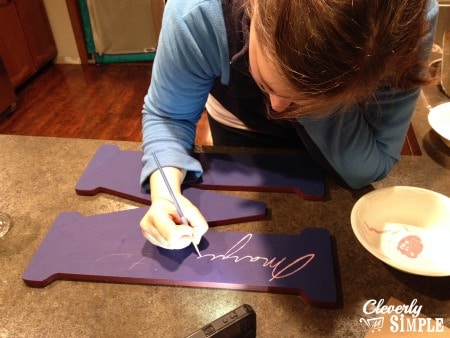
Moving slowly, I used the fine brush to trace my grandmother’s signature. Look at that “M” and “G”! Please note that my husband (who took this picture) also positioned his phone near the signature on flashlight mode. He was worried I wouldn’t have enough light. 🙂
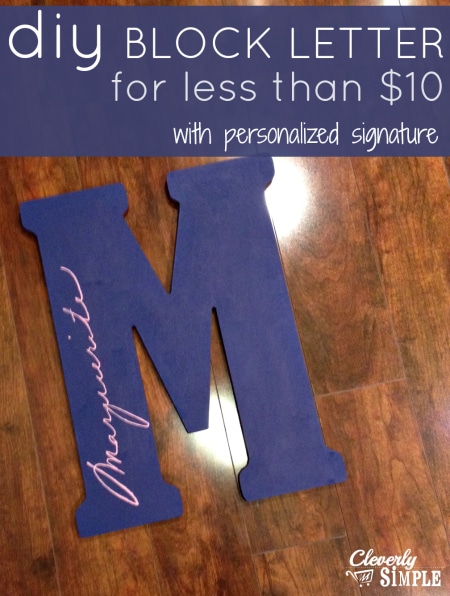
Here’s the finished product! I love it! And my sister-in-law and brother did as well. It’s something special my new little niece will have in her room. It has meaning and didn’t have to cost a ton of money.
Have you ever painted on wood letters? Do you want to try now?


Comments & Reviews
I was inspired by your letters, that I did them with suede paper in eggplant for place tags, for my Eggplant Christmas theme.
That sounds pretty! You’re really working ahead. 🙂
Hi, This looks great! I’m going to make one for my little cousin now:) I was just wondering what you did to hang the letter on the wall?
Hi Saira, The letter had notches on the back for hanging. If your letter does not you can get the jagged edge straight pieces and hammer them into the back to hang on a nail. Hope that helps!
Thanks for sharing Lynette. This looks so professional and I can’t believe how cheap it is to make. So much better than buying one straight off the shelf. Making it yourself adds a personal touch and it doesn’t have to cost the world to do it.
Exactly! I’m excited to make one for each of my kids now. 🙂