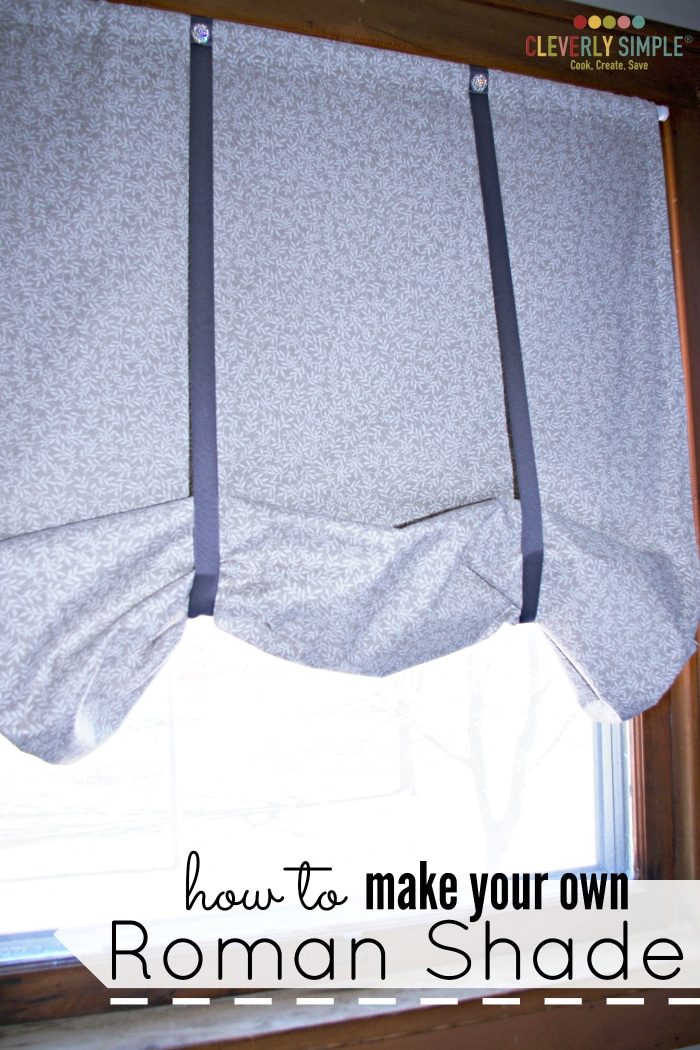
How to Make Your Own Roman Shade
In 2012, we began the search for our first home and came across a quaint 1929 brick bungalow with 33 windows. My husband was thinking: “That’s a lot of windows to replace!” and I was thinking “That’s A LOT of window treatments!” Still, we fell in love, and purchased the home. Immediately I set the goal to create DIY treatments for every window in the house within the next two years. The obvious reason for this was to save money. You get what you pay for when it comes to curtains. Those purchased with liner or with lots of material can cost upwards of over $100/panel. Another reason was the freedom to customize. It seems most windows crafted in old homes are not all the same size or shape. Take our master bedroom, for example. On one wall, it has three high and short windows side by side – each with a different width! Aside from custom blinds which are extremely expensive, I could sew panels or roman shades to get full coverage over the window. I really like the look of roman shades, but to make the “real thing” is quite tricky! There’d be strings, loops, loopy strings and probably a headache or two.
So, plans were made to create panels for the bedroom until my mom came up with a great idea for easy DIY roman shades. Yes, I said easy! It looks just like the real deal, but is MUCH easier to create. Friends, if you can make a straight stitch on the machine, you can make these! Aside from fabric, velcro and ribbon, no other fancy tools or accessories like loops or strings are needed. An extra bonus is that they hang with inexpensive spring tension curtain rods. Win!
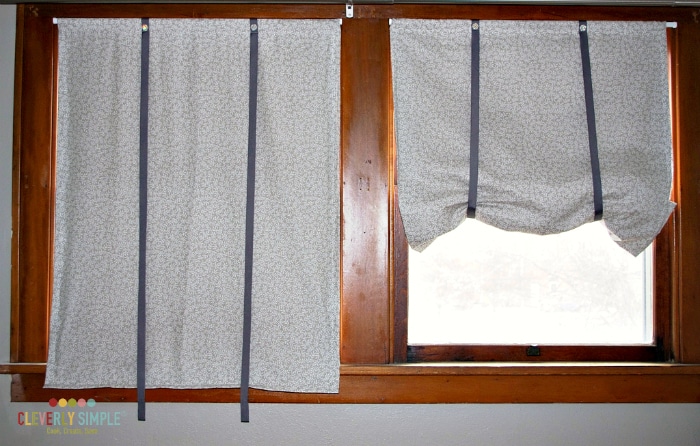
Before we get started, let me show the finished project. The picture on the left shows the roman shades left down in the morning – blocking out all that sleep reducing sunlight 🙂 The picture on the right shows the shades pulled up during the day.
Would you like to see how we did it?
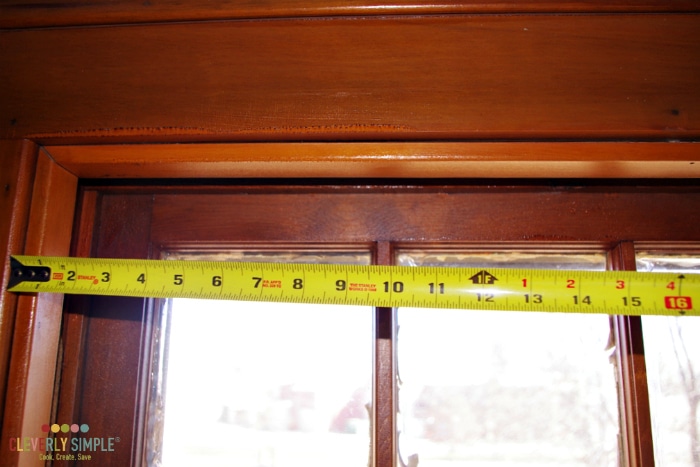
First of all, as with any fabric treatment, you’ll want to measure both the width and length of each window so you know how much fabric to buy. Since we are using spring tension rods that will fit directly inside the window frame, we measured the width in inches and added an additional 2 inches on each side for folding and sewing. We also measured the length in inches and added 3 inches at the top for the rod pocket and at least 3 at the bottom to allow for a custom hem.
Next, we discussed liner. You can line panels with old sheets or neutral fabrics, but since this is a bedroom, I purchased some blackout lining that was on sale. Blackout lining is an extra thick liner made with materials like polyester or vinyl. Blackout liners keep sunlight out on a sunny day and help contain heat in the winter. It’s great for bedrooms and since our windows were short, I didn’t need rolls of it. Whatever liner you choose, utilize the same measurements as the fabric to determine how much liner you will need.
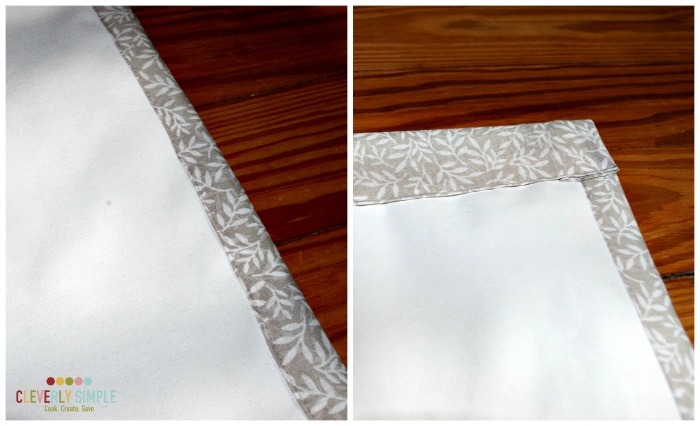
I’m not going to go into detail about how to sew, but merely give you the concepts. After making the appropriate cuts to both the fabric and liner, fold the fabric over the liner on both the sides and top. You are essentially making a custom rectangle to fit the window frame exactly – making sure to leave a pocket at the top for your rod and extra length at the bottom for a hem.
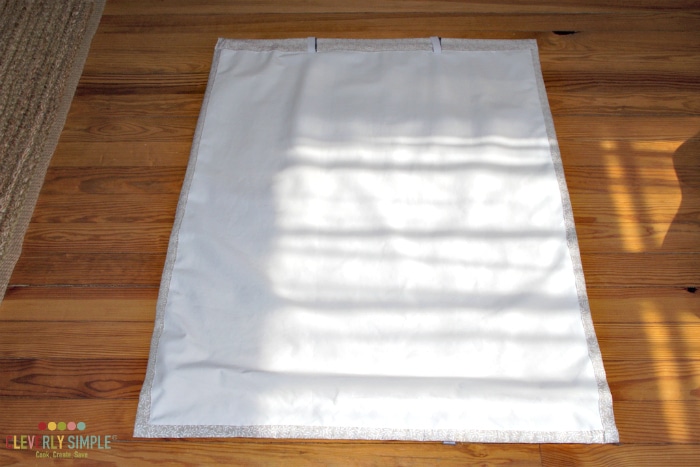
Here is a picture of our completed shade. I’ve already hemmed them after hanging them from the rod in a dry run. Believe or not, we are almost done!

Buy a spool or two of ribbon that is at least 1 inch in width. You will need two pieces per panel and each piece needs to measure at least 5 inches longer than the shade length. Space them evenly apart on the panel and attach each ribbon in the top back and again in the top front with a few stiches. Let the ribbon hang naturally down the rest of the front, falling 3 inches below the hem.
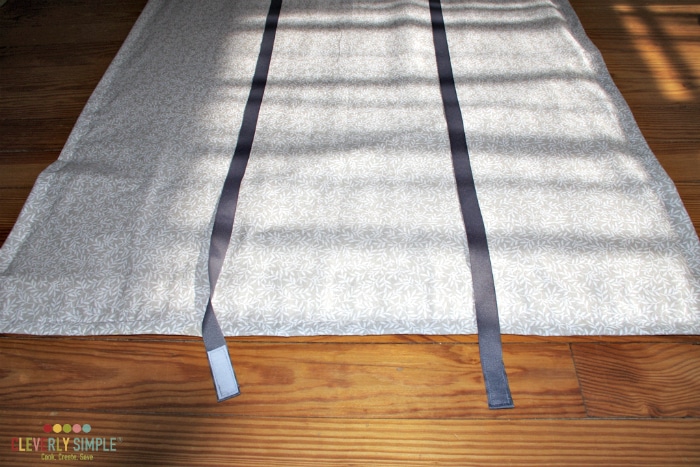
The very bottom of the ribbon that hangs below the hem will need 2-3 inches of the hook side of velcro attached underneath. This is what will “stick” when we pull the ribbon around to the back of the shade.

Cut off at least 8 inches of the loop side of velcro and with just a few stitches, attach it to the top back, letting it hang down naturally. The longer the piece of loop here, the more adjustable you can make your roman shade.

I’ve taken this picture from behind to show you how the front ribbon with hook velcro is pulled to the back and attached to the hanging loop piece of velcro. This creates “the lift” of the shade!
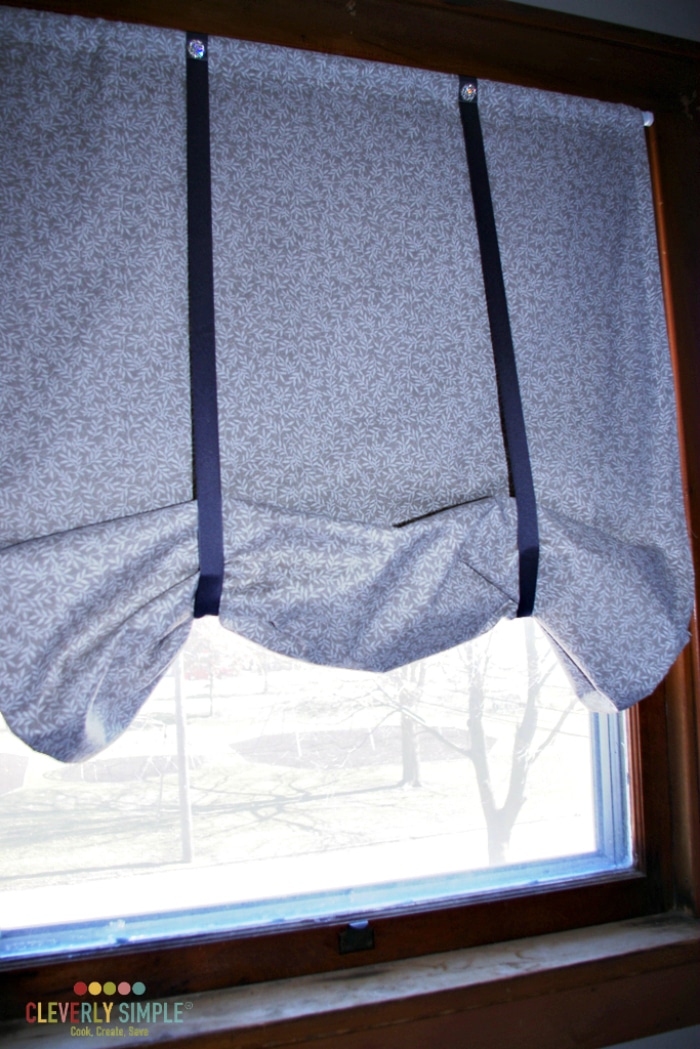
You will not need to take rod /shade down in order to “lift” them. Each morning, I simply pull both ribbons to the back and attach them in place so you have the appearance of a roman shade from the front.

With the exception of some bling, we are all done! This is what I love about DIY projects….I attached some sparkling buttons at the top of each ribbon for extra pizzazz 🙂

There you have it… easy DIY roman shades for any room in your house with short windows. I’ve checked these window treatments off my list… three down, only 30 more to go!
Thanks mom!


Leave A Reply!