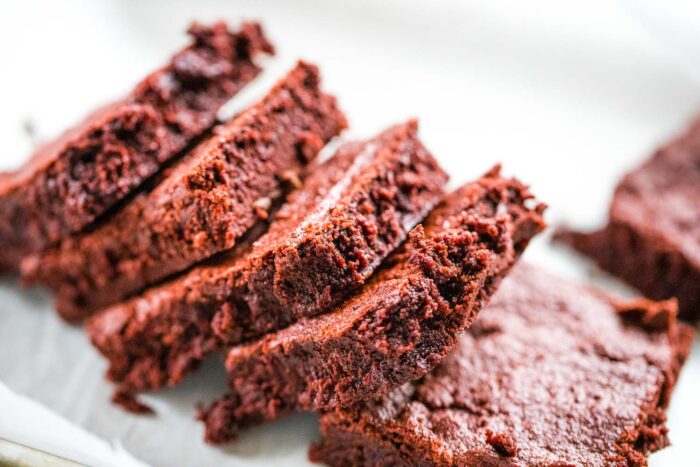
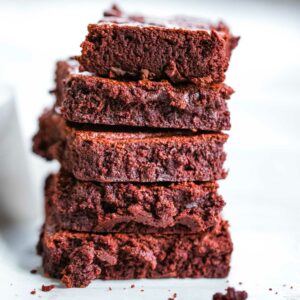
Fudgy, chocolatey red velvet brownies made from scratch with simple ingredients. These put a red twist on the classic brownie recipe. No frosting is needed!
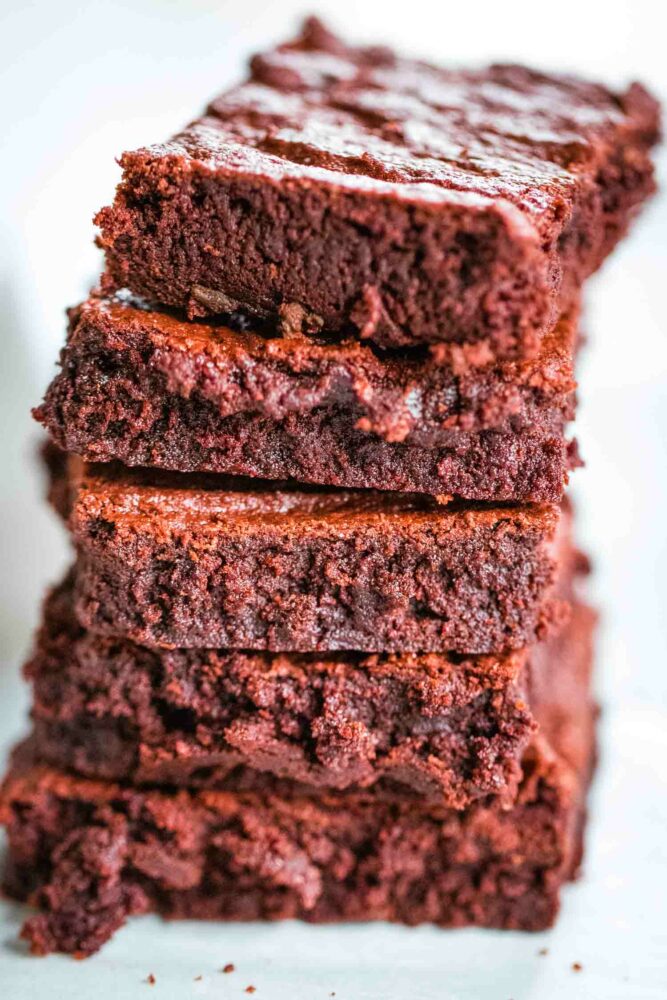
Table of Contents
What are Red Velvet Brownies?
The red color in any red velvet recipe comes from food coloring. This from scratch recipe creates a fudgy chocolate brownie that’s delicious on its own but becomes a beautiful red color that is festive and fun when you add the food coloring. Perfect for Valentine’s Day or any occasion.
Want to save this recipe?
Enter your email & I'll send it to your inbox. Plus, get great new recipes from me every week!
Ingredients
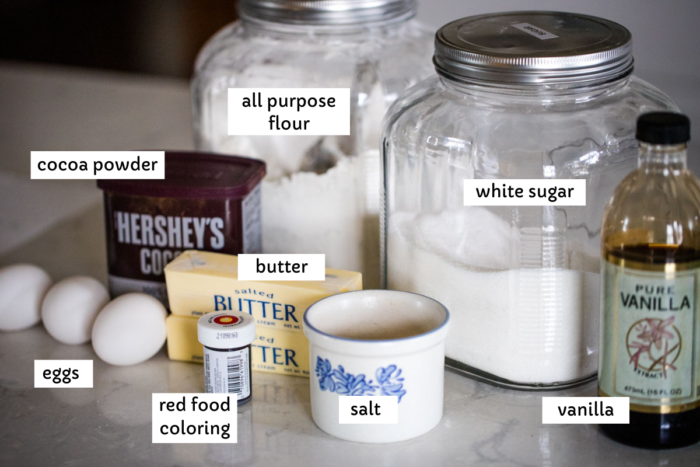
Super simple ingredients are all you need to make this delicious chocolate treat.
- Red Food Coloring – I use Wilson’s red food coloring with no taste. Some red food coloring can add a bitter taste, so use high-quality.
- Salted Butter – I use salt in this recipe because extra salt is needed to counteract the sweetness.
- Sugar – Regular, plain granulated sugar is best.
- Unsweetened Cocoa Powder – Not all cocoa powder is created equal. My favorite to use is Hershey’s. Unsweetened cocoa powder can also be called dutch chocolate.
- Salt – Explained above. More salt brings out the flavor.
- Eggs – Large eggs are needed to get the fudge texture we crave.
- Vanilla Extract – I went heavy on this ingredient because it gives the brownie a depth of flavor.
- All-Purpose Flour – Make sure to scoop the flour into the measuring cup and then scrap off the excess. This is the best way to get an exact amount of flour.
How to Make Red Velvet Brownies
- Prep: Lightly grease a 9×13 baking pan. Preheat oven to 325˚ F.
- Heat Ingredients: In a large microwave-safe bowl, combine the butter, sugar, cocoa powder, and salt. Stir—microwave on high for 1 minute. Stir to combine ingredients until the butter is fully melted and incorporated.
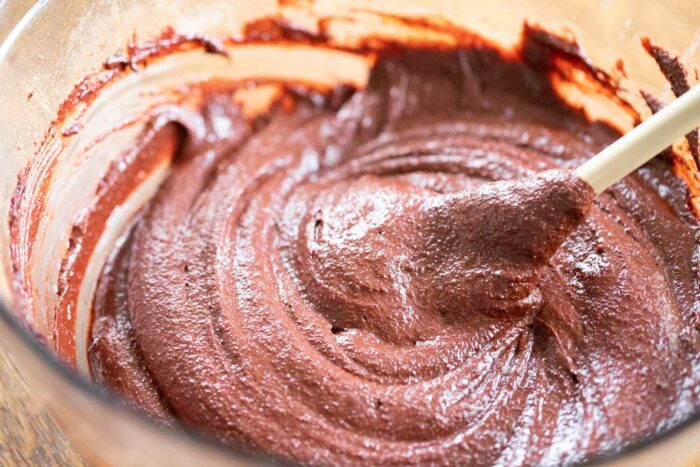
- Mix Ingredients: Whisk in eggs one at a time, mixing each one in before adding the next. Stir in the vanilla and red food coloring. Add in the flour all at once and whip together the ingredients until you can no longer see the flour and the batter is smooth and thick.
- Bake: Spread the brownie batter into the baking dish. Bake for 30 minutes at 325˚ F or until a toothpick entered the center comes out clean.
- Cool: Let cool for one hour before slicing for best results.
Variations and Substitutions:
- Add 1/2 – 1 cup of nuts or chocolate chips to the batter to add texture.
- Use a different color of food coloring! Green for St. Patrick’s day would be fun.
- Use an 8×8 baking dish to make half of the recipe. Reduce the baking time to 20 minutes.
- Add marshmallows on top and follow the instructions in this marshmallow brownie recipe.
- Add chocolate frosting to next the chocolate flavor to the next level.
FAQ
The proper ratio of ingredients is needed to create the same box mix texture. Too much flour in a recipe will make the brownies more cake-like. That’s why I recommend this recipe that has been tested!
Most likely, you overbaked the brownies. Set your timer for 25 minutes and check the brownies. Add five more minutes if the toothpick inserted in the center doesn’t come out clean.
Whisk together the batter after each egg. The more you beat the batter, the more likely you will have that crispy top.
Red food coloring is the main ingredient that gives red velvet brownies their color.
Red Velvet Brownies
Ingredients
- 1 Cup salted butter
- 2.5 Cups granulated sugar
- 1.25 Cups unsweetened cocoa powder
- 1 teaspoon salt
- 3 large eggs
- 2 teaspoons pure vanilla extract
- 1 oz red food coloring
- 2 Cups all-purpose flour
Instructions
- Prep: Lightly grease a 9×13 baking pan. Preheat oven to 325˚ F.
- Heat Ingredients: In a large microwave-safe bowl, combine the butter, sugar, cocoa powder, and salt. Stir. Microwave on high for 1 minute. Stir to combine ingredients until the butter is fully melted and incorporated.
- Mix Ingredients: Add the eggs one at a time, whipping each into the batter before adding the next egg. Stir in the vanilla and red food coloring. Add in the flour all at once and stir together the ingredients until you can no longer see the flour and the batter is smooth and thick.
- Bake: Spread the batter into the greased baking dish. Bake for 30 minutes at 325˚ F or until a toothpick entered into the center comes out clean.
- Cool: Let cool for one hour before slicing for best results.
Notes
Nutrition
More Chocolate Dessert Ideas
- Old-Fashioned Chocolate Apple Cake – easy to make!
- Chewy Chocolate Peanut Butter Bars – super sweet and delicious!
- Chocolate Cherry Cake Recipe – one of my all time favorites!






Leave A Reply!