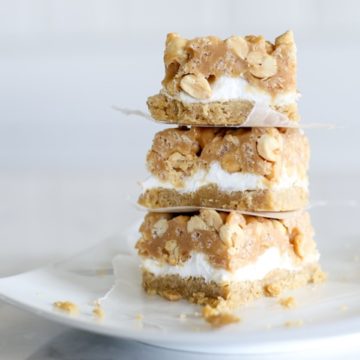
Chewy marshmallows on top of a buttery crust and topped with a crunchy salted peanut topping making these salted peanut chews the best dessert ever! This winning recipe is the original Pillsbury recipe.
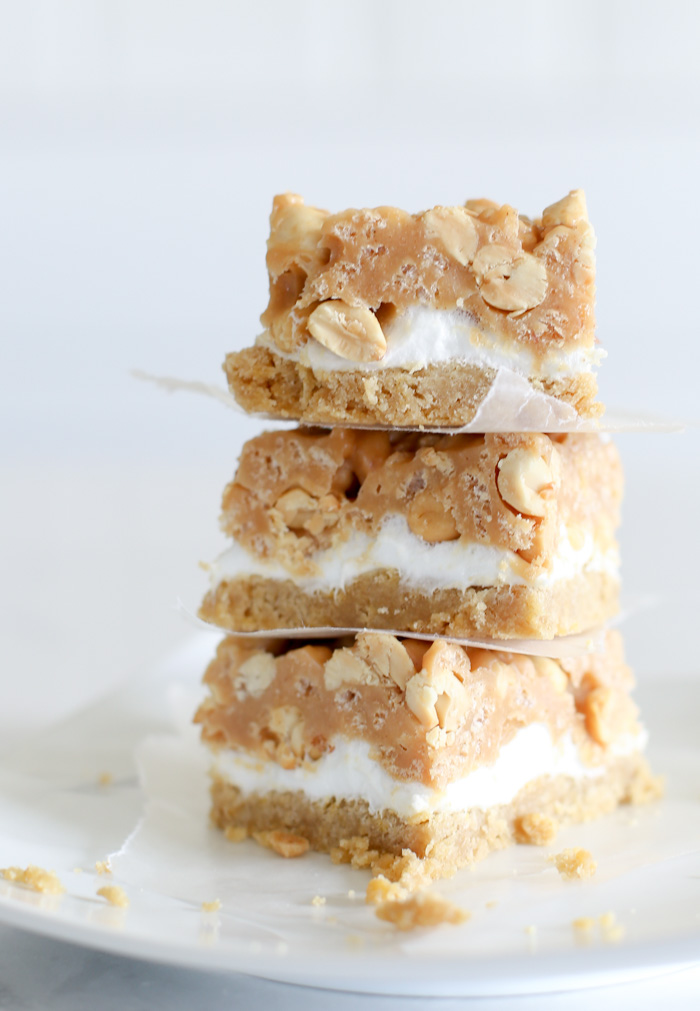
Not every recipe from long ago is the best, but OMG these salted peanut chews are! My mom dug this recipe out and made it for a family event and I was addicted. Like in, could not get enough and ate too much dessert. The next day. And the next day.
Lesson learned. Make these for a crowd and not a small family gathering or you might be tempted to enjoy them for breakfast. True story. (And these salted peanut chews go great with coffee, FYI.)
As soon as I had the chance, I made them to share with you. These are packed with flavor and texture which is my favorite kind of easy dessert to make. If you like salty and sweet, these have the perfect combination with the buttery crust and the crunchy salty peanuts on top.
I’m addicted to these. No lie. They are the very best.
How To Make Salted Peanut Chews
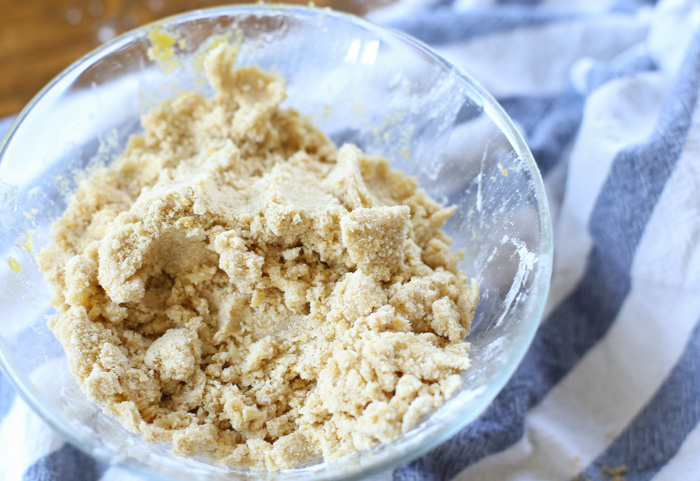
In a large bowl combine all the crust ingredients; flour, brown sugar, baking powder, salt, baking soda, butter, vanilla and egg yolks. Use a pastry blender to cut in the butter with the remaining ingredients until you have a crumbly mixture. Press the crust into the bottom of an un-greased 13×9 inch pan. Bake at 350° F for 12-15 minutes or until the crust is light golden.
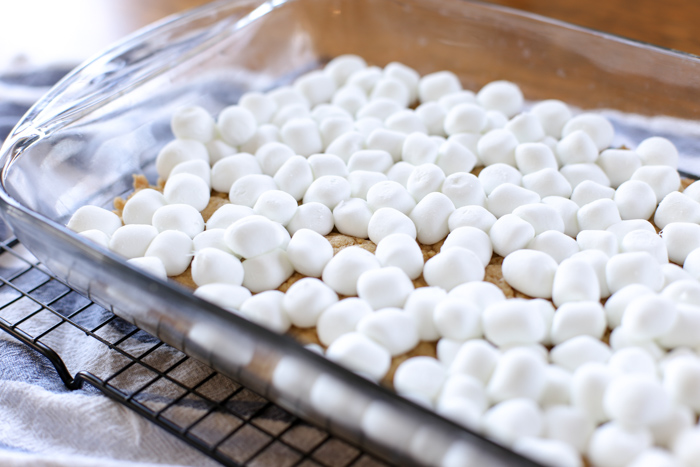
Immediately sprinkle with marshmallows for the second layer of the salted peanut chews. Return to the oven for 1-2 minutes or until the marshmallows begin to puff up. Let cool while you’re preparing the third layer.
In a sauce pan combine the corn syrup, butter, vanilla, peanut butter chips on medium heat until the chips are melted and the mixture is smooth. Stir constantly!
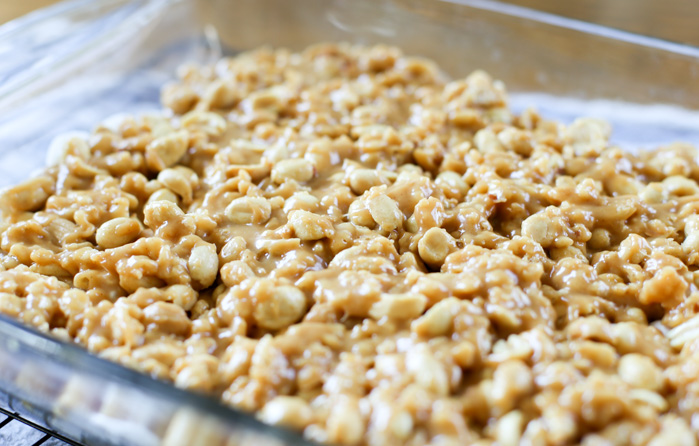
Remove from the heat and stir in the cereal and nuts. Immediately spoon the warm topping onto the marshmallows! Hurry! As it hardens fast.
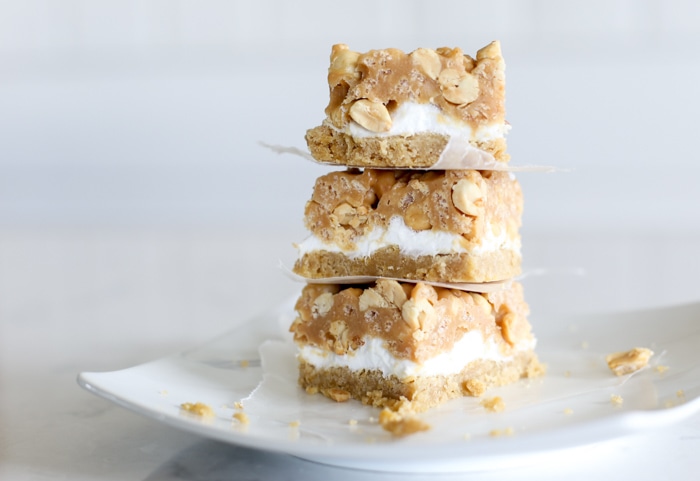
Let chill before enjoying! If you can wait that long. They are ooey gooey at first and taste just delicious. However, you’ll want to chill them to make it easier to cut the salted peanut chews bars. The rich texture is to die for. I mean, serious love coming from me. I can’t wait to make these again.
While this recipe is a Pillsbury winner, you’ll find that their recipe for salted peanut chews is somewhat altered from the original. So if you’re looking for the true classic, this recipe is the one!
More Classic Dessert Recipes
Want to save this recipe?
Enter your email & I'll send it to your inbox. Plus, get great new recipes from me every week!
Salted Peanut Chews
Ingredients
Crust
- 1 1/2 Cup all purpose flour
- 2/3 Cup light brown sugar
- 1/2 teaspoon baking powder
- 1/2 teaspoon salt
- 1/2 teaspoon baking soda
- 1/2 Cup butter softened
- 1 teaspoon vanilla
- 2 egg yolks
Middle Layer
- 3 Cups marshmallows
Top layer
- 2/3 Cup corn syrup
- 1/4 Cup butter
- 2 teaspoon vanilla extract
- 12 oz peanut butter chips
- 2 Cups rice cereal
- 2 Cups salted peanuts
Instructions
- Combine all the crust ingredients until crumb mixture forms.
- Press in the bottom of an un-greased 13×9 inch pan.
- Bake at 350° F for 12-15 minutes or until light golden brown.
- Immediately sprinkle with marshmallows. Return to oven 1-2 minutes or until marshmallows begin to puff. Cool while preparing topping.
- In a large sauce pan heat corn syrup, butter, vanilla and peanut butter chips until chips are melted and the mixture is smooth. Stir constantly!
- Remove from the heat and stir in the rice cereal and nuts.
- Immediately spoon warm topping over marshmallows. Spread to cover.
- Let chill and cut into 36 salted peanut chews bars.






Comments & Reviews
Do you know if maple syrup would work to substitute for the corn syrup?
I have not tested maple syrup. The maple syrup I use in the kitchen is not as thick as corn syrup so I don’t know if it would yield the same results.
PLEASE, PLEASE, PLEASE tell me how far ahead I can make these and can they be frozen? I have only today to bake for Christmas celebration 5 days away and was hoping to serve these. Someone, please HELP ASAP! Thank you!!!
The topping is exactly the same as the original, but the Bake-Off winner used the Pillsbury yellow cake mix as the base (I have the Pillsbury recipe card for it). This recipe isn’t using a Pillsbury product, so could I presume it could not be in the competition. I believe the winner was from 1980.
I’ve made this before… soooo good! My neighbor brought some over to my house and I got the recipe from her, and that was back in 1994, and I misplaced the copy of the recipe she gave me. I’ve been hunting the net for this recipe and am so glad to have found it! But…. her recipe which sounds identical to this one except for the amount of rice krispies and peanuts. Her recipe called for 2 or more cups of rice krispies and 1 cup of peanuts. Is that how others make it? I’ve got all of the ingredients, so I hope I get an answer to my question soon. Much thanks!
Also… my memory keeps telling me that my neighbors also called for 40 Kraft caramels. Is that a possibility or is my brain thinking of a different recipe?
Hi! I’m not sure but this recipe is for sure a real winner and it is a vintage recipe so it could be the one you are thinking of.
Made this before everyone really loves this. Salty sweet bar. Thanks for sharing. Ps let marshmallow have time to cool before spreading top on. Works better. Have a great day 😊
So glad you enjoyed it! It’s a family favorite!
So glad to see this recipe in its original form! I grew up with these bars, and was always so excited when my grandma made them. My grandmother, Gertrude Schweitzerhof, created this recipe for the Pillsbury bake-off in 1980; it was one of her 3 grand prize winners, and inducted into the Pillsbury Bake-Off Hall of Fame Smithsonian exhibit in 1999. This is a classic for sure! I’m currently figuring out how to make a celiac- and allergy- friendly version so my kids can enjoy their great-grandma’s recipe.
Wow! What a special grandmother you had. It is one of our family’s favorite recipes. Thank you for commenting and sharing about your grandma – it made my day. 🙂
These were a HUGE hit with our small group (a.k.a. my recipe Guinea pigs). Definitely a favorite with young and old alike. Thanks for sharing!
Yay! So glad you enjoyed it! It’s one of my favorites.
I have been making these ever since I received a Pillsbury bake off winners cookbook in the 80’s and your recipe IS the original — so so good! It’s the one dessert that’s a hit with everyone who tries it. Ive seen other versions with cake mix used for crust that are not nearly as good as this one. Great to see old classics like this being posted for younger bakers!