How to make your own spring wreath in less than 1 hour!
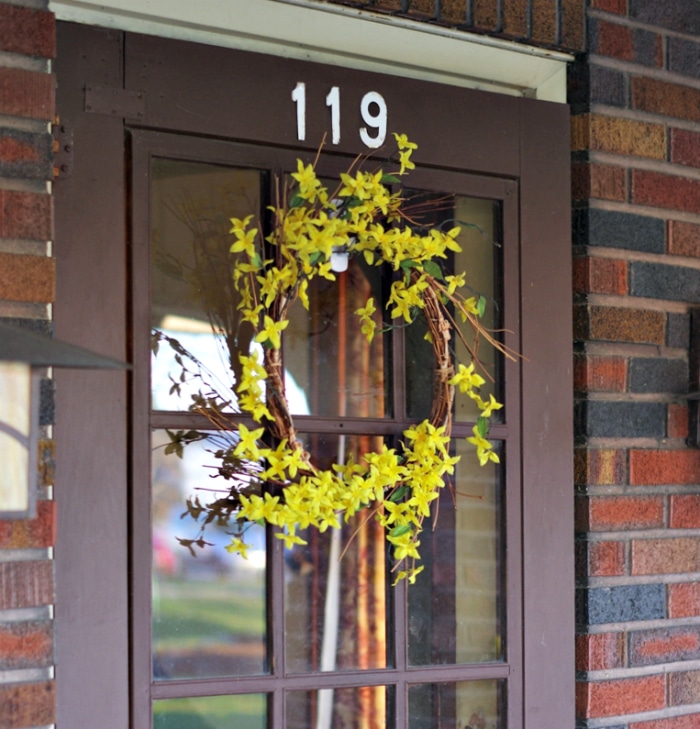
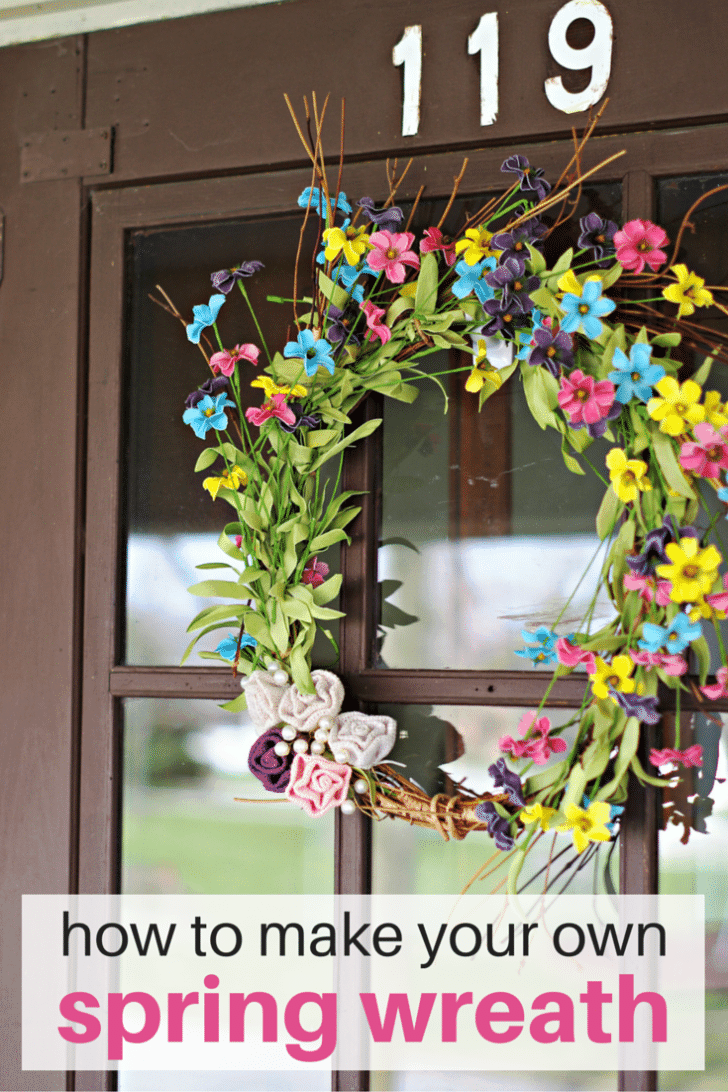
Step on up to my front door. Do you see the tired ol’ wreath that has lost its spring? For umpteen years, it brought cheer to those who entered, but after losing half of its flowers in a rainstorm and with mold gathering on those that were left, it is time for a change. Blooming season is upon us, my friends, and I’m in the mood for zippy color, wildflowers and perhaps some burlap roses?
Now, I am by no means an expert on the art of floral arrangement, but I have learned a thing or two while making wreaths for Christmas presents. My grandma lives in assisted living and she loves having a new spring wreath to decorate her door. Christmas is a perfect time to give these as gifts, but in this case, I’m in an emergent situation for new front door decor. Are you with me?
Let’s make a new spring wreath!

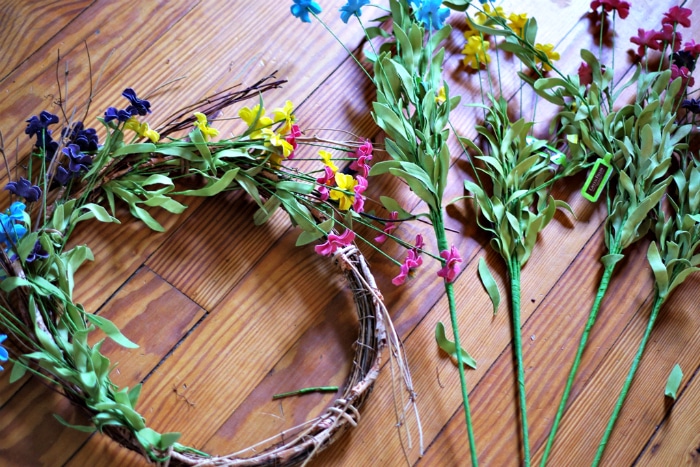
All wreaths need a ring form. I’m reusing the woody base that collected my old yellow flowers. I simply pulled them out to begin again. I love the natural look of twigs and sticks, so this was a no brainer. You will also need a good pair of wire cutters (forgot to get them in the picture!) and of course, artificial flowers.
I took a trip to my favorite craft store and bought realistic looking wildflowers when they were 50% off. Plastic or silk flowers are often more expensive than the real ones that smell pretty, so try to get them on sale! When choosing the kind of flower, I either select the same type flower in 3-4 colors or choose 2-3 different flowers in the same color. This will give your wreath a uniform look rather than a bunch of random flowers just put together. Make sure to get two bunches for each type of flower and/or color. You will see why in a minute.
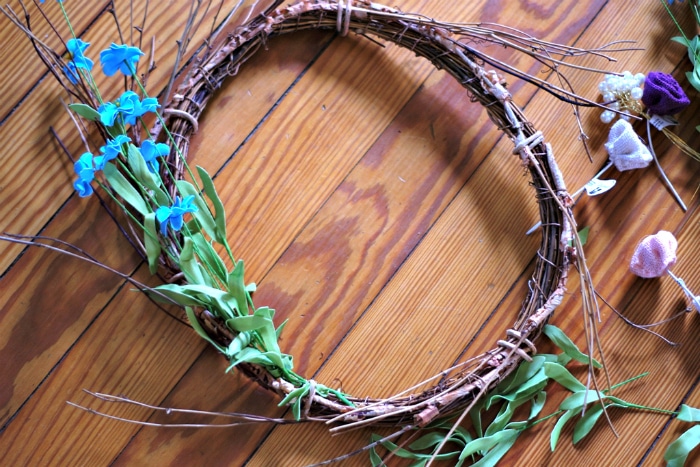
Today, I have chosen wildflowers in four colors – blue, purple, yellow and pink. Let’s start with blue, shall we? I begin by cutting the stems around 6-8 inches down one of my two blue bunches.
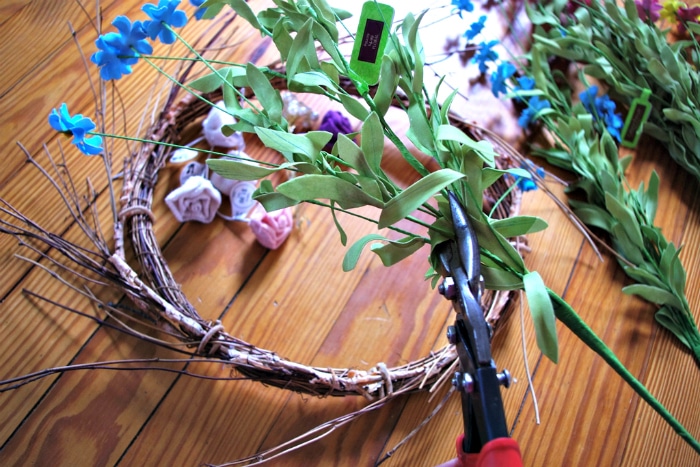
I insert the first bunch of cut blue wildflowers into one section of the wreath. By the way, don’t feel like you have to include all of those green leaves! I think I pulled off half of them before inserting the stems. The spotlight is on flowers and not foliage!
I repeat the cutting and inserting of one bunch each of my other colors, going around the circle. If you segregate the colors with the first bunch, it’s easier to incorporate color with the second bunch. Use this same method with different flowers in the same color. Segregate the different types of flower with the first bunch and incorporate them with the second bunch.
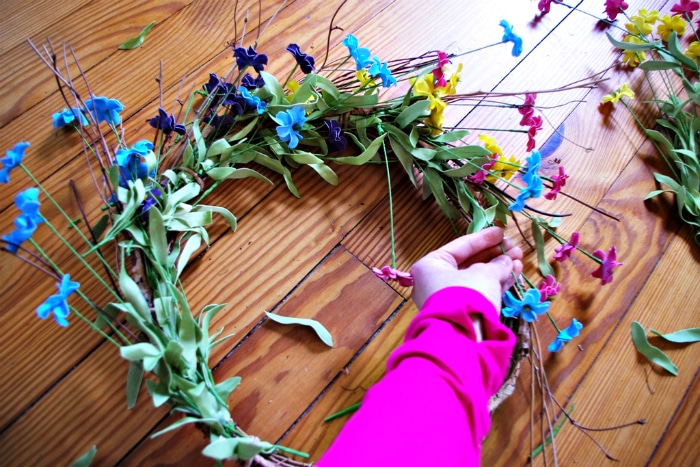
Here is what it looks like…going back to my blue, I cut the second bunch and inserted the flowers in only the purple, yellow and pink sections. Moving to the purple, I will cut the second bunch of purple and insert them into only the blue, yellow and pink sections. Get the idea?
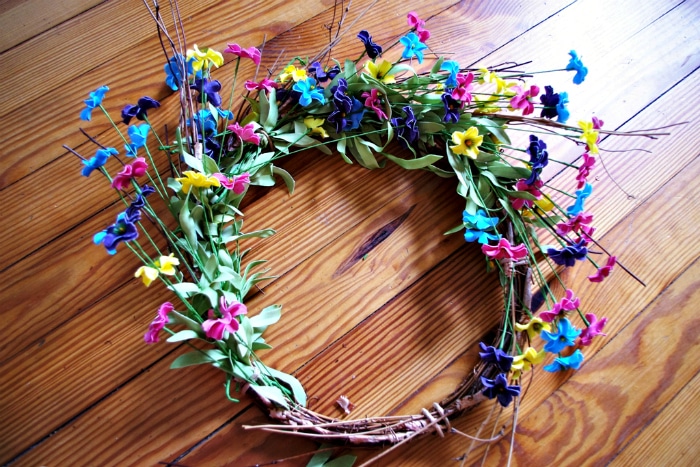
As a result, you will have an even distribution of color in your wreath! Now, obviously, I’ve left a gap at the bottom for a reason. I could have continued the wildflowers all around the ring, but I prefer wreaths that have a focal point.

Introducing… the focal point 🙂 I gathered a collection of burlap roses in similar colors and some wired pearls. Use your imagination! Craft stores have all kinds of floral goodies to draw the eye. Just before hanging, I simply inserted my burlap bouquet into the left hand corner of the naked ring.
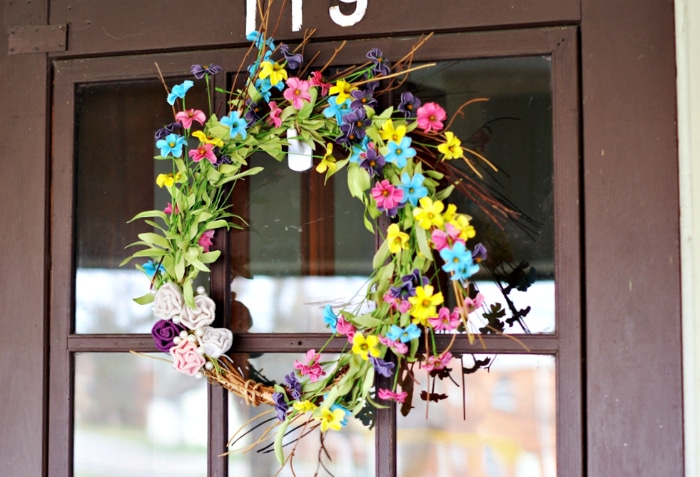
All done! I think it took me less than 45 minutes to refresh my front door with a reused ring of new and spirited flowers. Wreaths are a perfect way to welcome not only spring, but all those faces who will grace your home for years to come.
Happy Spring!


Leave A Reply!