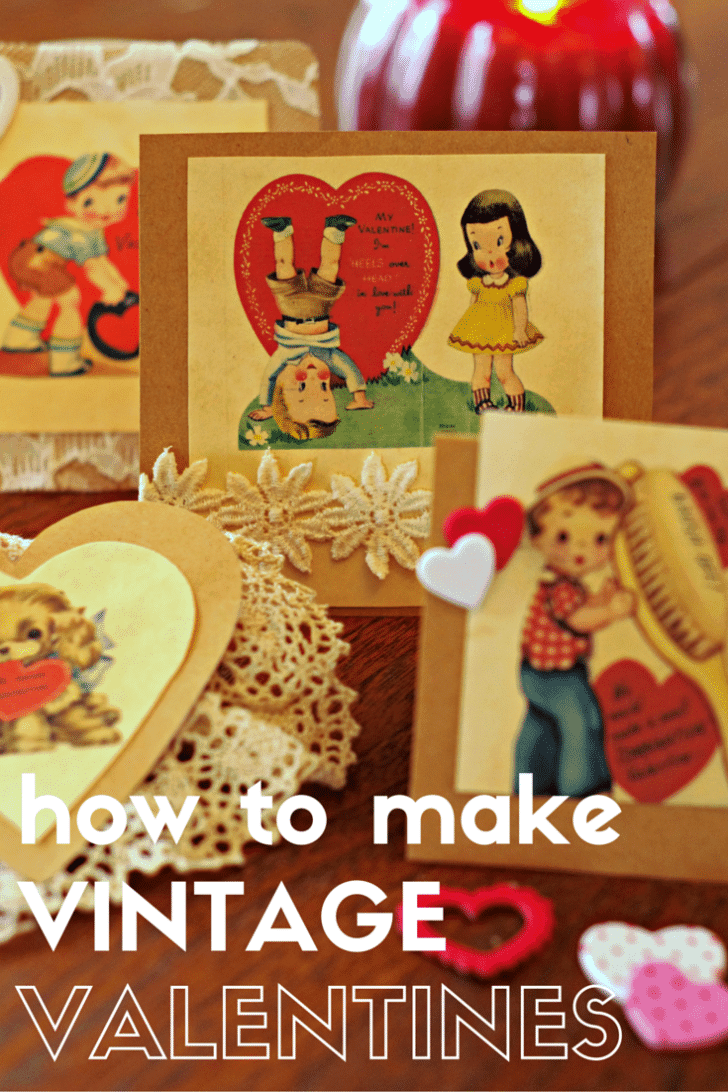
Vintage Valentine’s Day Cards
There is something really special about things from ages past. Recently I came across a well used rug book from 1914. The fact that it had hand drawn instructions and opened with the sentence “Among the articles made in a home are beautiful rugs” ordained it to be a treasure. With so much of our material world manufactured in China, it’s refreshing to come across vintage items encouraging handcrafted character. The same can be said about an old valentine card. In the mid 1800’s, greetings of love were painted pictures on paper and adorned with lace, trims and ribbons.
Today, I’m going to show you how to replicate an age old valentine using free printables, some black tea, cardstock and simple embellishments. Although not original, these valentines are a charming version of the past… And in my opinion, much more special than those coming shipped in a box.
Are you ready to make some vintage valentines for those you love?
Come on in to my home!
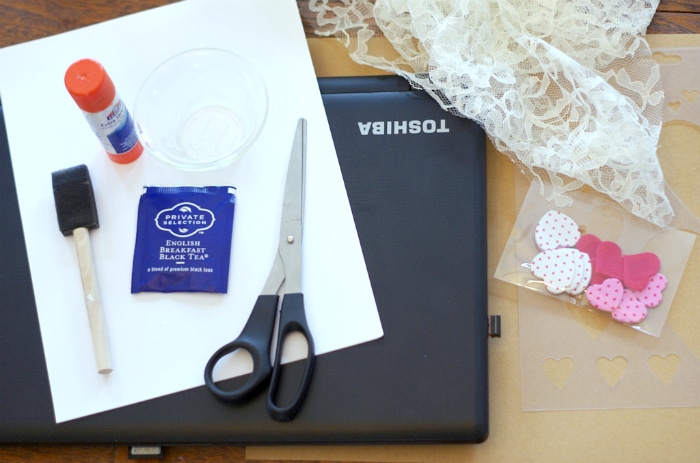
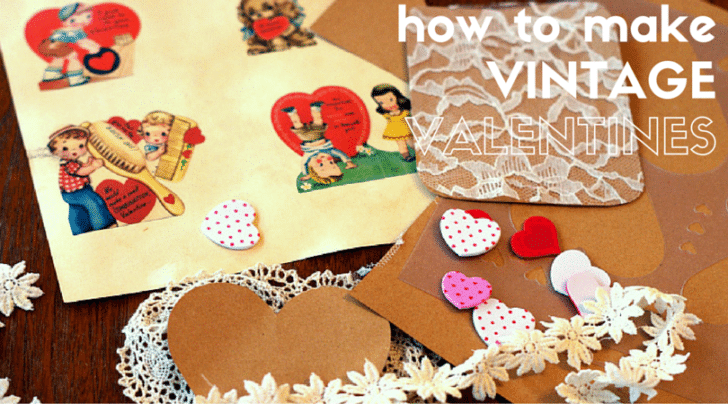
To make four vintage valentines, you will need one piece of 8.5×11 white cardstock, one black tea bag, one sponge brush, small bowl, computer, color printer (not pictured), one 12×12 natural paper cardstock, glue stick, scissors embellishments like lace, ribbon, yarn or cut-outs. Try your best to avoid using glitter 🙂
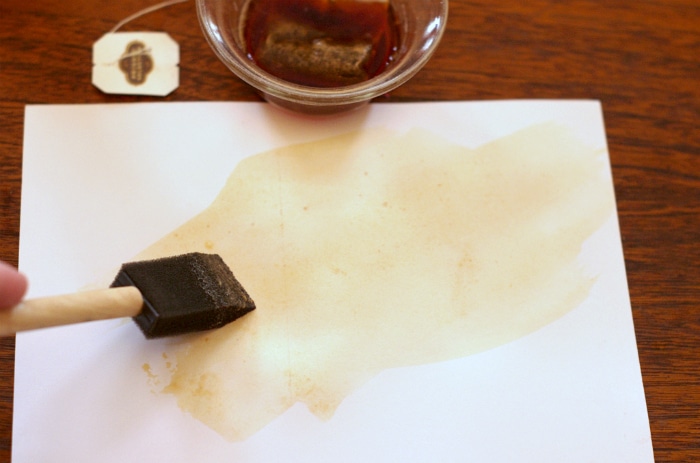
First, we need to make our paper look old. One of the simplest techniques to do this is tea-staining. Steep one tea bag in boiling water and let it sit for 5 minutes. Using a foam brush, paint the tea onto the cardstock using uneven strokes. Variance in color creates an authentic look.
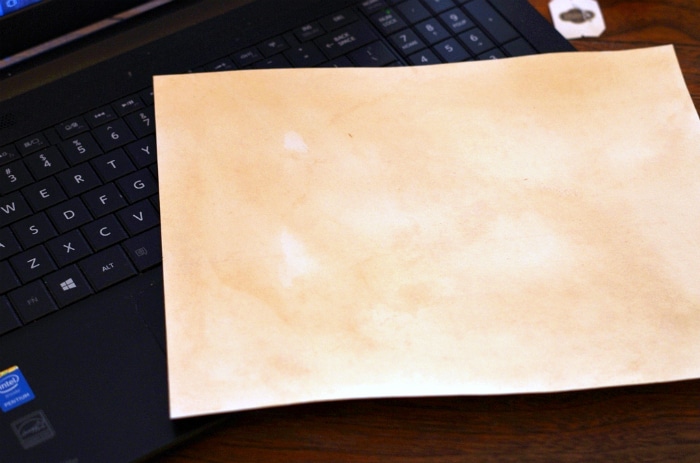
Allow the paper to dry for several hours and if needed, place a large book on top of it to prevent curling at the edges. Here, it is pretty much dry. Our stark white paper is now ‘age old’
Since most of us do not have time to hand paint a valentine, we are going do the next best thing using an ink jet printer.
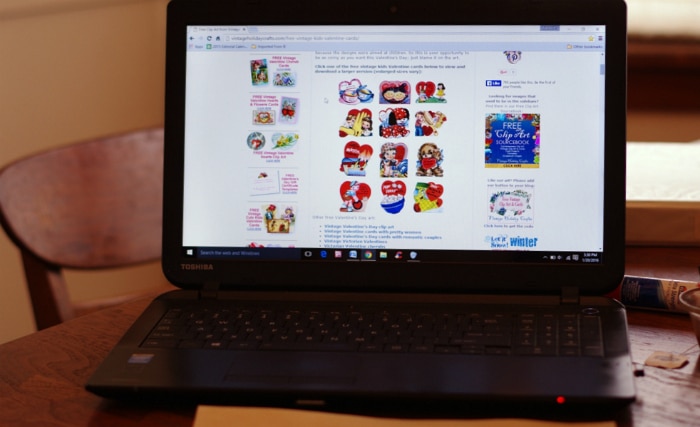
Go to : http://vintageholidaycrafts.com/free-vintage-kids-valentine-cards/
The owner, Carla Chadwick, has the BEST source for free vintage valentine printables. You’ll find sweet messages like:
“My Valentine! I’m HEELS over HEAD in love with you!”
“You Suit me to a TEA, VALENTINE!”
“I’m going to POP a CORNY question – Will you be my Valentine?”
Carla also has links to valentine images with pretty women, romantic couples, cherubs, roses and Victorian.
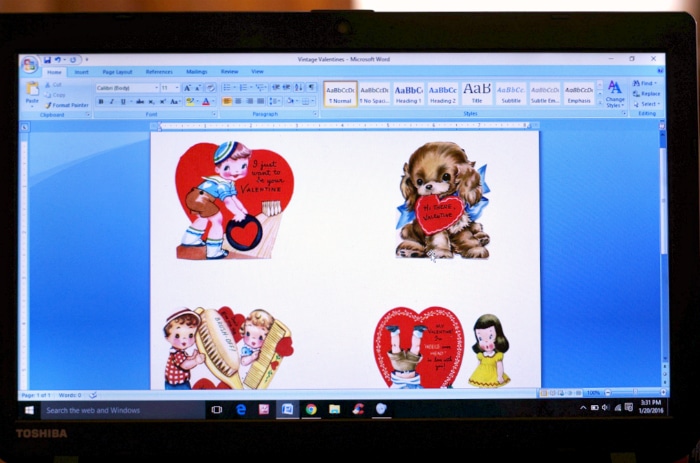
Now copy and paste (or save and insert) your four favorite designs onto a Microsoft Word document as shown. You can size them according to how big you want your valentine.
Insert the dried, tea stained cardstock into your printer. I found that selecting “photo paper” on my printer settings helps with projects using heavier paper. Print your images and start embellishing!
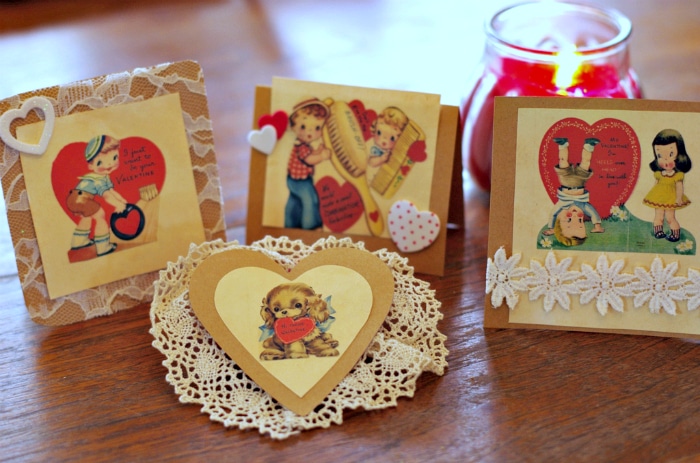
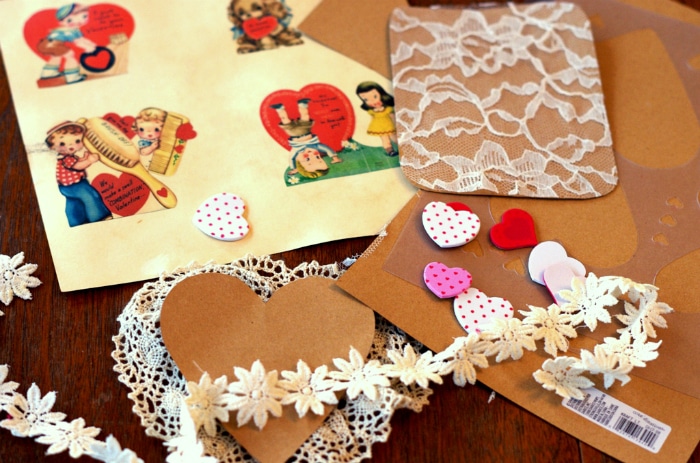
I cut all of my images out in different shapes and pasted them to natural brown paper . Paper grocery bags would work too! I then used scraps of lace I had around and little polka dot hearts to recreate the vintage valentine. Aside from the drying time, the entire process took less than 20 minutes.
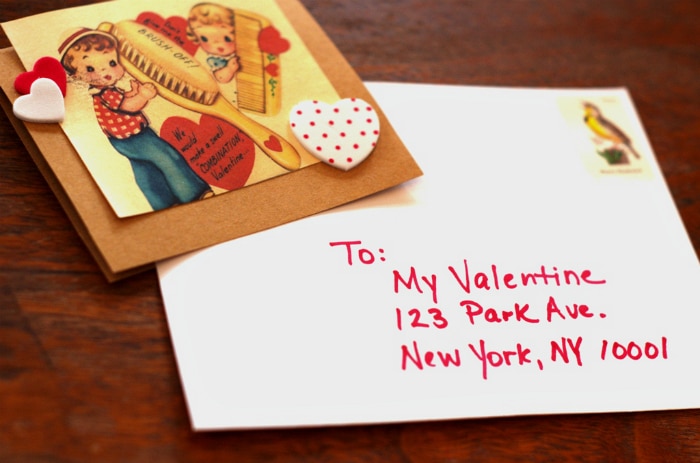
Now all that’s left to do is name my valentine and just like the olden days, send it through the mail. My friends, there is very little in life that can be more special than that.
Happy Valentine’s Day!


Comments & Reviews
LOVE THIS IDEA!