
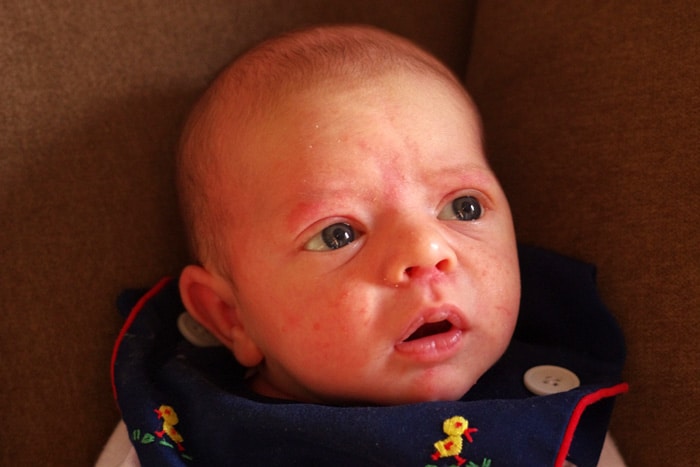
It’s good to be back! I have missed writing for Cleverly Simple these last two months. My husband and I welcomed our final addition, sweet little Wesley James, in February. Would you like to meet him as I show you how we made our DIY hands and feet painting?
When I was in my early twenties, I visited the home of a friend and mother who had artistically framed portraits of her three children hanging in her dining room. They were created when each child was about 5 years old so that you could compare them one to another. I thought it was so neat that she had preserved pieces of her children as children even though they were all grown and out of the house. I loved what I saw and when my husband and I were ready to have children, I purchased a canvas, acrylic paint and told him my idea. When our oldest daughter, Vera, was just two weeks old, we painted her hands and feet in vibrant colors and placed them in a design on canvas. I painted her name with its meaning, dated it at the bottom and had it professionally framed. It turned out really special and we decided to make it a tradition if we were blessed with more children.
Well, five years later, it’s baby Wesley’s turn – our fourth and final time to paint little hands and feet. So why not document it for all of you at Cleverly Simple? Perhaps it will inspire you to preserve pieces of your own children. In between diaper changes, feedings and snuggles, I have created a tutorial for you in making “painted hands and feet” Are you ready?
Come on in to my home!
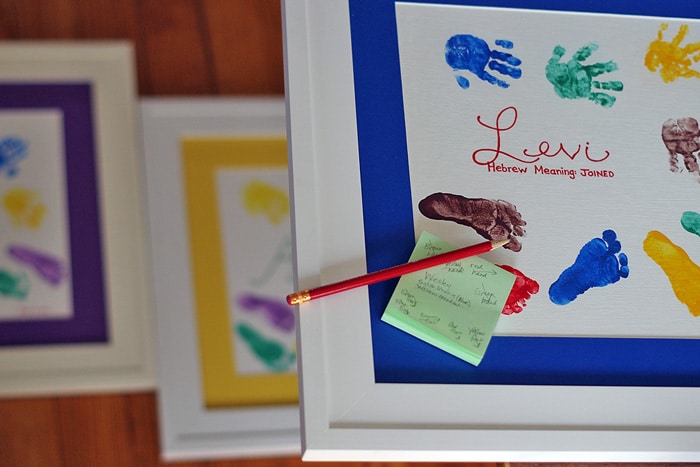
First of all, map out the placement for each hand and each foot, leaving room for the painting of the name and its meaning in the middle of the canvas. Map out the colors as well. Our first two children were girls so I used pink, purple, yellow and green paint in different places for each girl. Placement of color is important so that the framed pictures coordinate with one another – assuming you have more than one child. A more simple approach would be to use just a two colors – one color for the hands and one color for the feet.
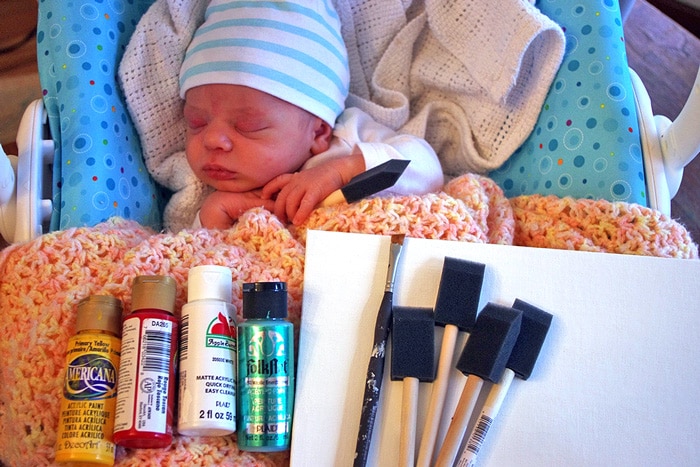
The supplies needed for this project can be found at any craft store. You will need at least one foam brush, several fine point paint brushes, one bottle of white acrylic paint and bottles of colored acrylic paint. Make sure you get plenty of white to cover the canvas at the start and to cover mistakes as you go along… and of course, you will need one sweet little child (not sold in stores :). You don’t have to do this project with a newborn. If your children have already grown a bit, you can begin this project with the oldest child and continue with each one at the same time in life. Framed 5 year old hands? Framed 7 year old feet? There are so many variations. As long as you are consistent with the timing, the effect will be the same.
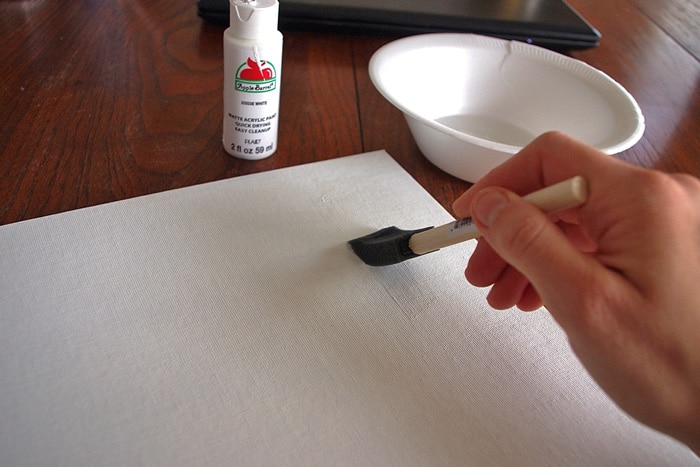
To begin, use a foam brush to paint the entire canvas with one coat of white acrylic paint. This will gave the canvas an even background to begin the color work.
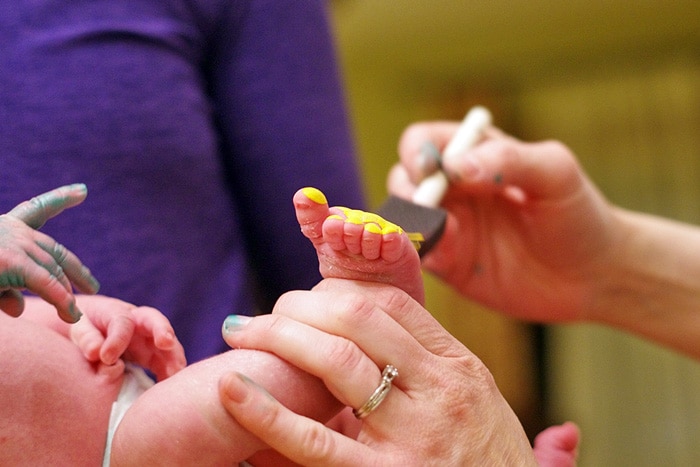
Here comes the fun part! Grab a partner and go to it. One person holds the baby while the other paints the hand or foot and places it on the canvas. There really is no ideal time to begin painting your baby’s hands and feet. We found it easier to work with our children when they were sleepy and relaxed. Baby not cooperating? Try again later.
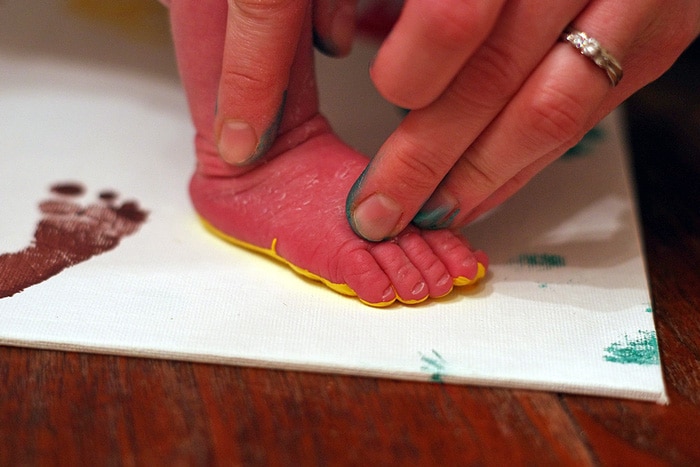
Sometimes the prints don’t go exactly as planned (take note, my perfectionist friends!) A fingertip may be missing or a toe off center. That’s ok! Remind yourself that you are trying to paint a squirming baby 🙂 If you really need a re-do or if excess paint gets on the canvas, use your white to cover any mistakes or unwanted color spots. Also, if you are using multiple colors like we are, you may need to spread the project out over a few days. For example, red and brown one day, yellow and green the next. On busy days, we may have just painted one hand or just one foot.
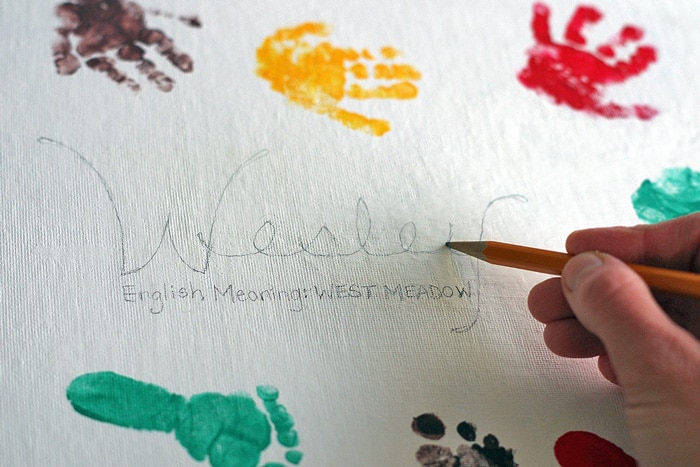
Once you are happy with the feet and hands, sketch out the baby’s name in pencil. I chose a font style that is the same for each canvas. If you make a mistake, erase the unwanted pencil marks and cover them with white paint for a clean finish. If you don’t prefer to sketch free hand, you can stencil or stamp the letters.
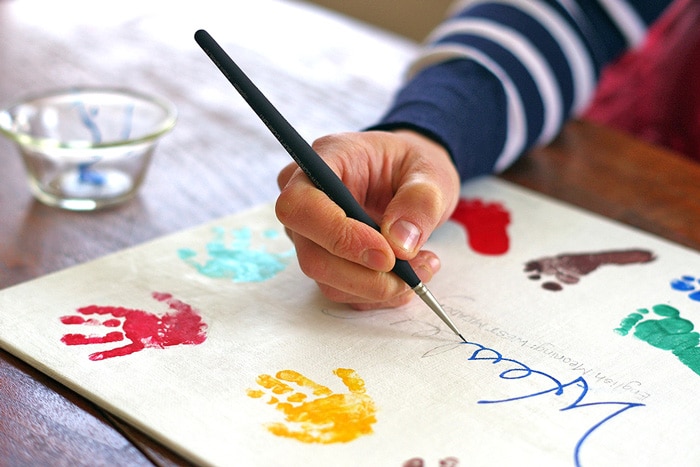
Using a fine tipped brush, paint the name and meaning of the name with a vibrant color. This is the focus for the entire piece. Take your time. This is not a time sensitive step. With our second child, her hands and feet were painted months before I got around to painting her name. Again, if you make mistakes, cover with white paint.
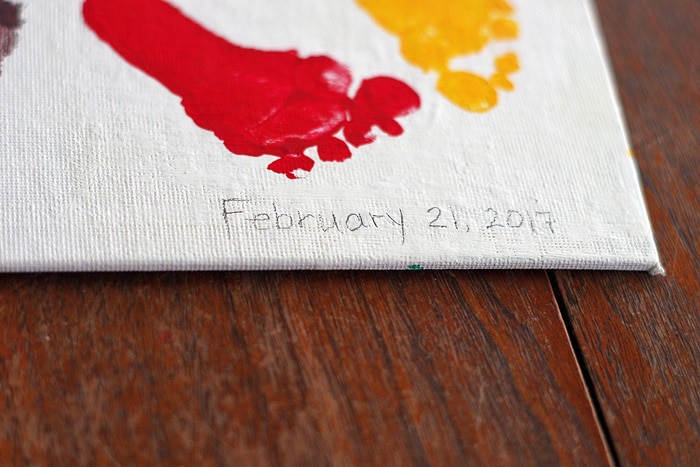
Don’t forget to date the bottom! I sketched and painted the birth date for each child in the right hand corner using the same color as the name.

When you are happy with your project, take it to your local framing shop and choose a mat color. You can mat each canvas in the same color or change it up with each one. We choose different mat colors, but the exact same custom frame. The entire project cost about $100 from start to finish, but you can significantly lessen the cost if you purchase an in-stock frame.
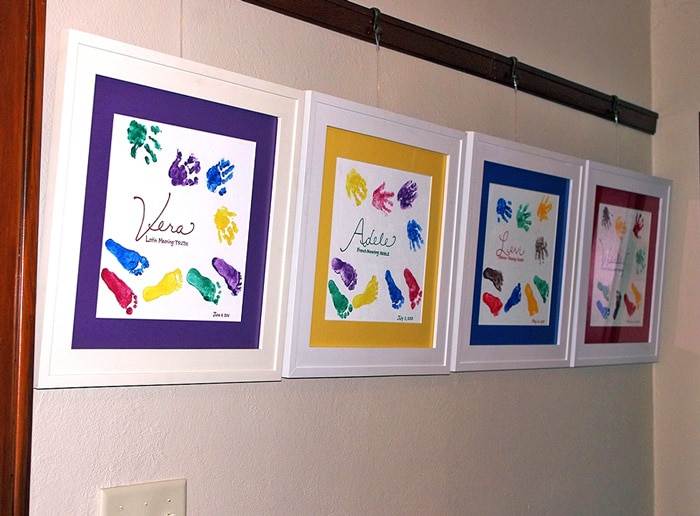
Here they are! Five and a half years, four beautiful children and four framed 2 week old hands and feet. To create the gallery affect, we hung the frames from a picture rail using antique hooks and wire.
Did this tutorial give you some ideas for your own preservation project? I know for my husband and I, we will cherish our little painted hands and feet for years to come…long after the children have left home.
Supplies you’ll need:
Paint
Paint brushes
Canvas
Kid 🙂


Leave A Reply!