

This is the best waffle recipe! If you want fluffy golden waffles that are a little crispy around the edges, then this homemade waffle recipe is for you! Easy to freeze for busy mornings. You will need a Belgian waffle maker to make this recipe.
If you like this recipe you’ll also love homemade biscuits or pancakes for breakfast.
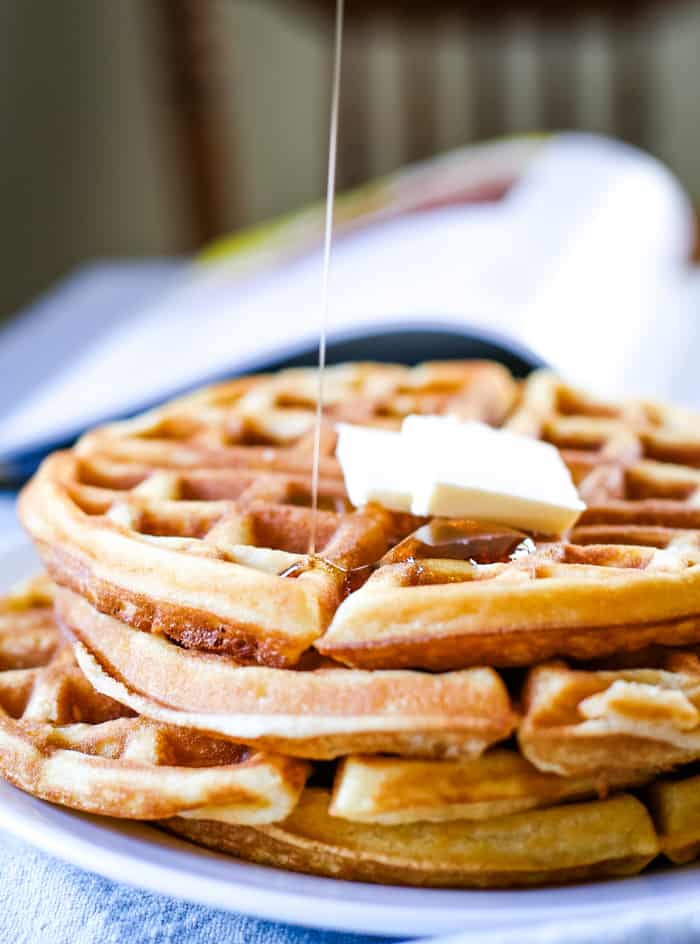
Table of Contents
Farmhouse Fluffy Waffles
A hot breakfast is something I always desire when I wake up on a cool day in Ohio. Living in our old farmhouse, the wood floors can be chilly, and the air has a draft. It’s some of the charms of its history, but it can be a bit hard to leave the comfort of our warm bed. So, a warm breakfast like pancakes, biscuits, or these homemade waffles is just the thing I want to make for my boys each morning and enjoy myself.
But who has time for a big farmhouse waffle breakfast when the bus is coming in 20 minutes and the kids are still in their warm footie pajamas? I found a great solution to our hot breakfast in the cold winter mornings.
- Prep for a busy weekday morning: On Saturday or Sunday morning we usually make a big waffle breakfast and take the leftovers and put them in the refrigerator to enjoy all week long – hot breakfast! We make a double batch of the recipe you’ll find below. Just pop the waffles in the toaster on the busy weekday mornings and you’re done.
- Waffle Maker: If you want to make the waffles last through the week you’ll need a waffle maker that divides the waffle into smaller parts that will fit into a toaster like this one.
Want to save this recipe?
Enter your email & I'll send it to your inbox. Plus, get great new recipes from me every week!
How to Make Homemade Waffles
- Dry Ingredients: Stir together the dry ingredients and set them aside.
- Wet Ingredients: Beat eggs in a large bowl. Add milk, butter, and vanilla. Mix well.
- Combine: Mix the dry ingredients with the wet ingredients.
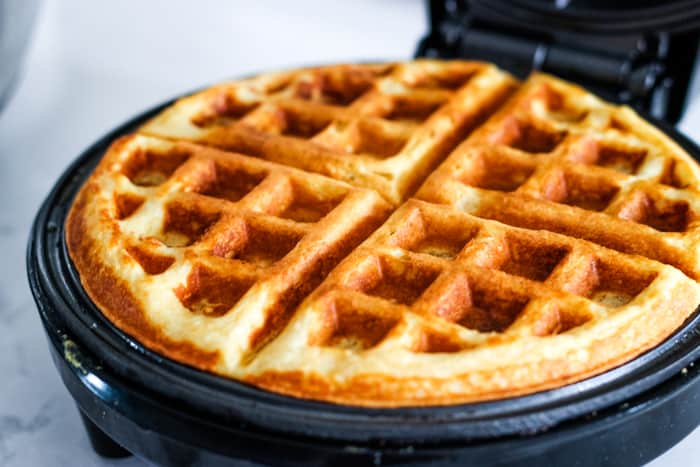
- Pour: Add waffle batter to greased waffle iron and bake by waffle maker instructions.
Waffle Topping Ideas
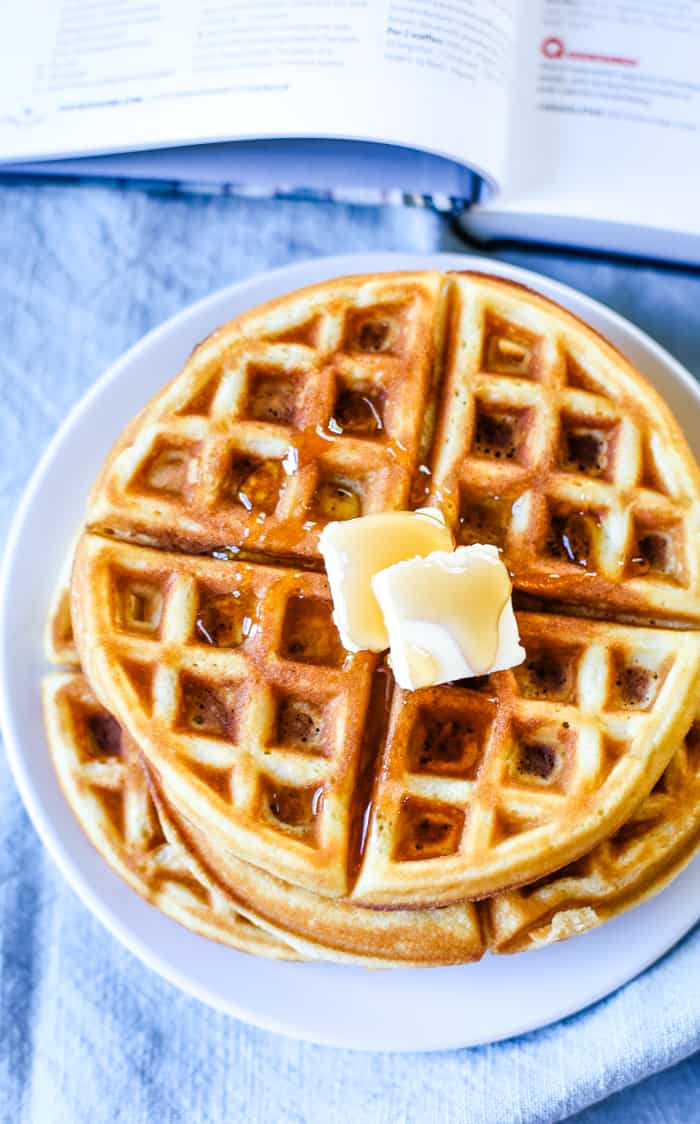
I prefer butter and syrup. However, this homemade raspberry sauce would be amazing . You can also top with whipped cream and fresh fruit. My kids prefer peanut butter with syrup.
This hot breakfast is fun way for us to gather before a busy Saturday or before church on Sundays. And the fact that it preps us for the week ahead – its just so clever. And if you like this recipe, try strawberry waffles with the addition of strawberries. But like every good breakfast, the less dishes and the more prep – the better. I hope you enjoy this homemade waffle recipe as much as my family has!
How to Make Waffles Video
Waffle Recipe: FAQs
After making the waffles let them completely cool. Tear your waffles into triangles if your waffle iron creates a natural division. Store in an airtight container in the refrigerator or freezer. Pop into the toaster when ready to reheat. Enjoy with butter and syrup.
Once cool, store leftover waffles in a airtight container in the refrigerator for up to 4 days. When ready to enjoy, pop into the toaster to crisp up. You can also freeze the leftover waffles and toast from freezer when ready to eat!
Waffle recipes tend to have more fat (hence the butter) than pancake recipes do. Try this recipe if you’re in the mood for pancakes.
Belgian waffles tend to be thicker. You use a unique waffle maker to create them. The recipe also calls for a leavening agent (the baking powder in this recipe) which allows them to be nice and fluffy.
Best Waffle Recipe
Ingredients
- 2 cups all purpose flour
- 2 Tablespoons granulated sugar
- 1 teaspoon salt
- 4 teaspoons baking powder
- 2 large eggs
- 1 1/2 cups milk
- 1/2 cup butter melted
- 1 tsp vanilla extract
Instructions
- Dry Ingredients: Mix dry ingredients and set them aside
- Wet Ingredients: In a separate bowl, beat eggs. Add milk, butter and vanilla. Mix well.
- Combine: Stir in the dry ingredients to the wet ingredients.
- Make Waffles: Pour into greased waffle iron and bake by waffle iron instructions.


Comments & Reviews
Can you make the batter in advance? Not too far. Was just wondering if I could make the batter and store in a covered bowl in the fridge overnight to make the morning easier. Just heat up the waffle iron and take the batter out of the fridge.
The baking powder will start to break down as soon as you add the liquid – so I would not suggest making the full recipe the night before. If you’re looking to make it easier in the morning (totally understand!) I would mix the dry ingredients together. Then in the morning you can just add the eggs, milk, vanilla and melted butter.
Great
I’ve loved waffles since I was a child. This recipe comes as close to mom’s recipe ( which was never written anywhere) that I have found. Delish!
Easy soft tasty just yummy
These are the ONLY waffles I’ve made since I found the recipe several years ago. They are light, tasty, easy to make, and are better than restaurant waffles.
Thank you so much for your comment! Our family loves them too!
A good, simple recipe. Not too sweet, but just a touch of sweet! Would work to add a sweeter or savory element! Thank you!
Yay! First time making waffles! This recipe was AWESOME! Thank you for sharing!!
Yay! So glad you had success! It is a great recipe.
How do you think it would be if I make the batter the night before?
I would not recommend it as the baking powder will lose it’s effectiveness after moisture is added to it. If you want to prep the night before, combine all the dry ingredients together and add the wet ingredients right before making it.
Excellent recipe! I did separate my eggs, beat the egg whites to a very soft peak and folded into batter.
I use this recipe instead of premixed brands now! It is easy and so good!!!! I make pancakes as well as waffles. Both turn out wonderful!
Agree! It really is so easy!