
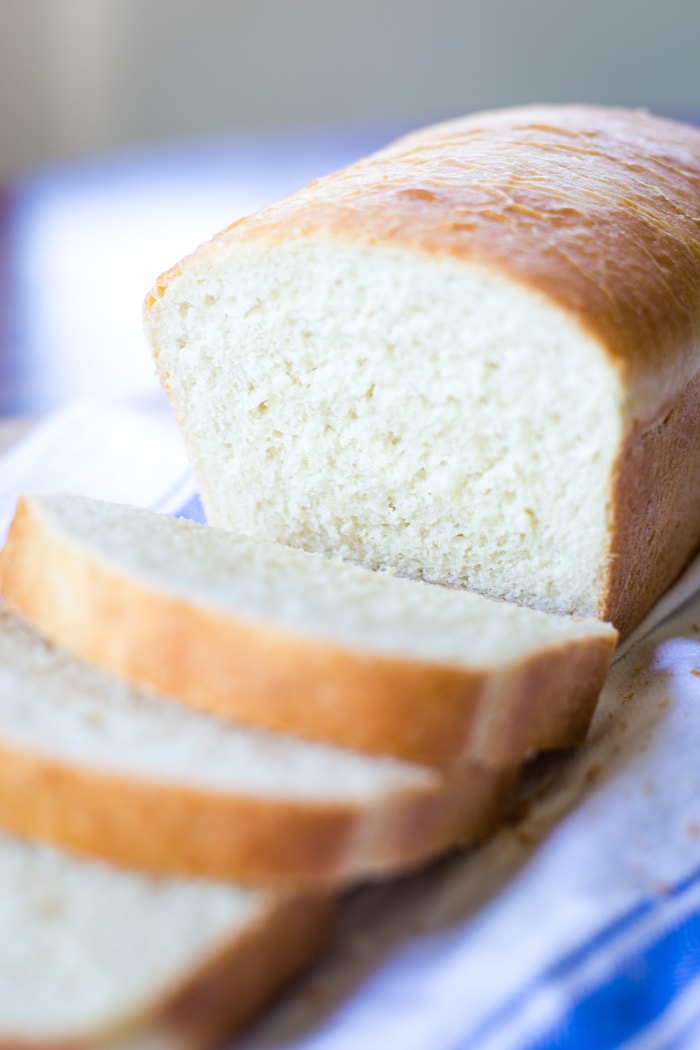
This easy homemade bread recipe makes three loaves! Using your stand mixer, you can make hearty, delicious white bread for sandwiches using all-purpose flour!
With everything going on these days, we found we were quickly running out of bread each week. I turned to my mom who had perfected a recipe that makes a hearty delicious bread – and three loaves at a time!
Table of Contents
Why This Bread Recipe is Easy
- You use a stand mixer to combine and knead the dough. Super easy!
- It makes three loaves of bread at a time which saves time.
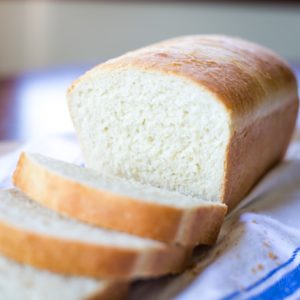
- The bread is soft, but hearty. Perfect for sandwiches! (And makes the best grilled cheese, too!)
- It is created using all-purpose flour which you are more likely to have on hand.
Want to save this recipe?
Enter your email & I'll send it to your inbox. Plus, get great new recipes from me every week!
Ingredients
- 4½ teaspoons instant yeast (two 0.25-ounce packets)
- ¾ cup + 2⅔ cups warm water (divided)
- ¼ cup granulated sugar
- 1 Tablespoon salt
- 3 Tablespoons butter, cubed, at room temperature
- 9 to 10 Cups all-purpose flour
- 3 Tablespoons butter (melted, for brushing on top of loaf)
Ready to make some bread? I’m going to walk you step by step through this process with tips and ideas. Whether this is your first time making bread, or you’re a pro, these steps will give you success!
How to Make Bread
Step 1: Dissolve the Yeast
In the bowl of the stand mixer, stir to dissolve the yeast in ¾ cup of the warm water (105-110˚F), and let sit for 5 minutes. Add the remaining 2 ⅔ cups water at same temperature, sugar, salt, room temperature butter, and 5 cups of the flour to the mixer bowl. Stir to combine.
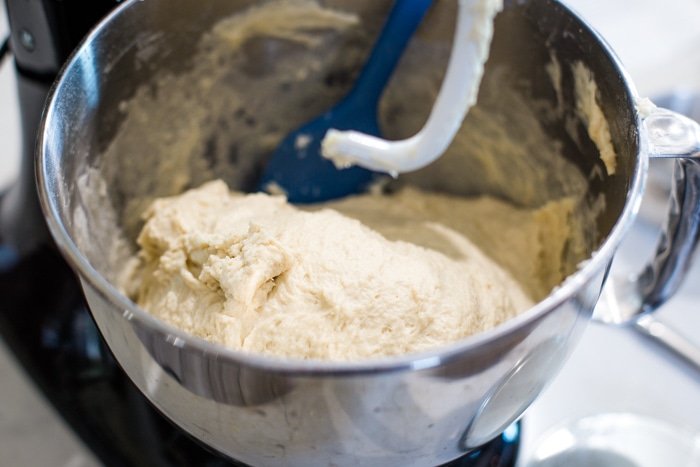
Step 2: Knead with Dough Hook
Using a dough hook, mix on low speed and gradually add the remaining 4 – 5 cups of flour until the dough is soft and tacky, but not sticky (you may not need to use all of the flour). Continue to knead using the dough hook until a soft ball of dough forms and clears the sides of the bowl, about 7 to 10 minutes.
*Please note that depending on your stand mixer, the dough may start to crawl up the dough hook. When it does this, turn off the mixer and use a spatula to scrape down the dough. Continue to knead until it crawls up the dough hook and repeat the same process.
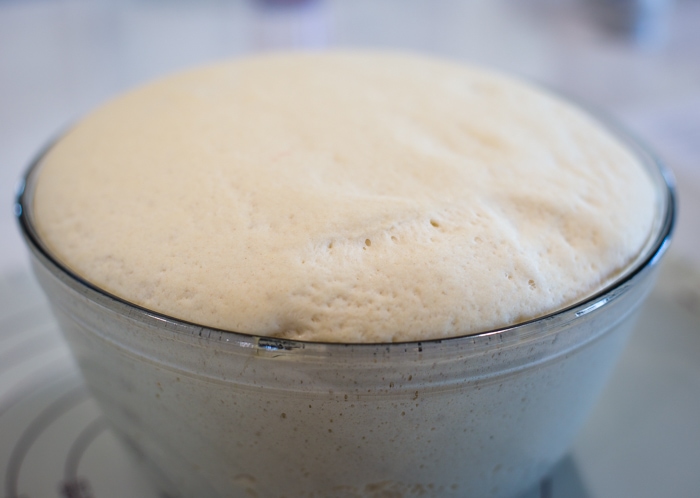
Step 3: Let Rise
Place the dough in a lightly greased bowl and turn it over so it is completely coated. Cover with plastic wrap loosely or a kitchen towel and set in a draft-free place to rise until doubled in size, about 45 minutes to 1 hour. I used bread control on my oven and set the temperature to 100˚ F.
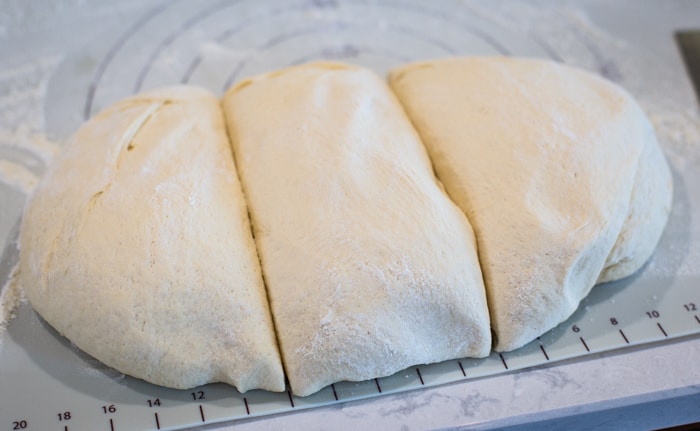
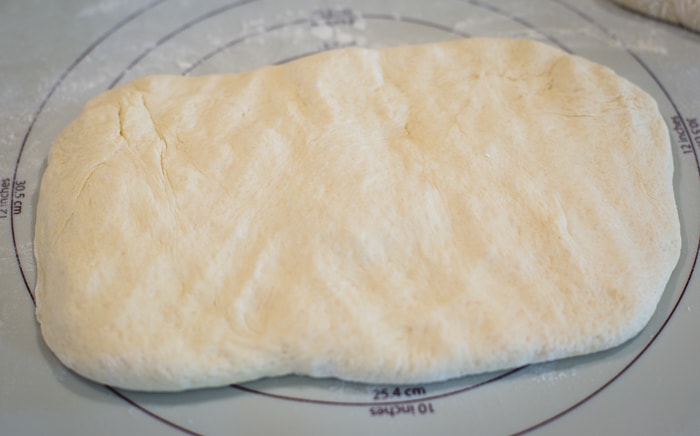
Step 4: Press into Rectangle
Turn the dough out onto a clean, lightly floured surface. Gently press it all over to remove any air pockets. Divide the dough into three parts (1.5 pounds each) and, working with one piece at a time, gently pat it into a 9×12-inch rectangle.
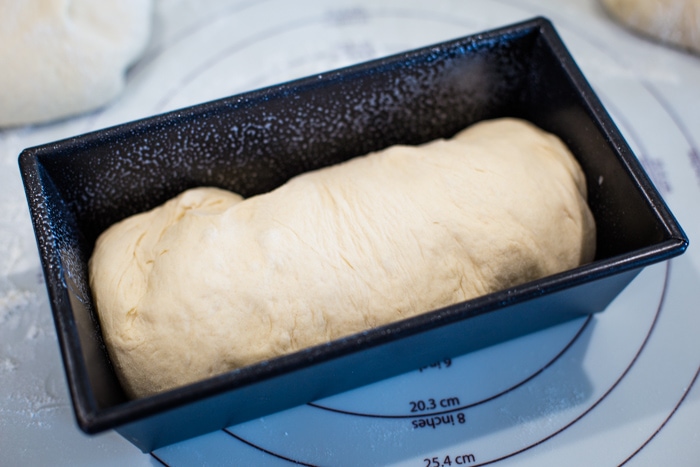
Step 5: Let Bread Rise Again
Roll up the rectangle, starting on the short end, into a very tight cylinder. Pinch to seal the seams and the ends, tuck the ends of the roll until the bread, and place seam down into greased 9-inch loaf pans. Cover the loaves loosely with a towel and place in a draft-free area until doubled in size, 30 to 45 minutes. While the bread rises, preheat oven to 400˚ F.
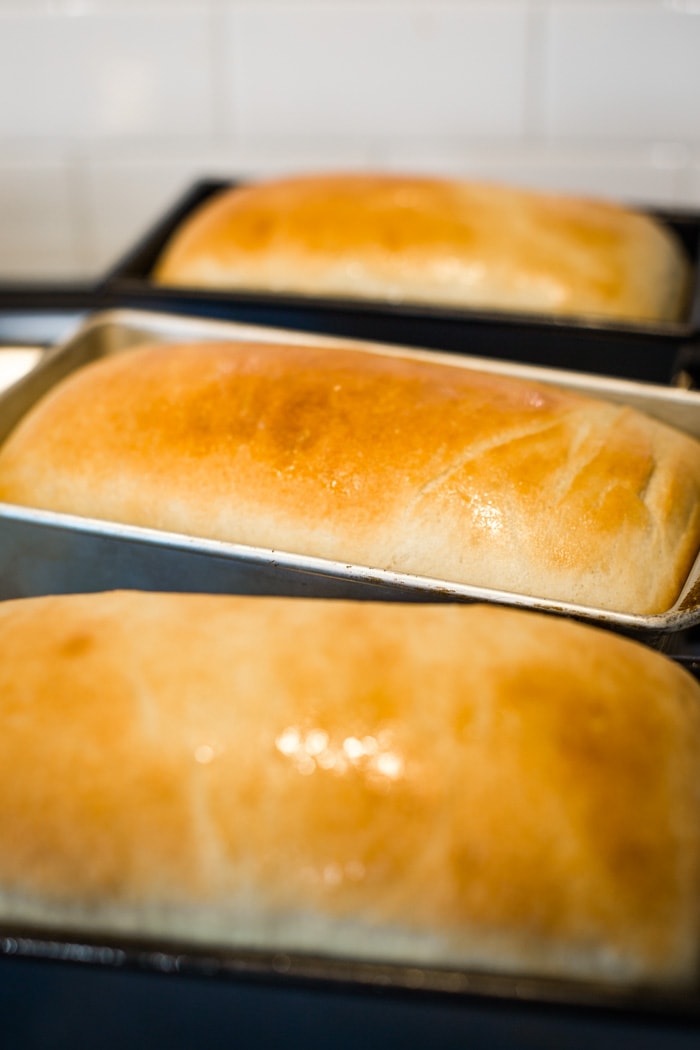
Step 6: Bake the Bread
Brush the top of the loaves with some of the melted butter. Bake the bread loaves for 25 to 30 minutes, rotating halfway through, until golden brown (an instant-read thermometer inserted into the center should read 190˚ F). If they start to get too brown, form an aluminum foil tent and cover after 15 minutes.
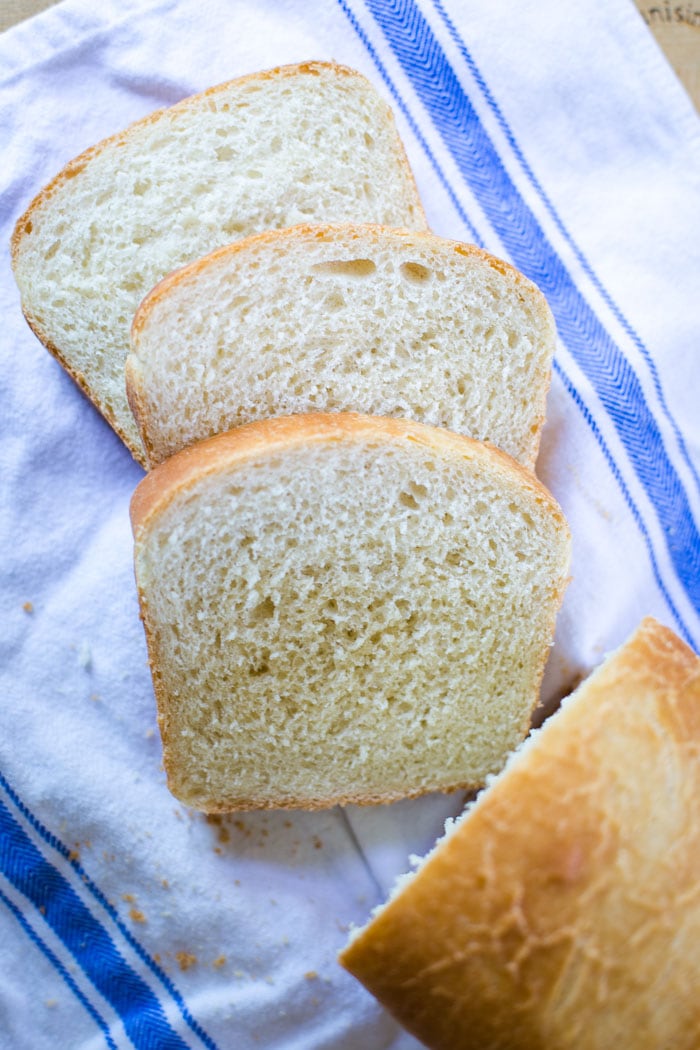
Step 7: Let Cool Before Slicing
Remove from the oven and immediately brush with more melted butter. Allow to cool for 10 minutes in the pans. Once the 10 minutes is over, move from the pans and cool completely on a cooling rack before slicing, about 50 minutes. The bread can be stored in an airtight bread bag or wrapped tightly in plastic wrap at room temperature for up to 4 days. It can also be frozen for up to 1 month.
Tips:
What kind of yeast should I use in this recipe? You can substitute active dry yeast for the instant yeast. Ensure that it is indeed activated in step #1 before continuing, and note that the rise times will be slightly longer. Instant is also called “Rapid Rise Yeast”.
How do I make sure my bread with rise? My oven will allow me to set the temperature to 100˚F. This is a perfect temperature to let the dough rise and the easiest way to ensure a consistent temperature.
How do I know when bread is done baking? An instant-read thermometer inserted into the center should read 190˚ F.
What if my bread is getting too brown on top? If the bread loaves in the oven start to get too brown, form an aluminum foil tent and cover after 15 minutes of baking.
How do I store my homemade bread? The bread can be stored in an airtight bread bag or wrapped tightly in plastic wrap at room temperature for up to 4 days. It can also be frozen for up to 1 month.
More Bread Recipes:
- Irish Bread – uses no yeast!
- Pumpkin Bread
- Homemade Cornbread Recipe – a family favorite!
Easy Homemade Bread
Ingredients
- 4½ teaspoons instant yeast two 0.25-ounce packets
- ¾ cup + 2⅔ cups warm water divided
- ¼ cup granulated sugar
- 1 Tablespoon salt
- 3 Tablespoons butter cubed, at room temperature
- 9 to 10 cups all-purpose flour divided
- 3 tablespoons butter melted, for brushing on top of loaf
Instructions
- Dissove the Yeast: In the bowl of a mixer, stir to dissolve the yeast in ¾ cup of warm water (110˚ F), and let sit for 5 minutes.
- Add ingredients: Add the remaining 2 ⅔ cups water at same temperature, sugar, salt, room temperature butter, and 5 cups of the flour to mixer bowl. Stir to combine.
- Add remaining flour 1 cup at at time and knead: Using a dough hook, mix on low speed and gradually add the remaining 4 -5 cups of flour one cup at a time until the dough is soft and tacky, but not sticky (you may not need to use all of the flour). Continue to knead using dough hook until a soft ball of dough forms and clears the sides of the bowl, about 7 to 10 minutes.
- Let bread dough rise: Place the dough in a lightly greased bowl and turn it over so it is completely coated. Cover loosely with plastic wrap or a kitchen towel and set in a draft-free place to rise until doubled in size, about 45 minutes to 1 hour. (I used bread control on oven and set temperature to 100˚ F.)
- Divide the bread dough: Turn the risen dough out onto a clean, lightly floured surface. Gently press it all over to remove any air pockets. Divide the dough in three parts (1.5 pounds each) and, working with one piece at a time, gently pat it into a 9×12-inch rectangle. Roll up the rectangle, starting on the short end, into a very tight cylinder. Pinch to seal the seams and the ends, tuck the ends of the roll until the bread, and place seam down into greased 9-inch loaf pans with parchment paper only on the bottom.
- Let bread dough rise again: Cover the loaves loosely with a towel and place in a draft-free area until doubled in size, 30 to 45 minutes. While bread rises, preheat oven to 400˚ F.
- Bake: Brush the loaves with some of the melted butter. Bake the loaves for 25 to 30 minutes, rotating halfway through, until golden brown (an instant-read thermometer inserted into the center should read 190-195˚ F). If the top of the bread starts to get too brown, form an aluminum foil tent and cover after 15 minutes.
- Let cool: Remove from the oven and immediately brush with more melted butter. Allow to cool for 10 minutes in the bread pans. Remove from the pans and cool completely on a cooling rack before slicing, about 50 minutes.
- Storage of homemade bread: The bread can be stored in an airtight bread bag or wrapped tightly in
- plastic wrap at room temperature for up to 4 days. It can also be frozen for up to 1 month.


Comments & Reviews
Wonder and easy. Tastes great. Didn’t change a thing. Would like to experiment with herbs sometime. Made this twice. One loaf is usually gone same day. My 3 year old who hates store bought bread devours this.
Awesome! So glad you enjoyed this favorite recipe.
Can I use oil instead of butter?
Some say to remove bread from pans immediately after baking so it doesn’t get humid ,
Butter is oil!
Could you use honey for the sugar?
I’ve never tried it, so I can’t speak to the results. That being said, here’s some information I found online that might help.