
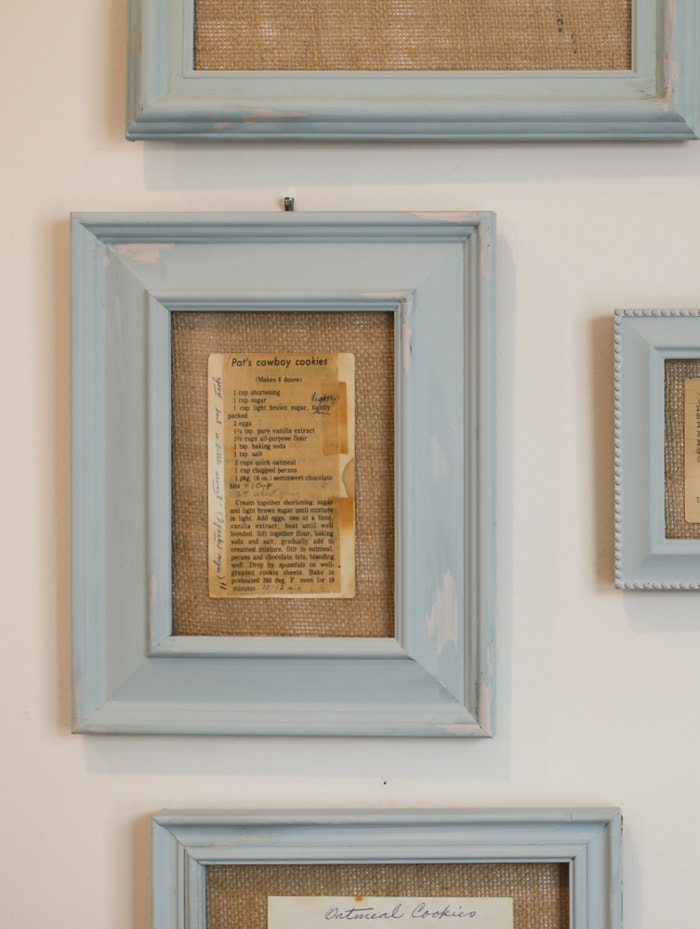
When I wanted to frame my grandmother’s and great-grandmother’s recipes on our kitchen wall, I knew that I wanted the look of distress frames in the space. Nothing in our home looks perfect, so why should a few frames? I also knew that distressing the frames myself with chalk paint would allow me to find frames at the thrift store making the project much cheaper. Surprisingly this process was very simple and very easy to do. In one afternoon I had the entire project up on my wall with matching frames!
Here’s the supplies I used to distress picture frames
- Two Colors of Chalk Paint
- Vaseline
- Paper Towels
- Paint Brush
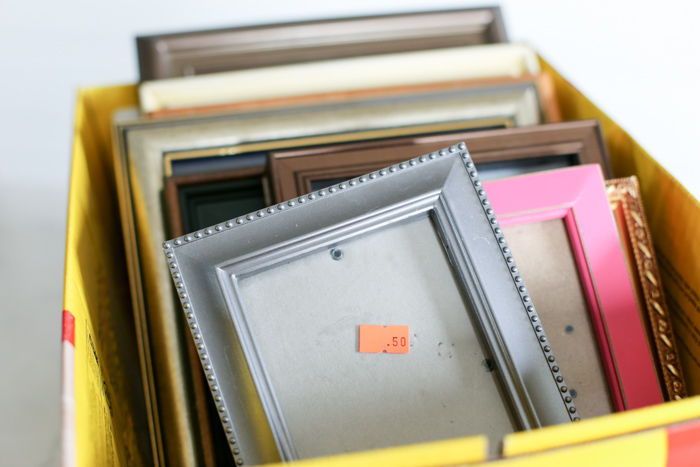
The first step was to find the frames. I found them all at one thrift store. I looked for frames based on the texture of the frame as well as the size. I wish I had paid closer attention to how they would affix to the wall. Unfortunately, I did not which led me to having to be quite creative when it came time to hang them. Learn from me.
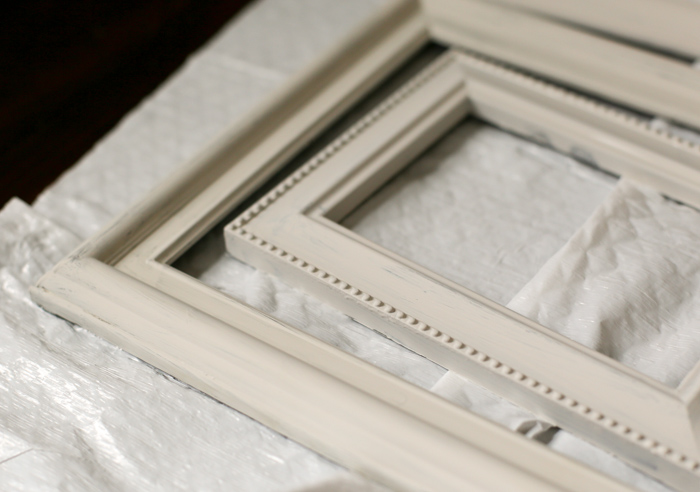
Once I had the frames at home, I cleaned them and then applied one coat of a light chalk paint. The color is really up to you. You can do a dark undercoat or a light one. I chose to go with a light one using a tan base.
After the first coat had completely dried, which didn’t take long, I applied a second coat to some of the frames. I found that the dark frames were a little streaky.

Now the fun part. Take vaseline on your fingers and apply a thin amount to the parts of the frame you want to age. I focused on the corners and a few areas along the sides. You don’t need a lot but you also don’t want to put on too little.
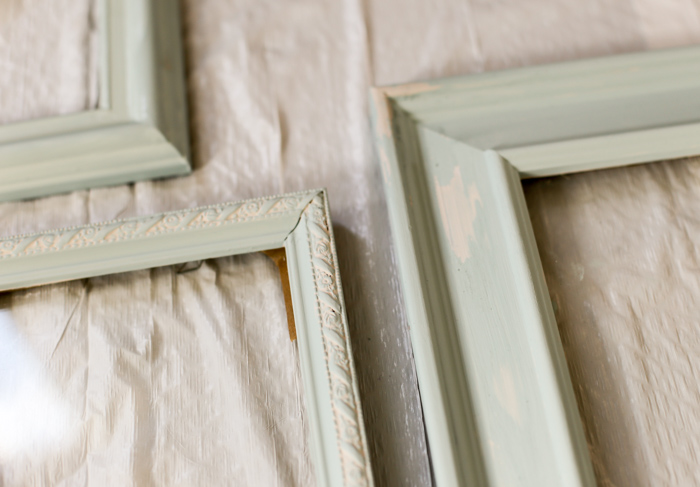
Apply the top coat which for me was a darker color. Let it dry for about 10 minutes or until it’s just tacky. You don’t want it to completely dry but you don’t want it completely wet either.
Take a paper towel and gently wipe off the vaseline to revel the first coat of paint. It’s amazing how real it looks and how easy it is to distress picture frames!

One the paint has completely dried it was time to hang my distressed frames. I like to use a large poster board and trace where I want each of the frames. This makes it so much easier. I tap in the nails to give me a mark on the wall, and then can remove the poster board.
I shared how I framed the recipe cards here if you’re wondering. I love how these turned out and they are prefect for the space. The aged frames give it just the right bit of texture but are not overpowering since the star of the show is the recipe cards.

The entire project didn’t cost very much as the frames were all about 50 cents to one dollar. The paint was very inexpensive as I bought it at our grocery store. No fancy chalk paint needed to distress picture frames!
What color of chalk paint would you use to distress picture frames?


Comments & Reviews
Hi Lynette,
Your project looks great! I’m new to crafting with chalk paint and love the concept. It’s something that can be done fairly quickly and it’s fairly easy with very lovely results. Very satisfying.
I was wondering, do you paint the backs of your picture frames?
Linda
What color paint did you use?
I used “vintage” by DecoArt paint. Hope that helps!
After you apply the Vaseline, do you just brush over it when you’re putting on the second coat or did you use spray chalk paint?
I used brushed on chalk paint, but I believe spray chalk paint would have the same result. The Vaseline acts as a barrier for the paint to adhere to the frame.
Could you use something other than vaseline to do this? I don’t use vaseline. Maybe another form of butter like shea butter or a thick oil like castor oil? This is a totally cool idea, and I’ll be trying it out soon. Thanks for the creative way to preserve favorite recipes from loved ones, or, just about anything!!!
Hi Carol, I’ve not tried anything other than Vaseline to distress picture frames. However, if you do test using another product, please let me know how it goes as I’m curious to know if you will get the same results.
You can also use candle wax