Rice Krispie Peanut Butter Bars

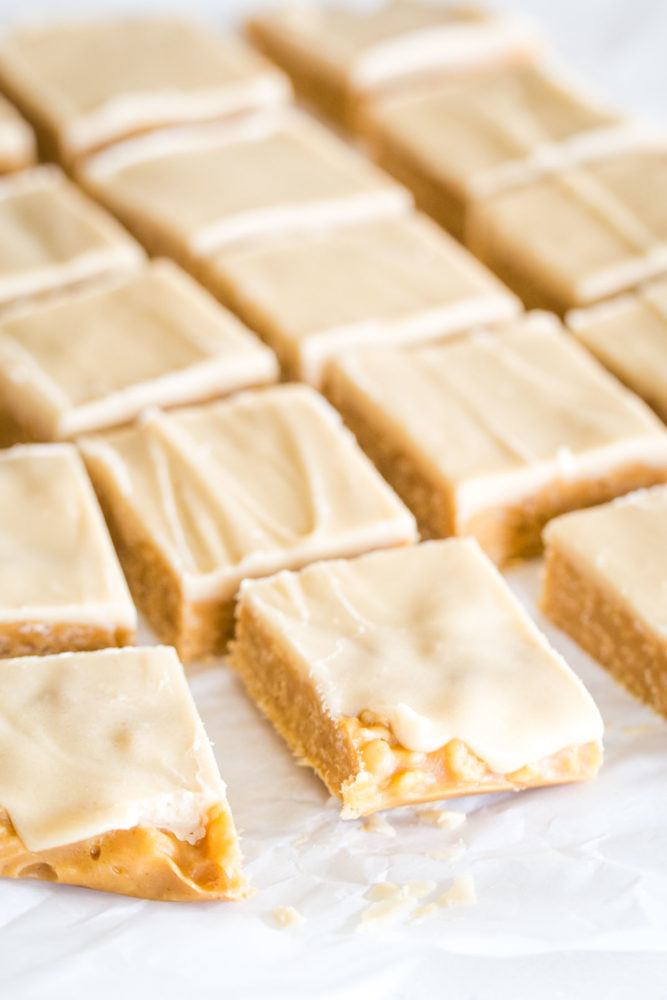
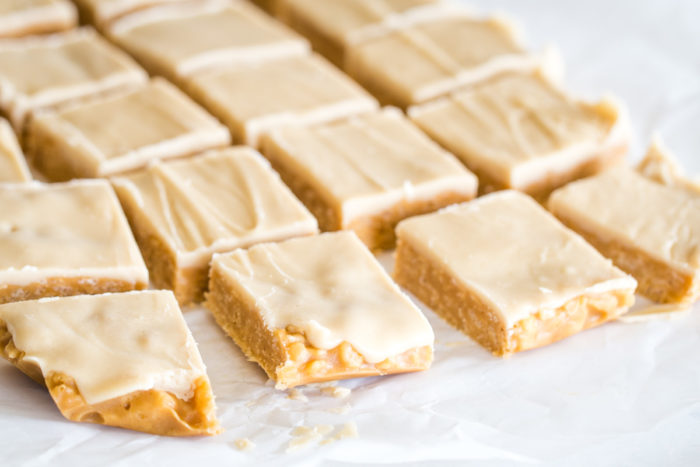
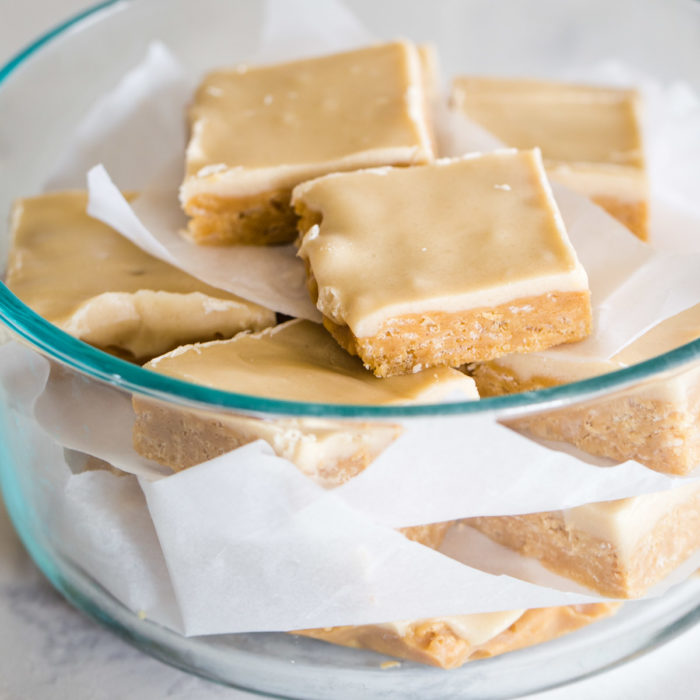
These rice krispie peanut butter bars are crunchy, sweet, and a bit chewy, giving you the perfect bite-sized treat. With their crispy texture and gooey, peanut buttery goodness, you won’t be able to have just one!

With a layer of peanut butter and chocolate on top of the Rice Krispie base, these bars are not only delicious but also so easy to make. It’s a vintage no-bake recipe with the best texture ever!

Love dessert bars? Then you have to try my pumpkin pie bars, magic cookie bar recipe, and these chewy toffee cookie bars! They’re all easy to make and feature incredible flavors!

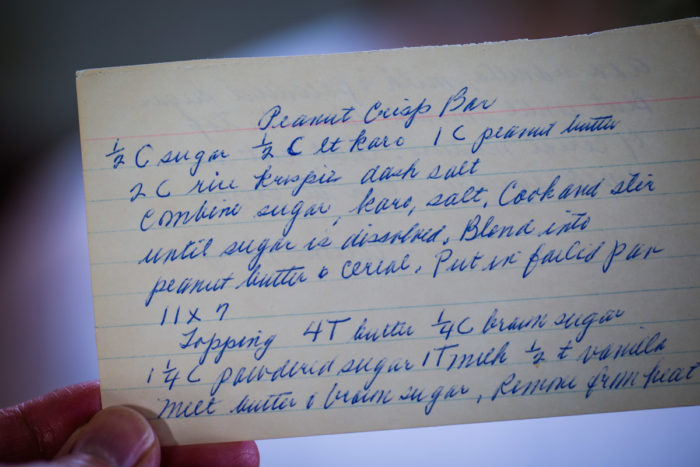
recipe card for recipe

This recipe is in my grandma’s handwriting. She kept it tucked away in her little recipe box and I’m so glad I discovered it. I love the sweetness of this dessert with the bit of crunch!

Why I Love This Recipe

  • Classic Flavors: This recipe combines the classic flavors of peanut butter and rice krispies in the best way possible! You’ll love the flavors!
  • No Bake: I love that this recipe doesn’t require an oven! This means it’s easy enough for beginners to make it or when it’s too hot in the summers to crank up the oven!
  • Family Favorite: It’s a tried and true recipe that’s been a hit in my family for years. I love sharing it with others and hearing about how much they enjoy it too.
  • Easy to Make: With simple ingredients and easy-to-follow instructions, this recipe is a snap to make. It’s perfect for when you need a quick and delicious treat.
peanut butter squares

Want to save this recipe?

Enter your email & I'll send it to your inbox. Plus, get great new recipes from me every week!

Save Recipe

Key Ingredients

  • Granulated Sugar: This sweetens the base layer and gives it a nice, sugary flavor.
  • Light Corn Syrup: It helps to bind the ingredients together and adds a bit of moisture to the base layer.
  • Peanut Butter: This is the star of the show, giving the base layer a rich, nutty flavor and a creamy texture.
  • Rice Krispies: They add a crunchy element to the base layer, making it a bit more interesting to bite into.
  • Salt: A pinch of salt helps to balance out the sweetness of the other ingredients in the base layer.
  • Butter: This is used in the topping to add a rich, buttery flavor and a smooth, creamy texture.
  • Brown Sugar: It sweetens the topping and gives it a hint of caramel flavor.
  • Powdered Sugar: It helps to thicken the topping and make it sweeter.
  • Vanilla Extract: This adds a sweet, aromatic flavor to the topping.

Equipment

  • Medium Sauce Pan – You’ll need this to combine the sugar, corn syrup, and salt, and to blend in the peanut butter and cereal for the base layer of the bars.
  • Small Sauce Pan – This is essential for melting the butter, and brown sugar, and for mixing the topping ingredients before spreading them over the base layer.
  • 8×8 Square or 11×7 Rectangular Pan – This is where you’ll assemble your bars. Make sure to line it with parchment paper for easy removal.

How to Make Rice Krispie Peanut Butter Bars

Preparation

Start by lining your baking pan with parchment paper. This will make it easier to remove the bars once they are set.

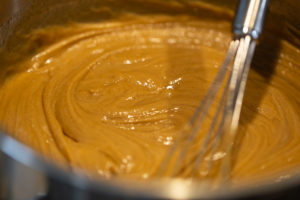
crispies batter for base layer in sauce pan
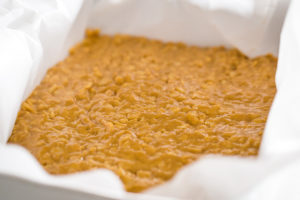
base layer of peanut butter bars

Step 1 – Prepare the Base

Combine the sugar, corn syrup, and salt in a saucepan. Cook this mixture until the sugar is dissolved, then add the peanut butter and Rice Krispies. Once combined, press this mixture into your lined baking pan.

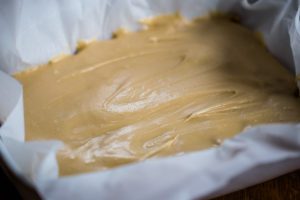
topping on peanut butter bars

Step 2 – Make the Top Layer

In another saucepan, melt the butter and brown sugar. Remove it from the heat and add the vanilla, milk, and powdered sugar. Beat this mixture until smooth, then spread it over the top of your peanut butter and Rice Krispie base.

peanut butter bars in storage container

Step 3 – Chill and Serve

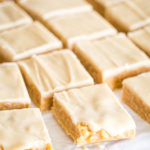
Pop the pan into the fridge and let it chill. Once the top layer is set, take the bars out of the pan using the parchment paper and cut them into squares.

Expert Tip

To ensure a smooth and creamy topping for your Rice Krispie Peanut Butter Bars, make sure to sift the powdered sugar. I didn’t do it the first time, and no matter how hard you beat the topping, you will still have little tiny lumps. Sifting the powdered sugar may seem like an extra step, but it really makes a difference in the final texture of the bars.

Recipe Variations

  • Chocolate Drizzle: After making the bars, drizzle some melted chocolate over the top for a delicious chocolate-peanut butter combo.
  • Extra Crunchy: If you love the texture of Rice Krispies, feel free to add an extra cup to the base layer for a crunchier treat.
  • Different Nut Butter: While the recipe calls for peanut butter, you can easily swap it out for almond butter or cashew butter for a different flavor.

What to Serve With

  • For a classic afternoon treat, serve these rice krispie peanut butter bars with a tall glass of cold milk. The creamy, sweet bars pair perfectly with the refreshing, slightly tangy flavor of the milk, making for a satisfying snack.
  • If you’re hosting a dessert party, these bars are a must-have. You can cut them into smaller bite-sized pieces and serve them on a platter with a variety of other treats.
  • These bars are also great for lunchbox treats. Wrap them individually in parchment paper or plastic wrap and pop them in your or your kid’s lunchbox for a sweet, homemade treat.

Recipe FAQs

What makes these bars different from regular Rice Krispie treats?

These peanut butter bars have a base layer made with a mixture of sugar, corn syrup, peanut butter, and Rice Krispies, which gives them a sweet and crunchy texture. On top of that, there’s a layer of creamy, sweet topping, making them more decadently delicious than the regular treats.

Can I use a different type of cereal?

Yes, you can. If you don’t have Rice Krispies on hand, you can use a similar cereal like puffed rice. I recommend Rice Krispies for the best results though!

Do I have to line the baking pan with parchment paper?

It’s highly recommended to line the pan with parchment paper. This makes it easier to remove the bars from the pan and also helps with easy cleanup. If you don’t have parchment paper, you can grease the pan with butter or cooking spray, but the bars may be a bit more difficult to remove.

Storing and Reheating

  • Storing: After cutting the rice krispie peanut butter bars into squares, store them in an airtight container. They will keep well at room temperature for up to 3 days.
  • Freezing: You can also freeze these bars. Simply place them in a single layer in a freezer-safe container with a piece of wax paper between each layer to prevent sticking. They can be frozen for up to 2 months.

Serving Size

  • What to Expect: This rice krispie peanut butter bars recipe yields a deliciously sweet and chewy dessert, enough for 20 servings.
  • How to Scale: If you want to make more than 20 servings, you can double the recipe and follow the instructions as directed. You may need to use a larger saucepan to prepare the base layer and a larger bowl for the topping to accommodate the increased quantity.
peanut butter bars
Created by: Lynette Rice

Rice Krispie Peanut Butter Bars


Course Dessert
Cuisine American
Prep Time 20 minutes
Cook Time 15 minutes
Cooling Time 3 Hours
Servings 20 bars
20 bars
These rice krispie peanut butter bars are crunchy, sweet, and a bit chewy, giving you the perfect bite-sized treat. With their crispy texture and gooey, peanut buttery goodness, you won’t be able to have just one!

Ingredients
  

Base Layer

  • 1/2 Cup granulated sugar
  • 1/2 Cup light corn syrup
  • 1 Cup peanut butter
  • 2 Cups Rice Krispie Cereal
  • 1/8 teaspoon salt

Topping

  • 4 Tablespoons butter
  • 1/4 Cup brown sugar
  • 1 1/4 Cup powdered sugar sifted
  • 1 Tablespoon milk
  • 1/2 teaspoon vanilla extract

Instructions

  • Line a 8×8 square or 11×7 rectangular baking pan with parchment paper.
  • Combine the sugar, corn syrup and dash of salt in a medium sauce pan. Cook over medium heat stirring constantly until the sugar is dissolved. Blend in the peanut butter and cereal. Pour into the parchment paper lined baking pan.
  • In a separate small sauce pan melt the butter and brown sugar. Remove from heat. Add the vanilla, milk and powder sugar and beat until smooth. Spread over the top of the base layer.
  • Chill and then cut into small squares.
Notes

Expert Tip: To ensure a smooth and creamy topping for your Rice Krispie Peanut Butter Bars, make sure to sift the powdered sugar. I didn’t do it the first time, and no matter how hard you beat the topping, you will still have little tiny lumps. Sifting the powdered sugar may seem like an extra step, but it really makes a difference in the final texture of the bars.
Storing: After cutting the rice krispie peanut butter bars into squares, store them in an airtight container. They will keep well at room temperature for up to 3 days.
Freezing: You can also freeze these bars. Simply place them in a single layer in a freezer-safe container with a piece of wax paper between each layer to prevent sticking. They can be frozen for up to 2 months.

Nutrition

Serving: 1bar | Calories: 162kcal | Carbohydrates: 27g | Protein: 3g | Fat: 9g | Saturated Fat: 3g | Polyunsaturated Fat: 2g | Monounsaturated Fat: 4g | Trans Fat: 0.1g | Cholesterol: 6mg | Sodium: 95mg | Potassium: 82mg | Fiber: 1g | Sugar: 16g | Vitamin A: 257IU | Vitamin C: 2mg | Calcium: 12mg | Iron: 1mg
*Nutrition provided is an estimate. It will vary based on specific ingredients used.

Short on time but love dessert?

Four simple MAKE AHEAD dessert recipes in your inbox.

4.20 from 5 votes (5 ratings without comment)

Leave a Reply

Your email address will not be published. Required fields are marked *

Recipe Rating