Easy strawberry freezer jam recipe using fresh strawberries, sugar and sure-jell fruit pectin. If you’ve never canned, this is the best homemade jam recipe to start with!
When it’s strawberry pickin’ time it is easy strawberry freezer jam recipe time!
My dad grows strawberries in his garden, and they are the most delicious strawberries we’ll enjoy the entire year. But when they become ripe, they arrive quickly and you can’t eat them fast enough. Unlike the strawberries you’ll buy in the store, when you pick a ripe strawberry they will only last a few days. That’s when this easy strawberry jam recipe comes into the picture.
What if you don’t have a garden? Even if you don’t have a garden, it’s easy to find strawberries at a farmer’s market or even in the grocery store. I do think the best flavor comes from fully ripe strawberries which are hard to come by in the grocery store. Fully ripe strawberries are red in the inside. If you bite into a store bought strawberry you will notice that they are white inside. I’m not really sure how they get the outside so red – but maybe I don’t want to know that.
Either way, grab yourself 1 quart of strawberries! It takes 1 quart to make 6 (8 oz) jars of this easy strawberry jam recipe.
Table of Contents
Strawberry Freezer Jam Ingredients
Here’s what you’ll need to make strawberry freezer jam. Side Note: There are other brands of fruit pectin. However, I find that Sure Jell works great and so I stick with it and their recipe. You can find the exact same instructions I’m sharing today in the box.
- 1 (1.75 oz) Box Sure-Jell Fruit Pectin (you can find it at almost every grocery or big box store)
- 2 Cups fresh strawberries, crushed
- 4 Cups white sugar
Want to save this recipe?
Enter your email & I'll send it to your inbox. Plus, get great new recipes from me every week!
Strawberry Jam Supplies
In addition to your ingredients, you’ll need a few supplies to make jam.
- Large bowl with pour spout. (Or you can use a funnel and a regular bowl.)
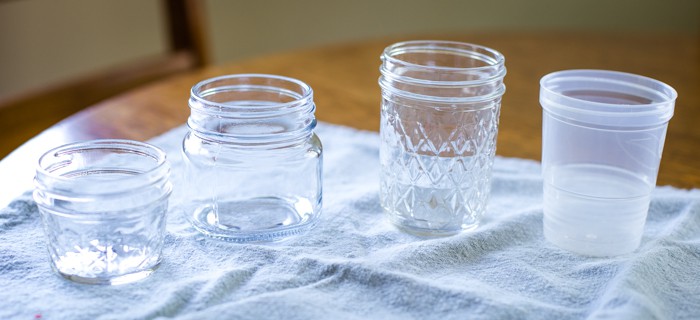
- 6 (8 oz.) jelly jars
- Blender or pastry blender
When it comes to jelly jars, you have a few options. I prefer the 8 ounce size in glass. However, the 4 ounce size makes for great gifts. You can also purchase plastic freezer jam jars, but I prefer the glass.
How to Make Strawberry Freezer Jam
I’ve made this jam quite a few times over the years so I’m going to walk you through what I do. I think I’ve gotten more efficient in what I do so I hope it helps to simplify the process for you. I know that the first time I looked into the box of pectin with the chart with every kind of jelly listed I started to confuse myself. Hopefully, this will help you move quickly through the process and be on your way to being Laura Ingalls Wilder!
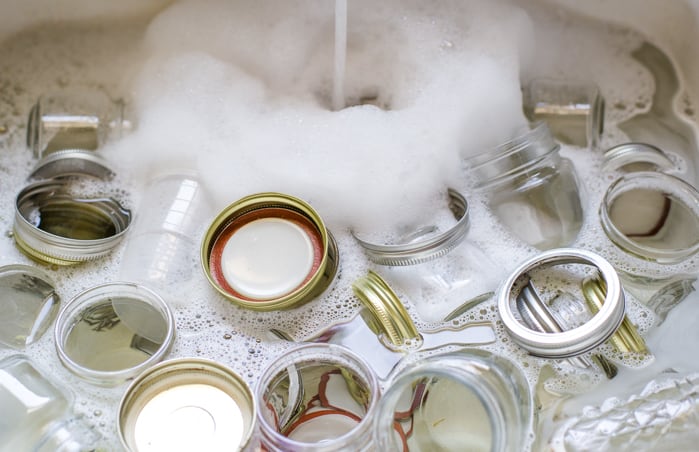
Clean the ball jars. The first thing you’ll want to do is to clean your jars with soap and hot water. I don’t sterilize them in the oven when I’m making freezer jam. Since they’re not going to be stored at room temperature like canned tomatoes, I prefer to leave that step out.
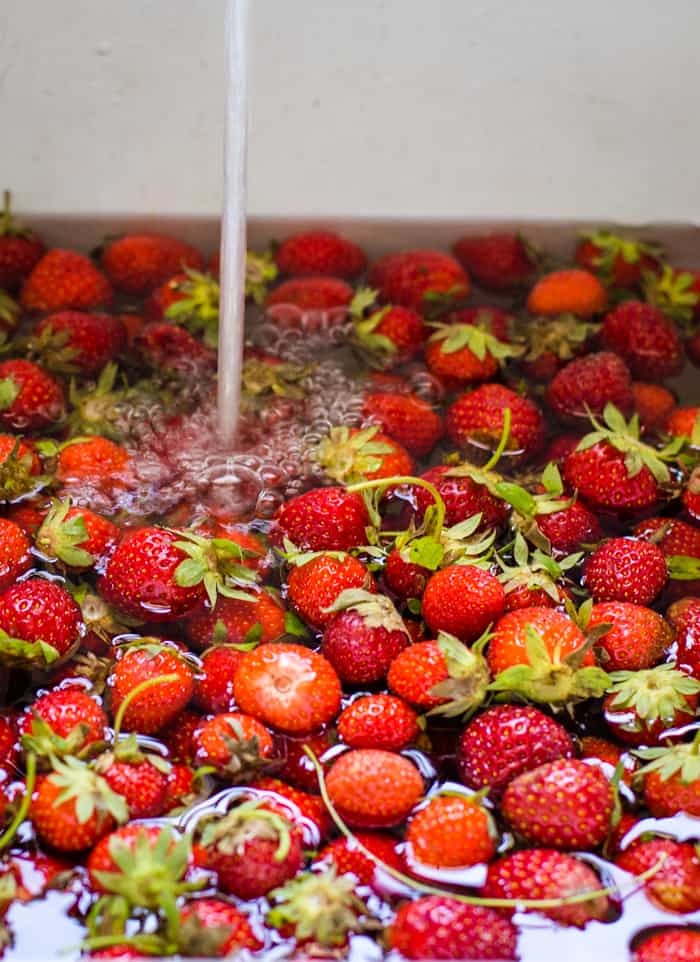
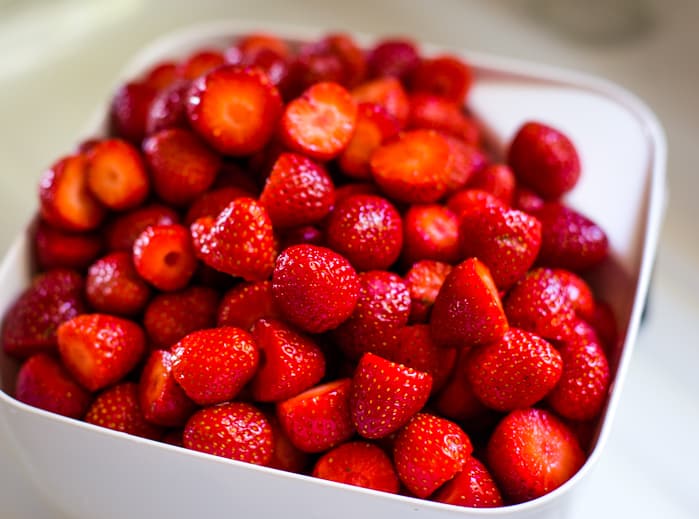
Clean and prep the fresh strawberries. Fill the sink with cold water and dunk your strawberries. I give them a bit of a swish with a small amount of vinegar. Rinse and then they’re ready. Since these are coming from the garden they were a bit dirty, so I always want to make sure the dirt is left in the sink and not in my jam. Once they are clean I cut off the tops and place them in a colander.
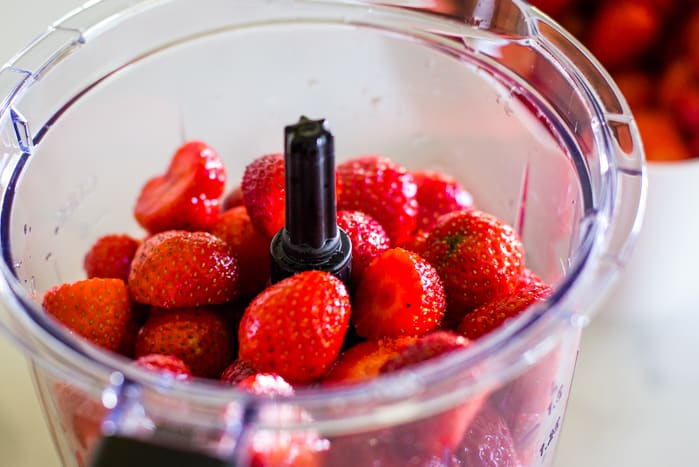
Crush or blend strawberries. Once I have all my strawberries de-headed, you will need to create the consistency of your jam with the strawberries.
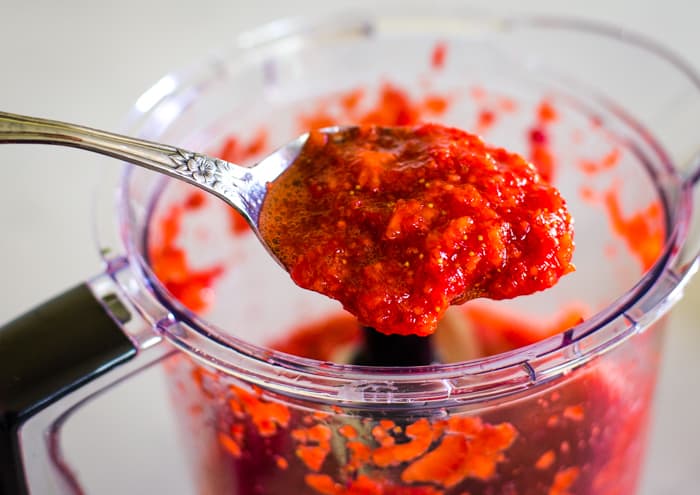
If you want bits of strawberries in your jam, use a pastry blender to crush them or use a blender carefully.
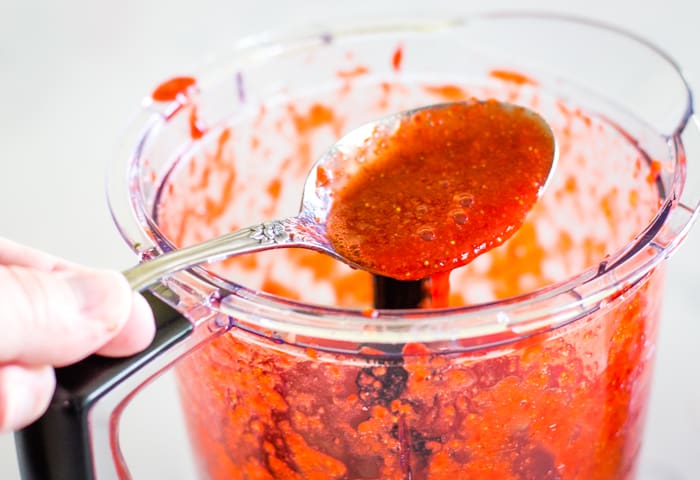
If you like your strawberry jam smooth, like my son does, then you can use a blender until the strawberries are a thick puree. Either method is fine, it’s just a personal preference how you like your strawberry freezer jam.
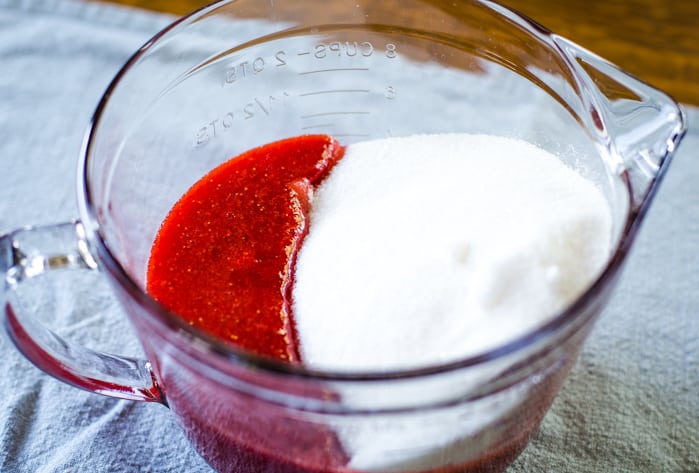
Combine sugar and strawberries. Mix together two cups of crushed strawberries with 4 cups of sugar in a large bowl. It’s really important to measure your sugar correctly to have the exact amount when you’re canning. I use a dry cup measurer and then use a knife to level it. Let set for 10 minutes and stir occasionally.
Side Note: It seems like four cups of sugar would be a lot (and well it is) but keep in mind – this is why homemade jam tastes soooo good!
Boil the pectin in water. The next step doesn’t get a picture because it moves fast! Once your strawberries are mixed you’re ready to prepare the pectin. Add 3/4 cup water to a sauce pan and mix it with one box of Sure Jell pectin. (If you’re using a different pectin you will need to follow their directions.) Even though it’s lumpy after stirring, place the sauce pan on the stove on high. Stir until it comes to a boil. Boil for one minute stirring constantly.
Side Note: I start the pectin around the time that my sugar and strawberry mixture has five minutes left to sit. That seems to be the perfect time with my stove top.
Once the pectin has boiled for one minute, take it off the stove and immediately add it to strawberry sugar mixture. Stir for three minutes continually or until your jam starts to set up and become thick. You’ll watch before your eyes as it becomes very smooth.

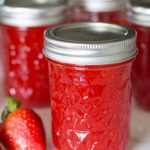
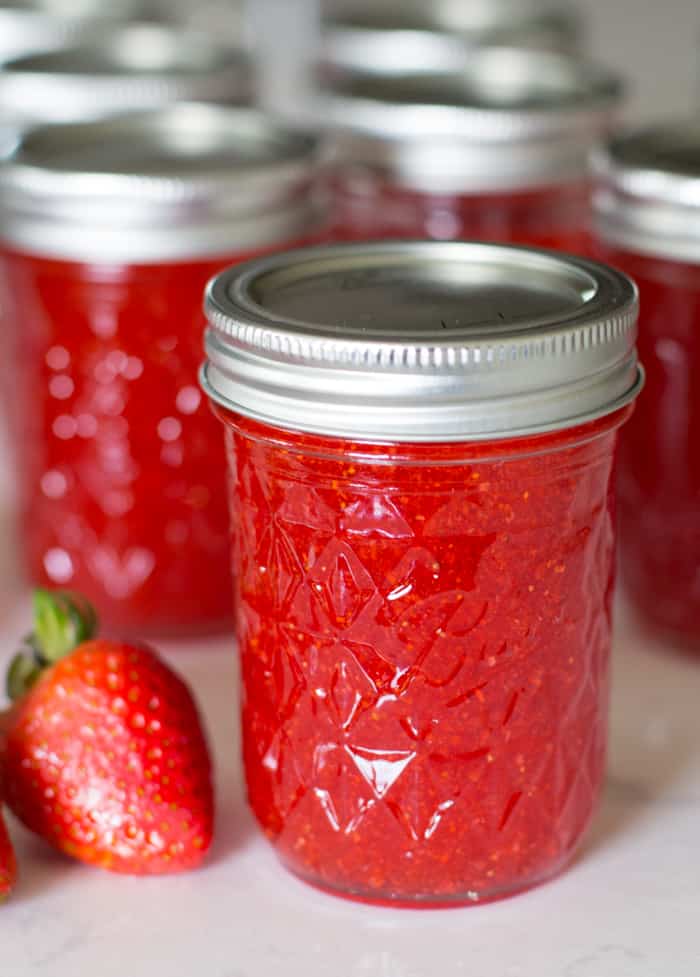
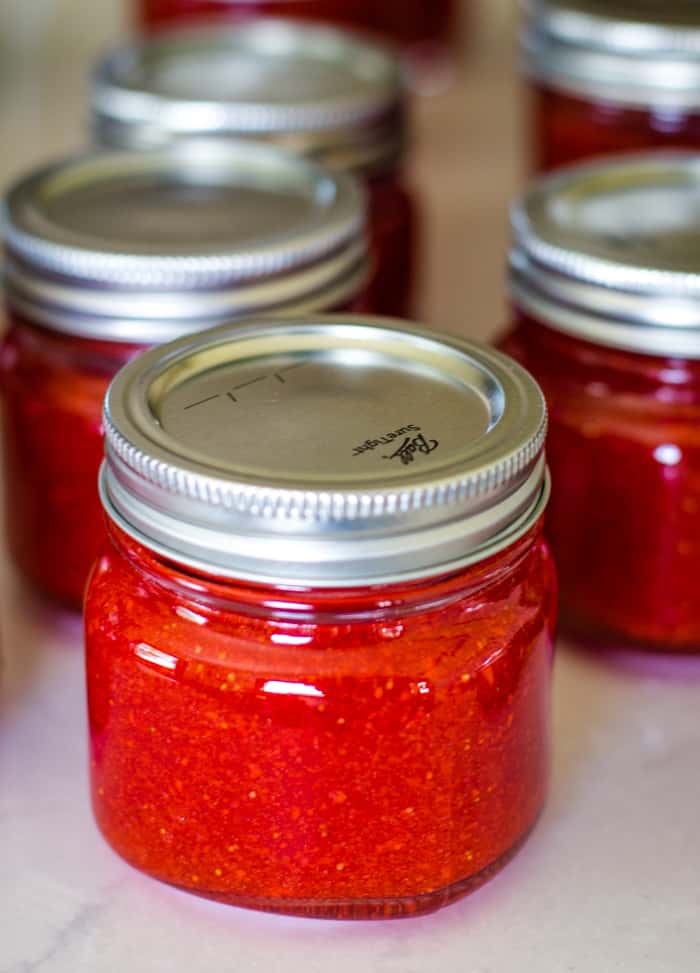
Fill the 8 oz jelly jars carefully. You want to leave a 1/2 inch at the top to allow for expansion. I fill them to the point where the rim just starts. It’s perfect. If you have a canning funnel, use it. I also like using this bowl with a pour spout. It makes it super easy!
Let the jars sit for 24 hours at room temperature. They should start to set right away. After the 24 hours, place the jars into the freezer. They will last for up to one year in the freezer. Once you’re ready to enjoy the jam, place them in the refrigerator. They will store for three weeks in the refrigerator. (This is a GREAT simple gift idea around Christmas time. Plan ahead, much?)
And that’s truly all there is to making this easy strawberry jam! It’s so simple! And let me tell you, it’s the freshest tasting jam you’ve ever put onto your toast. It’s so delicious it could top ice cream! Let me know how it goes for you. 🙂 Enjoy!
More Fresh Strawberry Recipes
Strawberry Freezer Jam
Ingredients
- 2 cups fresh strawberries crushed
- 4 cups sugar
- 1.74 oz Sure Jell fruit pectin
Instructions
- Clean jelly jars and strawberries. Remove stems from strawberries.
- Blend or crush strawberries to create desired consistency. Measure two cups of crushed strawberries and place in large bowl.
- To the large bowl add 4 cups of sugar. (Make sure to use exact amount.) . Let stand for 10 minutes and stir occasionally.
- Stir 1.75 oz package of fruit pectin with 3/4 cup water in saucepan. Bring to a boil stirring constantly. Let boil for 1 minute stirring constantly. Remove from heat.
- Immediately add the boiled pectin to the strawberry mixture. Stir for 3 minutes or until the sugar is dissolved and mixture becomes thick.
- Fill jelly jars immediately leaving 1/2 inch of space at the top. Cover with lids and let set at room temperature for 24 hours. Freeze for up to 1 year.
Notes
Nutrition
This recipe was originally shared June 2014. It has been updated with better pictures and more details to help you make the perfect strawberry freezer jam every single time.


Comments & Reviews
Not a single one of my canning jars sealed. Can I freeze them like this or do I need to try to seal them? Do I need to just gift them immediately so they won’t go bad?
This is a freezer recipe which means the jars will not seal. The jam is meant to be stored in the freezer. Freeze all your jars and then store them in the refrigerator when you’re ready to enjoy.
Not a single one of my canning jars sealed. Can I freeze them like this or do I need to try to seal them?
Would it be possible to exchange the sugar for sugar substitute, say Splendid, and still get the same results?
You will need to use a sugar substitute specific recipe if you choose to use Splenda. This recipe only works with granulated sugar.
Going to try this sounds sounds delicious
Can I use regular leakproof lids instead of canning lids? How long does it keep in fridge?
Hi!! I’m looking forward to trying this with my homegrown strawberries this year! However, my strawberry patch is still small (2nd year gardener), so I might not have enough all at once… do you think I could freeze them while fresh, then do this when I have enough frozen?
Best jam I’ve ever tasted!