Easter Egg Dye

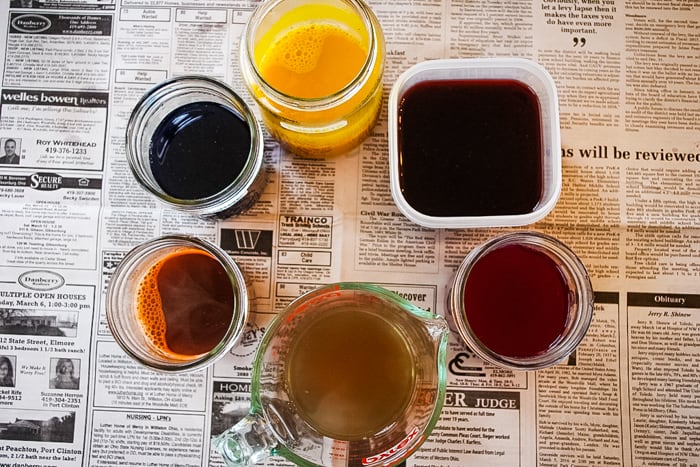
This easter egg dye recipe uses real foods instead of store-bought tablets, and the results are beautiful. Each color has its own charm, from the golden yellow of turmeric to the deep purple of grape juice. It always feels good to keep this tradition simple and natural.

Simple Colors, Sweet Tradition

I started making these when I wanted to skip the store-bought kits and keep the mess to a minimum. No tiny tablets to lose, no mystery dyes staining the counter. Just a few pots simmering on the stove and the smell of spices filling the kitchen. It’s a slower process, but it feels good to take the time.

Every spring, I find myself reaching for the same simple ingredients to make this easter egg dye. There’s something comforting about using what’s already in the kitchen – red cabbage, beets, turmeric, and a few other pantry staples – to create something so cheerful. The colors come out soft and natural, each one a little different from the last, and that’s part of the fun.

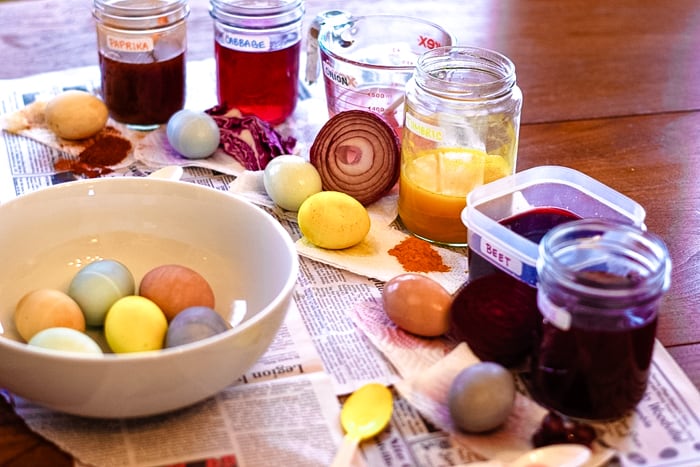
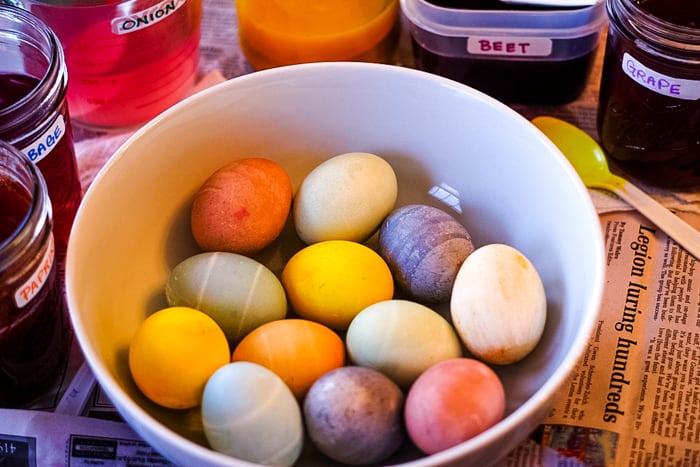
The first time I tried it, I was surprised by how rich the colors turned out. The turmeric gives a sunny yellow, the beets a deep red, and the cabbage a beautiful blue that looks like something out of an old-fashioned Easter postcard. Each egg dries into its own shade, and no two ever look quite the same.

If you enjoy this kind of hands-on holiday project, you might also like making classic deviled eggs for your Easter table. Both pair perfectly with a day spent dyeing eggs and sharing stories around the kitchen.

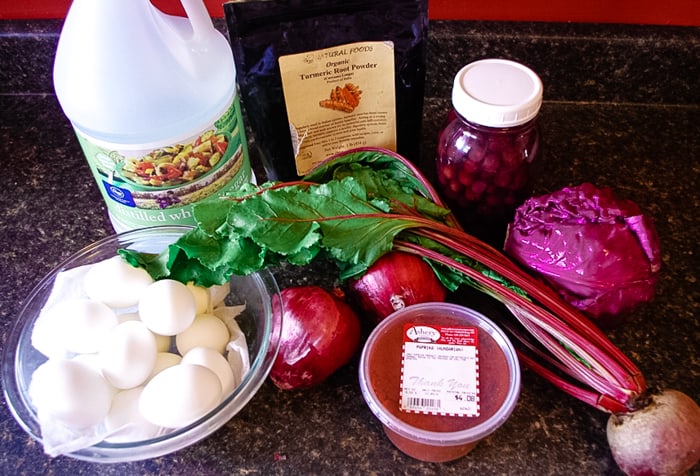
naturally dye Easter eggs ingredients

Want to save this recipe?

Enter your email & I'll send it to your inbox. Plus, get great new recipes from me every week!

Save Recipe

Key Ingredients and Substitutions

  • Hard-boiled white eggs: These are your blank canvas for all the color. White shells show the dye best, but brown eggs will give you deeper, more rustic tones if that’s what you like.
  • Water: Used to simmer the vegetables and spices into natural dyes. Tap water works fine, but filtered water can give slightly clearer colors.
  • Distilled white vinegar: Helps the dye stick to the eggshells and makes the colors more vibrant. If you’re out, lemon juice can work in a pinch.
  • Red cabbage: Creates a lovely blue dye that deepens the longer the eggs soak. I chop it roughly—no need to be precise.
  • Beet: Gives a rich red color that feels classic for Easter. Fresh beets work best, but canned beets will do if that’s what you have.
  • Red onions: Surprisingly, the skins from red onions make a soft green dye. Save the outer layers for the best color.
  • Grape juice: Makes a pretty purple shade without any cooking at all. You can use bottled juice or strain fresh grapes if you prefer.
  • Paprika: Adds a warm orange tone that’s gentle and earthy. Stir it well so it dissolves completely before dipping your eggs.
  • Turmeric: Brings out a bright yellow that looks like sunshine. It can stain, so I like to use an old spoon or dish when mixing it.
natural dyes for Easter eggs in jars

How to Make Easter Egg Dye

Preparation

Set out six small saucepans or heat-safe bowls for each color of dye. Chop the red cabbage and red onions, and halve the beet. Boil and peel the eggs if not already done, then let them cool completely before dyeing. Measure out the water, vinegar, and spices so everything is ready to go.

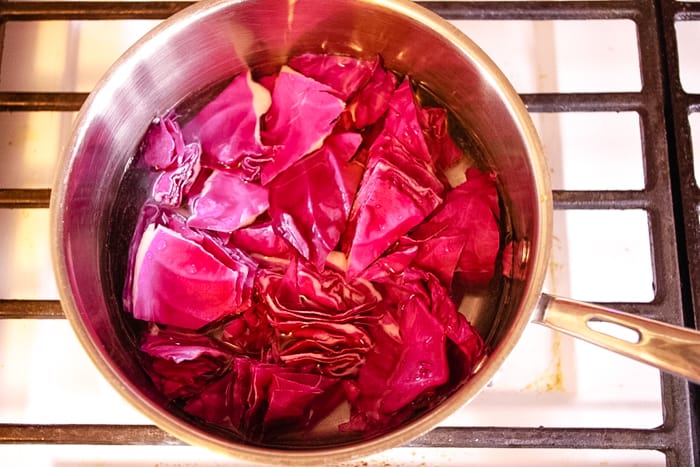
red cabbage in pan to dye Easter eggs

Step 1 – Make the Blue Dye

Add the chopped red cabbage and 2 cups of water to a saucepan. Bring it to a boil, then reduce the heat and simmer for 15 minutes. Remove from heat, let it cool to room temperature, and strain out the cabbage pieces.

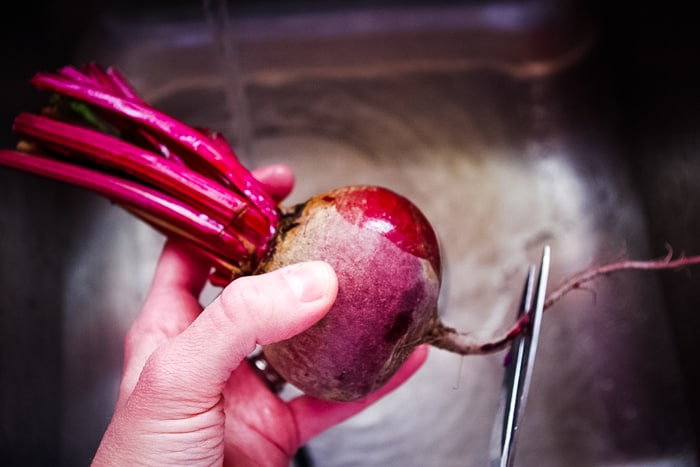
beat for Easter egg dye

Step 2 – Make the Red Dye

Place the halved beet and 2 cups of water in a saucepan. Bring to a boil and simmer for 15 minutes. Let the liquid cool completely, then strain out the beet pieces.

red onion for Easter Egg dye

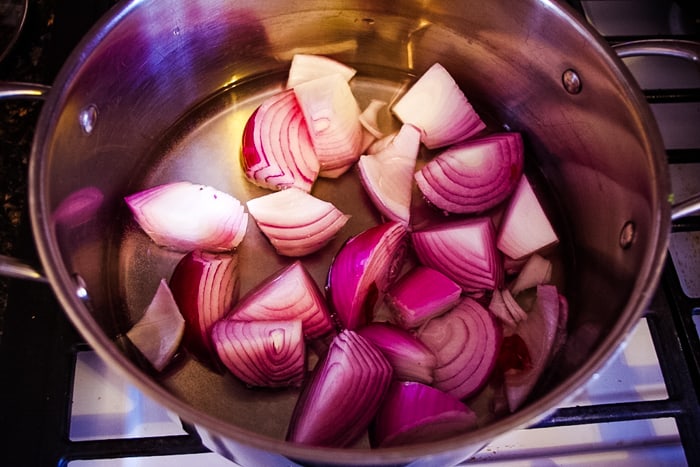
Step 3 – Make the Green Dye

Add the chopped red onions and 2 cups of water to a saucepan. Boil for 15 minutes, then remove from heat and allow it to cool. Strain out the onion pieces once the liquid reaches room temperature.

paprika in dish with boiled water for Easter egg dye

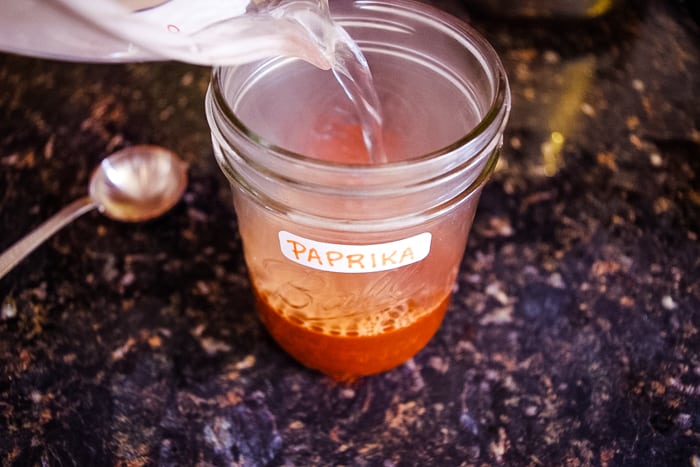
Step 4 – Make the Orange Dye

In a heat-safe bowl, stir 1 tablespoon of paprika into 1 cup of boiling water. Mix until the spice fully dissolves. Let the mixture cool to room temperature before using.

Step 5 – Make the Yellow Dye

Stir 1 tablespoon of turmeric into 1 cup of boiling water until smooth and well combined. Allow the mixture to cool completely. The color will deepen slightly as it sits.

Step 6 – Prepare the Purple Dye

Pour grape juice into a bowl or measuring cup. If using fresh grapes, strain them first to remove any pulp. No heating is needed for this color.

add vinegar to Easter egg dye

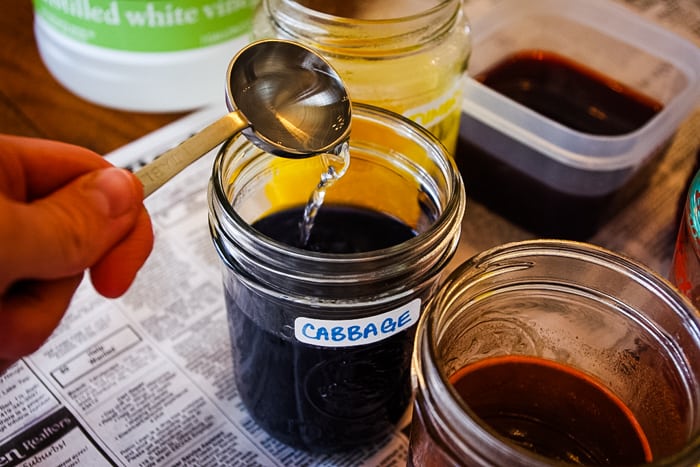
Step 7 – Add the Vinegar

Once all dye liquids have cooled, stir 1 tablespoon of distilled white vinegar into each container. This helps the color adhere to the eggshells and makes the shades more vibrant.

how to naturally dye Easter eggs

Step 8 – Dye the Eggs

Gently lower the hard-boiled eggs into the dye baths using a spoon. Soak for about 10 minutes for lighter shades, turning occasionally for even coverage. For deeper colors, refrigerate the eggs in the dye overnight.

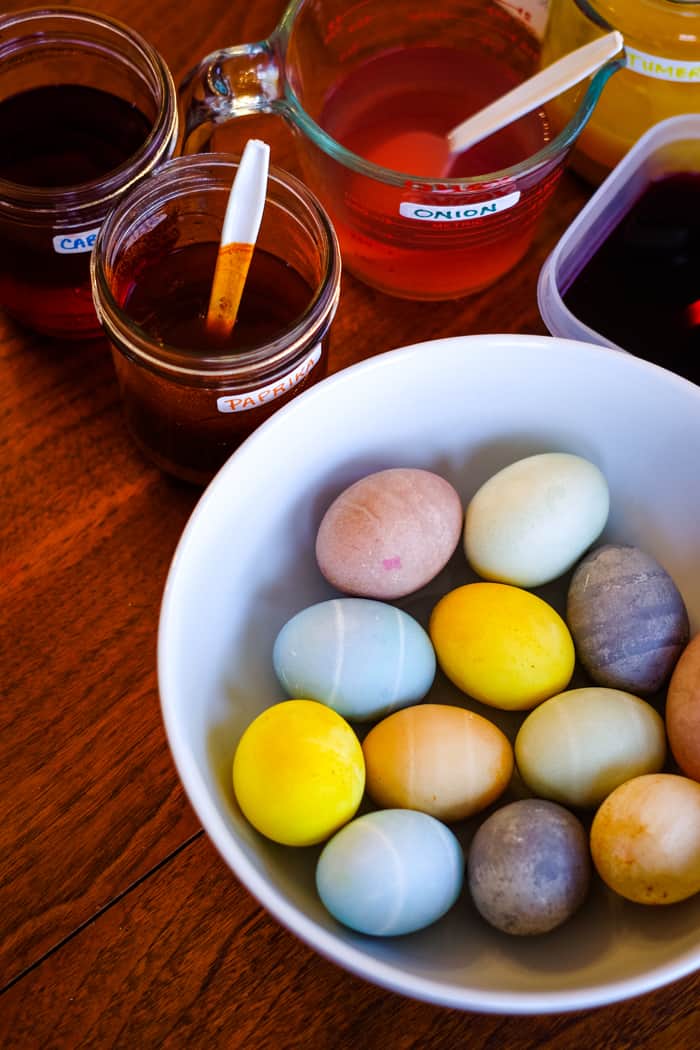
bowl of naturally dyed Easter eggs

Step 9 – Dry the Eggs

Carefully remove the eggs from the dye and let the excess liquid drip off. Place them on a wire rack or paper towel to dry completely. Once dry, they’re ready to display or hide for Easter.

Lynette’s Tip

For the most even color, make sure the eggs are completely cool and dry before placing them in the dye. Rotate them gently while soaking to avoid lighter spots where the shell rests against the container.

bowl of naturally dyed Easter eggs
Print
No ratings yet

Easter Egg Dye

This easter egg dye recipe uses real foods instead of store-bought tablets, and the results are beautiful. Each color has its own charm, from the golden yellow of turmeric to the deep purple of grape juice. It always feels good to keep this tradition simple and natural.
Prep Time15 minutes
Active Time0 minutes
Author: Lynette Rice

Materials

  • 12 hard-boiled white eggs
  • 6 Cups water divided
  • 6 Tablespoons distilled white vinegar divided

For Natural Dyes:

  • ¼ head chopped red cabbage (blue)
  • 1 medium beet (red)
  • 3 red onions chopped (green)
  • 2 Cups grape juice (purple)
  • 2 Tablespoons paprika (orange)
  • 2 Tablespoons turmeric (yellow)

Instructions

Prepare the Natural Dyes

  • Blue (Red Cabbage): Add chopped red cabbage and 2 cups of water to a saucepan. Bring to a boil and simmer for 15 minutes. Remove from heat, let cool to room temperature, then strain out the solids.
  • Red (Beets): Trim the beet, rinse well, and cut in half. Add beet halves and 2 cups of water to a saucepan, boil for 15 minutes, then cool and strain.
  • Green (Red Onions): Add chopped red onions and 2 cups of water to a saucepan. Boil for 15 minutes, then cool and strain.
  • Orange (Paprika): Stir 1 tablespoon paprika into 1 cup of boiling water until fully dissolved. Let cool to room temperature.
  • Yellow (Turmeric): Stir 1 tablespoon turmeric into 1 cup of boiling water until combined. Let cool completely.
  • Purple (Grape Juice): Use grape juice straight from the bottle, or strain out the grapes if using fresh.

Add Vinegar

  • Once all dye liquids have cooled, stir 1 tablespoon of distilled white vinegar into each container to help the eggs absorb the color.

Dye the Eggs

  • Carefully place the hard-boiled eggs into the dye baths. Soak for about 10 minutes for lighter shades, rotating occasionally for even color. For deeper hues, allow the eggs to soak longer or overnight in the refrigerator.

Dry the Eggs

  • Remove the eggs from the dye, let excess liquid drip off, and allow them to dry completely before handling or displaying.

Notes

Tip: For the most even color, make sure the eggs are completely cool and dry before placing them in the dye. Rotate them gently while soaking to avoid lighter spots where the shell rests against the container.
Make Ahead: The natural dyes can be prepared up to two days in advance. Store each color in a covered container in the refrigerator and bring to room temperature before adding the vinegar and dyeing the eggs.
Storing: Keep dyed eggs in the refrigerator in a covered container or egg carton for up to one week. Avoid stacking them to prevent smudging the colors.

Variations

  • Add Patterns: Wrap the eggs in onion skins or tie small leaves against the shell with cheesecloth before dyeing. When unwrapped, you’ll get pretty, natural designs.
  • Mix the Colors: Dip one half of the egg in one color and the other half in another. Overlapping shades like yellow and blue make a lovely green.
  • Use Brown Eggs: Brown shells give richer, earthier tones. The colors won’t be as bright, but they look beautiful in a rustic Easter basket.

Short on time but love dessert?

Four simple MAKE AHEAD dessert recipes in your inbox.

Recipe FAQs

How long should I leave the eggs in the dye?

For soft, pastel colors, about 10 minutes is enough. If you want deeper tones, leave them in the dye longer or refrigerate them overnight.

Can I reuse the dye for more eggs?

Yes, you can reuse the dye as long as it still has good color. Just give it a quick stir before adding more eggs to make sure the pigment is evenly mixed.

Why are my eggs coming out spotty or uneven?

That usually happens if the eggs are still warm or have moisture on the shell. Make sure they’re completely cool and dry before dyeing for the smoothest finish.

Can I mix colors to make new shades?

Absolutely. Try dipping an egg halfway in one color and then in another once it’s dry. You can create pretty blends like green from yellow and blue or coral from red and orange.

Is it safe to eat the dyed eggs?

Yes, as long as the eggs have been kept refrigerated and the shells are not cracked. The natural dyes are made from food ingredients, so they’re completely safe.

How can I make the eggs shiny after dyeing?

Once the eggs are dry, rub a small amount of vegetable oil on the shells with a paper towel. It gives them a nice sheen and helps the colors stand out.

What’s the best way to dry the eggs after dyeing?

Set them on a wire rack or in an empty egg carton lined with paper towels. This allows air to circulate and prevents marks where the eggs touch the surface.

Leave a Reply

Your email address will not be published. Required fields are marked *

Recipe Rating