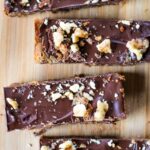
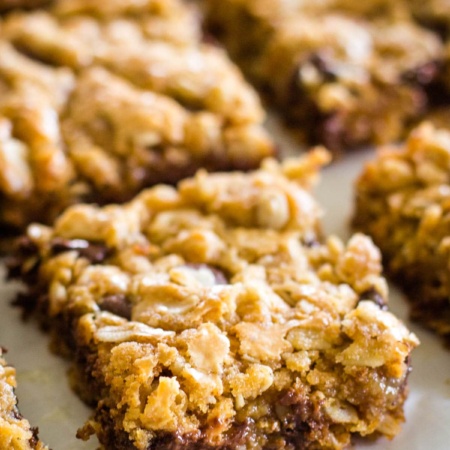
This old fashioned date bars recipe is all about the perfect blend of chewy, sweet, and rich, resulting in a soft, delicious dessert that’s sure to satisfy your sweet tooth. With a base of dates, this recipe is a true classic and is just as popular now as it was in the past.

By far, the best part about this easy date bar recipe is the middle layer, which has a texture similar to a Lara Bar. It’s a delicious, layered dessert that’s sure to be a hit at any gathering. Plus, it’s so easy to make!
If you love dessert bars, you need to try my chocolate cherry oat bars recipe or these homemade candy bars. Or you can go for these cherry bars that also feature three delicious layers.
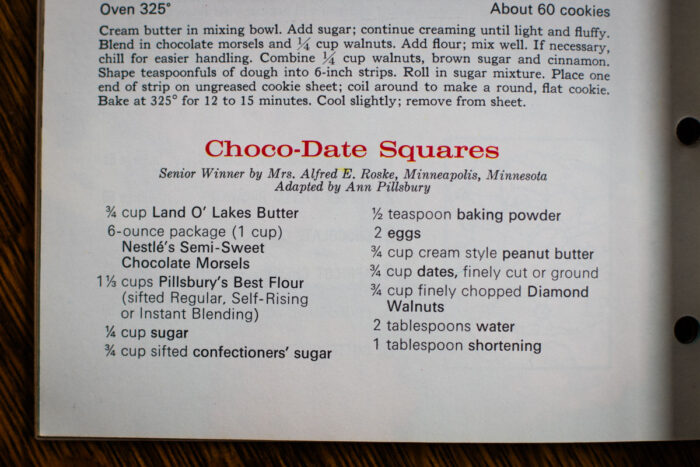
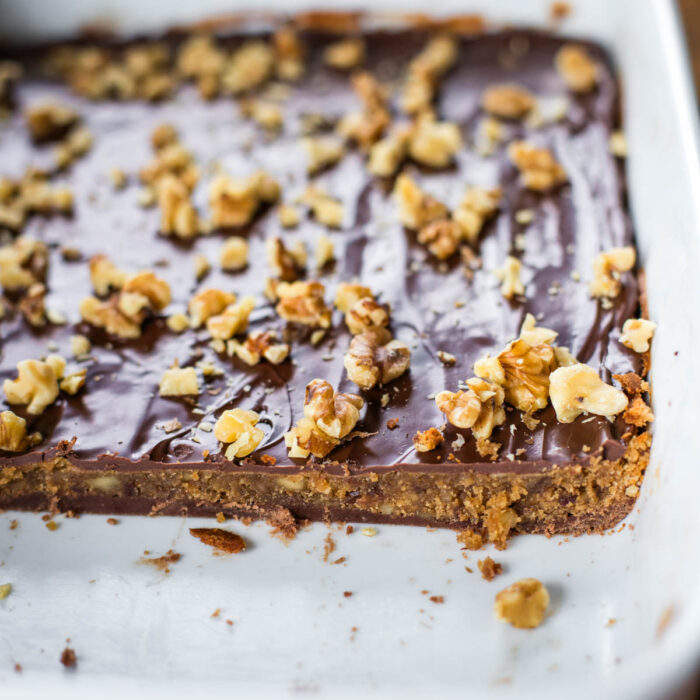
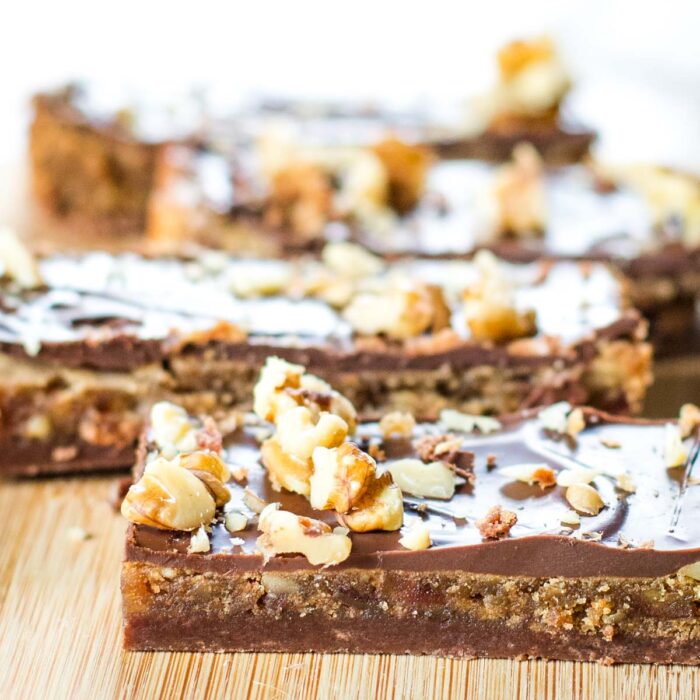
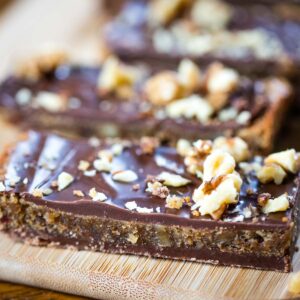
This recipe was found in Pillsbury’s 16th grand national bake-off recipes of 1965. The date bars were a Senior Winner. Their texture reminds me of a Lara bar but with a crispy base and crackle chocolate topping. Very delicious! And I prefer them served cold.
Table of Contents
Why I Love This Recipe
- Vintage Flavors: The combination of dates and nuts, along with the rich chocolate layer, gives this recipe a truly vintage flavor that’s hard to resist.
- Comfort Food: There’s something incredibly comforting about a layered dessert, especially one that’s as delicious as these date bars.
- Family Favorite: This recipe for date bars has been a hit in my family for years. It’s a vintage recipe that never goes out of style.
- Nostalgic: Every bite of these old fashioned date bars is packed with nostalgia. It’s like taking a trip back in time with every bite.
Want to save this recipe?
Enter your email & I'll send it to your inbox. Plus, get great new recipes from me every week!
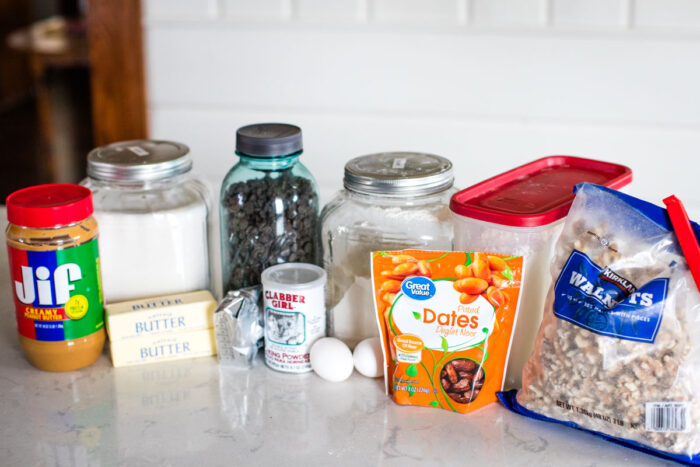
Key Ingredients
- Butter: This is the main fat in our recipe and will give the date bars a rich, buttery flavor and a soft, crumbly texture.
- Semi-sweet Chocolate Chips: These will be melted to give a sweet, chocolatey flavor to the date bar mixture and a smooth, velvety texture.
- All-purpose Flour: This is the base of our recipe and will give the date bars structure and a slightly chewy texture.
- Granulated Sugar: This will add sweetness to the date bar recipe and help caramelize the edges, giving it a nice golden color.
- Confectioner’s Sugar: This will be sifted and combined with baking powder to give the date bars a light, fluffy texture and a sweet flavor.
- Baking Powder: This will help the bars to rise slightly for a dense texture, that’s just right.
- Eggs: These will bind the date bar mixture together and add moisture.
- Creamy Peanut Butter: This will give them a nutty flavor and a smooth, creamy texture.
- Dates: These will add a sweet, caramel-like flavor and a chewy texture to the date bars.
- Walnuts: These will be finely chopped to give the date bars a crunchy texture and a nutty flavor.
- Water: This will help to combine all the ingredients in the date bar recipe.
- Shortening: This will be melted with the chocolate chips to give a smooth, shiny finish to the date bars.
Equipment
- Hand Mixer – You’ll need this to blend the confectioner’s sugar, baking powder, eggs, butter, peanut butter, dates, walnuts, and water for the date bar mixture until well incorporated.
- 13×9 Baking Pan – This is what you’ll bake the date bars in. Make sure to butter it before adding your mixture to prevent sticking.

How to Make Old Fashioned Date Bars
Preparation
Start by preheating your oven to 350˚ F and greasing a 9×13 baking pan. This will ensure that your date bars don’t stick to the pan and are easy to remove once they’re done.
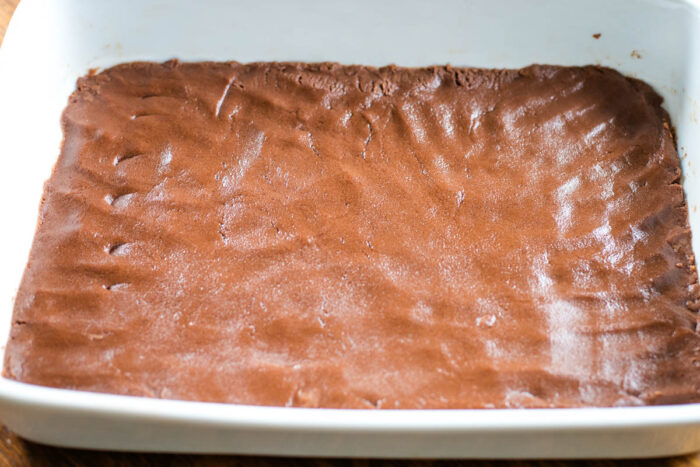
Step 1 – Prepare the Date Bar Base
First, melt ½ cup of butter with ½ cup of chocolate chips in a microwave-safe bowl. Start by microwaving for 30 seconds. Stir. Microwave for another 30 seconds and stir until smooth. Then, blend in flour and sugar into it. Press this mixture firmly onto the bottom of the greased baking pan. Bake it at 350˚ F for 10 minutes. After baking, let it cool for 5 minutes.
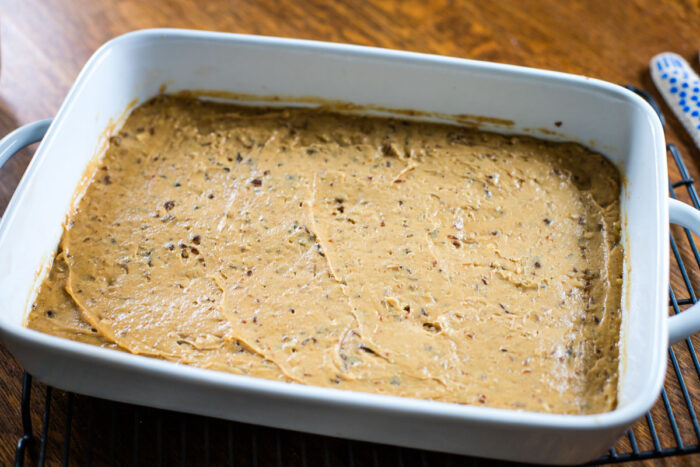
Step 2 – Make the Date Mixture
Combine sifted confectioner’s sugar and baking powder. Add the eggs, ¼ cup of butter, peanut butter, dates, walnuts, and water. Blend these ingredients using a hand mixer on medium speed until they are well incorporated.
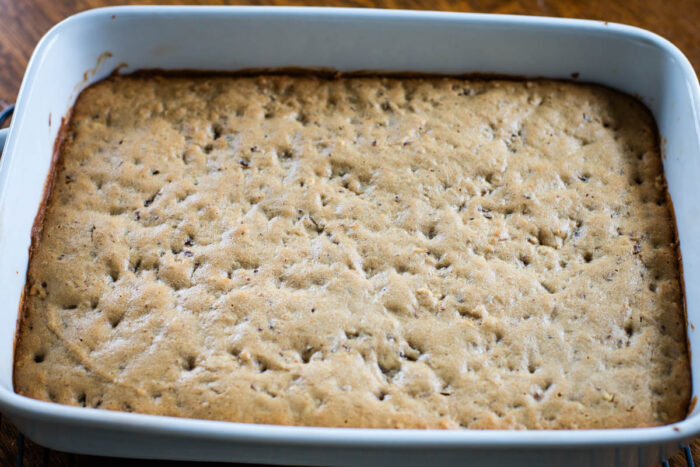
Step 3 – Bake Date Bar
Spread this mixture over the baked crust and bake for 15-20 minutes in a 350˚ F oven until it is golden brown. Let it cool completely.
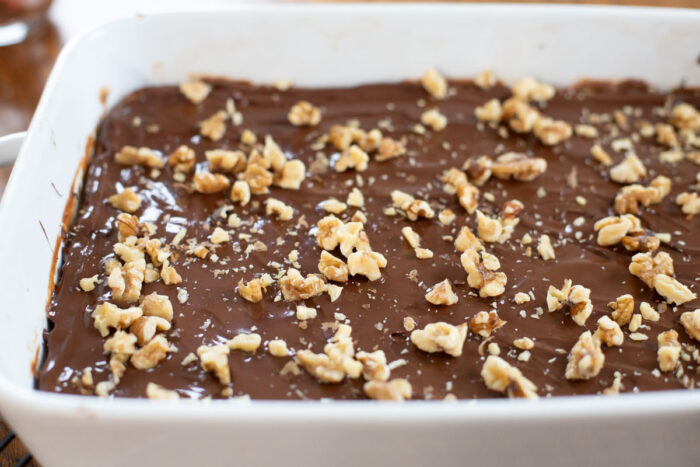
Step 4 – Add the Chocolate Layer
Next, melt 1 cup of chocolate chips with shortening in a microwave-safe bowl. Microwave for 45 seconds. Stir. Microwave for another 30 seconds and stir until smooth. Spread this mixture over the cooled cookie base. If you like, you can also sprinkle it with additional walnuts. Let this cool and serve.
Expert Tip
Let the cookie base cool in the refrigerator uncovered for 1 hour to quicken the process so that you can add your chocolate top. This will ensure that the layers of your date bars are set properly and are not too soft when you cut them.
Recipe Variations
- White Chocolate: For a fun twist on these old fashioned date bars, swap the semi-sweet chocolate chips with white chocolate chips. This variation is perfect for those who enjoy a sweeter, creamier flavor.
- Nut-Free: If you have a nut allergy, feel free to omit the walnuts from the recipe and add seeds instead. This will still give your date bars a nice crunch without compromising on the flavor.
- Dried Fruits: You can also add a variety of dried fruits like raisins, apricots, or cranberries to the date mixture for a more colorful and fruity date bar.
What to Serve With
- For a classic dessert pairing, serve these vintage date bars with a cup of coffee. The bitterness of the coffee complements the sweetness of the date bars, making it a perfect mid-morning or afternoon treat.
- For a dessert option, serve these date bars with a dollop of whipped cream and a drizzle of caramel sauce. The creamy, sweet toppings enhance the flavor of the date bars, making for a truly indulgent treat.
- For a refreshing dessert, serve these old fashioned date bars with a scoop of vanilla ice cream. The cool, creamy ice cream balances out the rich, fudgy date bars, making for a delicious contrast in textures.
Recipe FAQs
For this recipe, the best dates to use are Medjool dates. They are large, sweet, and have a soft, chewy texture that works well in the date bar mixture.
Yes, you can. Feel free to substitute the semi-sweet chocolate chips with dark chocolate or white chocolate, depending on your preference. This will alter the flavor of the chocolate layer in your date bars.
To ensure a firm crust, make sure to press the cookie base mixture firmly onto the bottom of the greased baking pan. Additionally, letting the cookie base cool in the refrigerator for an hour before adding the chocolate top can help firm it up.
Yes, you can. If you’re not a fan of walnuts or have a nut allergy, feel free to substitute them with a different type of nut or even seeds like pumpkin or sunflower seeds.
Storing and Reheating
- Refrigerate: If you have leftover bars, store them in the refrigerator for up to a week. The cool temperature will help maintain the freshness and flavor of the date bars.
- Freeze: To freeze these bars, ensure they are completely cooled. Once cooled, you can cut them into individual bars and store them in an airtightly sealed container. They can be stored in the freezer for up to three months.
- Thaw: When you’re ready to enjoy your date bars, simply take them out of the freezer and let them thaw at room temperature for about an hour.
More Cookie Bars You’ll Enjoy
Serving Size
- What to Expect: This vintage date bars recipe makes a delicious 13×9 baking pan full of date bars, yielding about 24 to 36 servings, depending on how you cut them.
- How to Scale: If you’re looking to make a larger batch of these date bars, you can double the recipe and use a larger baking pan, or make two separate batches using the original instructions. Just ensure your pan is greased well to prevent the date bars from sticking.
Date Bars
Ingredients
Bottom Crust
- 1/2 Cup butter softened
- ½ Cups semi-sweet chocolate chips
- 1 ⅓ Cup all-purpose flour
- ¼ Cup granulated sugar
Date Middle Layer
- ¾ Cup confectioner’s sugar sifted
- ½ teaspoon baking powder
- 2 large eggs
- 1/4 Cup butter softened
- ¾ Cup creamy peanut butter
- ¾ Cups dates finely chopped
- ¾ Cup walnuts finely chopped
- 2 Tablespoons water
Chocolate Crackle Top Layer
- 1 Tablespoon shortening
- 1 Cup semi-sweet chocolate chips
Optional Top Layer Garnish
- 1/2 Cup walnuts chopped
Instructions
- Preheat oven to 350˚ F and butter a 9×13 baking pan.
- Melt ½ cup butter with ½ cup of chocolate chips in a microwave-safe bowl. Microwave on high for 30 seconds. Stir. Microwave for another 30-45 seconds and stir until smooth. Blend in flour and sugar. Press firmly onto the bottom of the 13×9 baking pan that has been greased. Bake at 350˚ F for 10 minutes. Let cool for 5 minutes.
- Combine the sifted confectioner’s sugar and baking powder. Add the eggs, ¼ Cup butter, peanut butter, dates, walnuts, and water. Blend using a hand mixer on medium speed until well incorporated. Spread over the baked crust and bake for 15-20 minutes in a 350˚ F oven until golden brown. Let cool completely.
- Melt 1 Cup of chocolate chips with shortening in a microwave-safe bowl. Microwave on high for 45 seconds. Stir. Microwave for 30 seconds. Stir until smooth. Spread over the cooled cookie base. Sprinkle with additional walnuts. (Optional) Let cool and serve.


Leave A Reply!