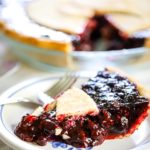
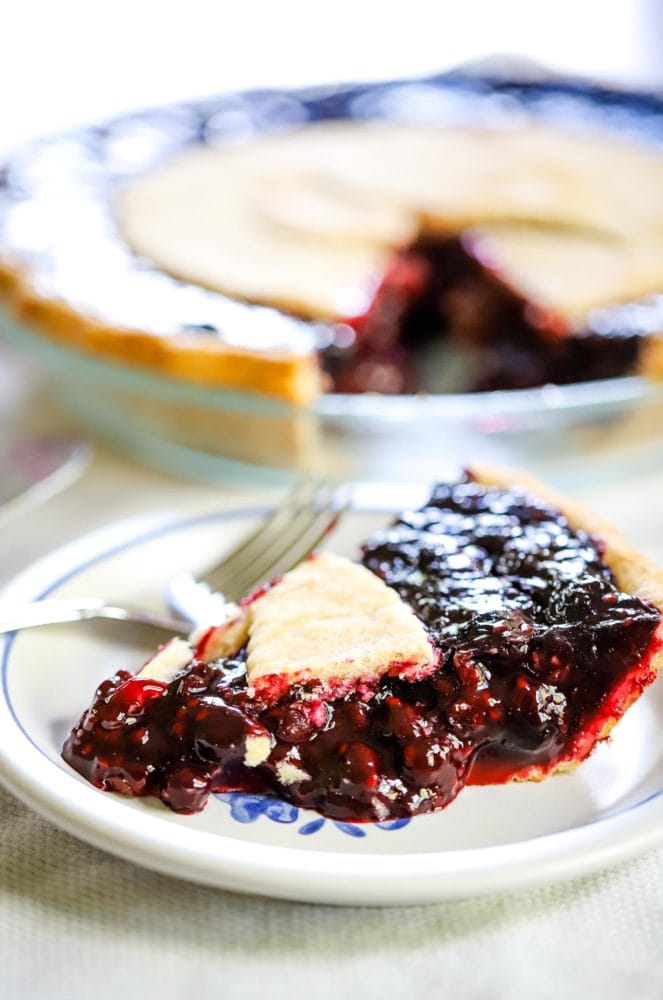
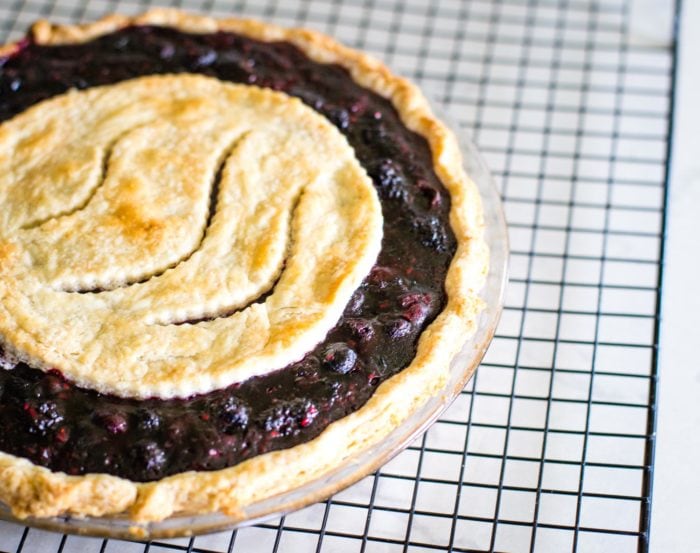
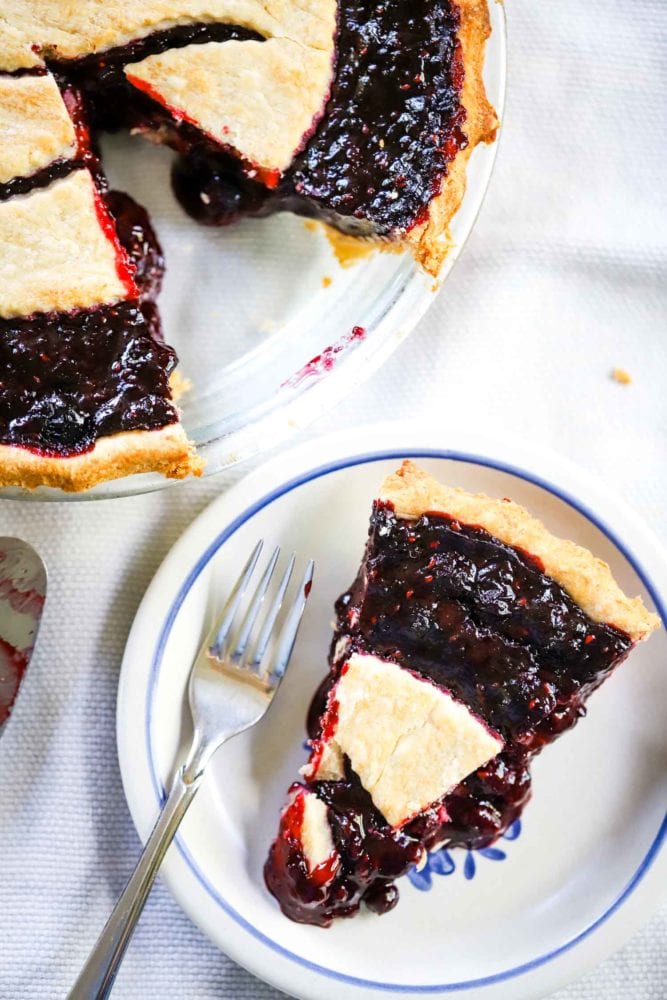
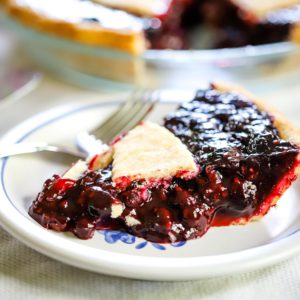
This tart and delicious mixed berry pie is super simple to make using frozen raspberries, blueberries add blackberries. It’s the perfect dessert any time of year with it’s homemade pie crust and thick gooey pie filling. Top with vanilla ice cream and serve warm.
I always have a bag of mixed berries on hand in my freezer to make smoothies – but there is no reason they can’t be used in a delicious homemade pie! I love that frozen berries are always in season and most times of the year are more economical to buy.
Table of Contents
Why this is the best berry pie you can make!
- Super flaky crust.
- Mega Berry flavor!
- Easy use of frozen berries.
- Comes together quickly.
Want to save this recipe?
Enter your email & I'll send it to your inbox. Plus, get great new recipes from me every week!
How to make a triple berry pie filling using frozen berries.
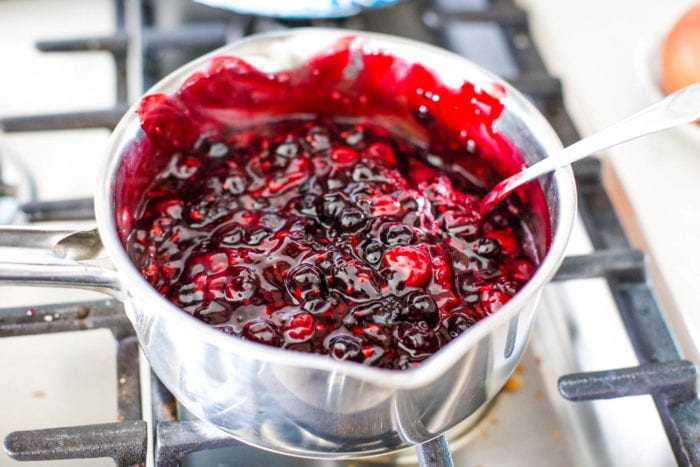
I tested this recipe a few times. Simply tossing frozen berries into a pie crust and then baking will lead to a very soupy pie. And you know me, I want to bring you the very best pie! Frozen berries need to release some of their juices before baking. We don’t want to lose any of that juice flavor – but you do want to thicken up your pie filling before baking to make sure the pie fully sets. I used the cherry pie filling base for this recipe.
- Measure out 7 cups or 2 lbs of frozen berries.
- Add frozen berries to a medium stock pot and stir on low to soften and release the juices from the frozen berries.
- Mix cornstarch and sugar together in small bowl Add cornstarch and sugar mixture to thawed and warmed berries in the stockpot.
- Turn heat to medium-low and stir constantly until bubbly and thick.
- Remove from heat and let cool to room temperature.
Tip: Make the pie filling the day before you need it. One of the things I like to do is make the filling the day before. You can store it in the refrigerator. Bring to room temperature before adding to your premade pie crust.
Why use frozen berries in your pie?
They’re available! I buy the big Triple Berry bag at Costco and that’s what I use for this recipe. My berries at Costco come in individually bagged 16 oz portions which make it super easy to measure for this recipe.
How can you tell when a pie is done?
When a pie is done the filling will bubble slightly. You also noticed that the bottom crust is golden brown. To look at the bottom crust be very careful. I use gloves to have a firm grip to be able to check the bottom.
Pie Tips and Tricks
- Cool the filling. It is very important that the filling is cooled and at room temperature before you add it to your pie crust. This ensures even baking and that it doesn’t bubble over.
- Bake with a cold pie dough crust. Good homemade pie crusts like to shrink during the baking process. To eliminate this, I keep my formed pie crust in the refrigerator until right before I add the filling. The cool temperature of the pie crust keeps its shape better.
- Cool the pie before cutting. Let your pie cool completely before serving! It is so tempting to cut into a pie right from the oven as it smells so good! However, a pie needs time to set so that you don’t end up with pie soup! I like to give my pies at least four hours of cooling time before I serve. If you cut into it too early the pie filling is going to be runny.
- Make ahead. Make your pie crust the day before and store in the refrigerator wrapped in saran wrap. Make your pie filling the day before you need it an store in the refrigerator. When ready to bake, let your pie filling come to room temperature. (Set on the kitchen counter for about 30 – 45 minutes.) Remove the pie crust from the refrigerator and fill with the room temperature pie filling and bake as directed.
- Use a pie crust shield during baking. After the first 15 minutes of bake time, I add the pie crust shield. They are inexpensive to buy and will keep your outer crust from getting too brown during the baking process.
How to Store Your Pie After Baking
Before you cut into the pie you can keep it on your counter at room temperature. Once you cut into the pie you will need to refrigerate it. I cover mine with saran wrap in the pie plate and store in the refrigerator up to 3 days. If freezing, store each slice individually to enjoy at a future date! I warm up each slice individually in the microwave for 15-30 seconds.
More Pie Inspiration
Easy Apple Pie Recipe From Scratch
Dutch Apple Pie Recipe
Blueberry Pie
Fresh Peach Pie Recipe
Mixed Berry Pie
Ingredients
Homemade Pie Crust (Make 2 Crusts)
- 4 Cups all-purpose flour
- 1 Tablespoon granulated sugar heaping
- 1 teaspoon salt
- 1 ½ Cups shortening chilled
- 1 egg
- 1 Tablespoon vinegar
Mixed Berry Pie Filling
- 7 Cups frozen mixed berries
- 1 Cup granulated Sugar
- 4 T Cornstarch
- ¼ tsp cinnamon optional
- 1 Tablespoon flour
- 1 Tablespoon butter
Instructions
- Make the crust: In a large bowl, combine flour, sugar and salt. Blend together with a whisk. Using a pastry cutter, cut in 1 ½ cups of chilled shortening. Shortening and flour should be well distributed. Crack an egg (cold from the refrigerator) into ½ cup of cold water. Add 1 Tablespoon of vinegar and mix well with a fork. Make a dip in the center of the flour mixture and pour in the egg/water mixture. Stir with a fork gently to blend wet and dry ingredients until just moistened and the dough leaves the side of the bowl. Chill in the refrigerator. Roll onto a lightly floured pastry mat and create your 2 pie crusts.
- Make berry pie filling: Add frozen berries to the stockpot and stir over low heat until thawed and juices are released. Combine cornstarch and sugar in a bowl. Add to thawed berries in a stockpot. Turn heat up to medium-low and stir constantly until bubbly and thick. Remove from heat and let cool to room temperature.
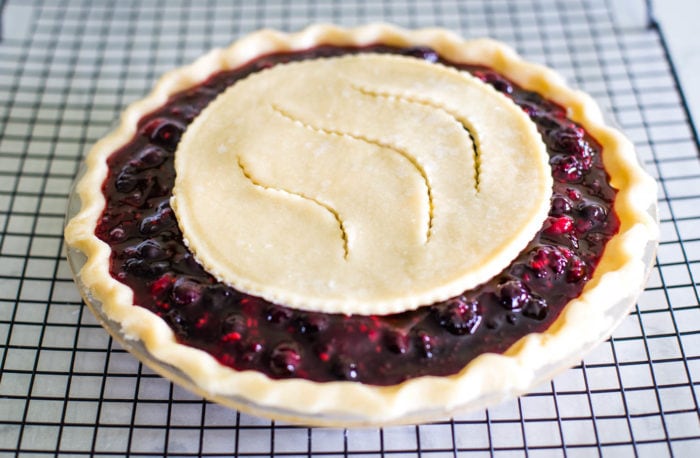
- Assemble the pie: Add 1 Tablespoon of flour to the bottom of the unbaked pie crust. Spoon in the cooled berry pie filling. Dot with butter (about 1 Tablespoon) and add top crust.
- Bake: at 450° F for 15 minutes, add pie crust shield and turn down oven to 350° F for 30 more minutes or until filling slightly bubbles and the bottom crust is golden brown. Let cool for at least 4 hours before serving.


Comments & Reviews
I made the this Sunday for our church lunch using just blackberries and it was so good! A real winner!
Hi Linette! I made the triple berry pie and it was delicious! Do you think this recipe could be done using just the frozen blackberries for the filling?