Cookie Bars with M&Ms

These cookie bars are my shortcut to everything I love about cookies, without all the scooping. One bowl, one pan, and a whole lot of chewy, chocolatey goodness. Bonus: this recipe comes with M&Ms!

Sometimes I just want the taste of cookies without the hassle of scooping each one onto a pan. That’s why I love cookie bars. You get all the flavor with way less effort. When I saw these being made, I knew I had to try them. They did not disappoint.

  • All the ingredients go into a single bowl, which means cleanup is quick and simple. It’s one of the reasons I make these so often.
  • Instead of baking tray after tray of cookies, I just press the dough into a pan and slide it into the oven. Perfect when I’m short on time, like these chewy toffee cookie bars!
  • Thanks to the oats, peanut butter, M&Ms, and chocolate chips, these bars have a great texture and just the right balance of sweet and salty.
  • I also like how easy they are to slice and share, whether I’m packing them up for a bake sale or just passing them around the table, like my magic cookie bar recipe.

Key Ingredients and Substitutions

  • Butter: Adds richness and moisture to the bars. Use melted butter to make mixing easy.
  • Peanut butter: Provides flavor, moisture, and structure. Creamy peanut butter works best, but crunchy can be used for added texture. Almond butter, cashew butter, or sunflower seed butter are good alternatives if needed.
  • Granulated sugar: Contributes sweetness and helps the bars hold their shape. It also gives a slightly crisp edge to contrast the chewy center.
  • Light brown sugar: Adds sweetness along with a hint of molasses flavor. It also contributes to the soft and chewy texture. Dark brown sugar can be used for a deeper flavor.
  • Eggs: Bind the ingredients and give the bars structure. Use large eggs at room temperature for best results.
  • Light corn syrup: Keeps the bars soft and chewy. If you don’t have corn syrup, you can use honey or maple syrup, but it may change the flavor and make the bars slightly softer.
  • Old fashioned oats: Give the bars structure and a hearty, chewy texture. Use rolled oats for best results.
  • Baking soda: Helps the bars rise slightly and contributes to the soft texture. T
  • M&Ms: Add color, crunch, and pockets of chocolate throughout the bars. Use regular M&Ms or try seasonal varieties. Mini M&Ms also work well for more even distribution.
  • Chocolate chips: Add sweetness and melty chocolate in every bite. Semi-sweet chips are standard, but you can use milk chocolate, dark chocolate, or white chocolate based on your preference.
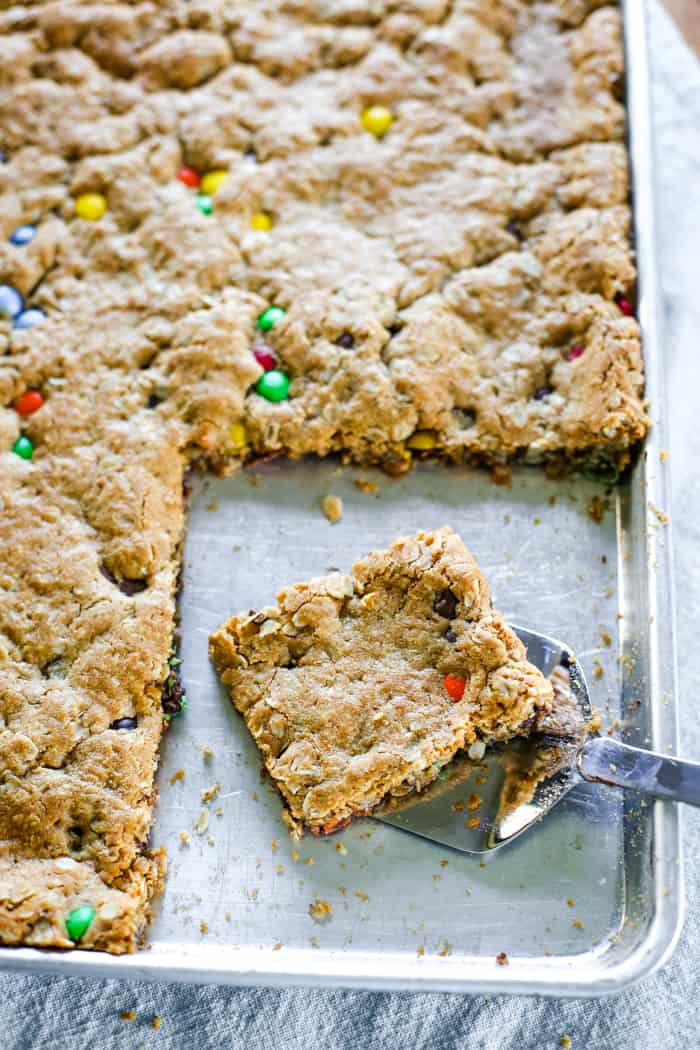
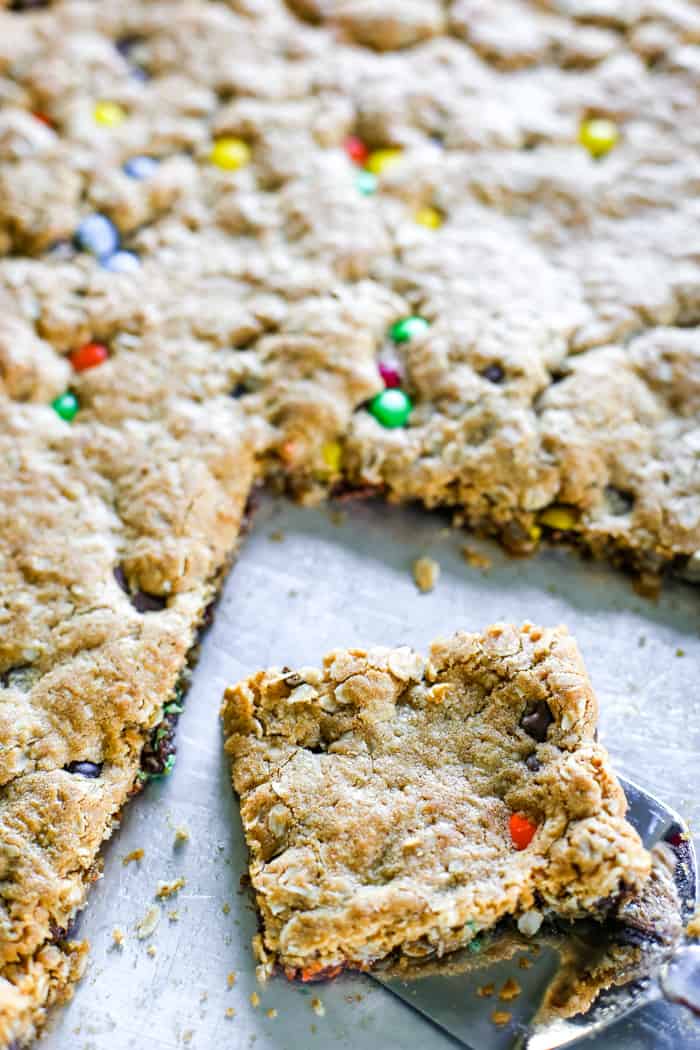
m&ms cookie bar on 9x13 pan

Want to save this recipe?

Enter your email & I'll send it to your inbox. Plus, get great new recipes from me every week!

Save Recipe

Preparation

Preheat your oven to 350˚F. Set out a jelly roll pan and line it with parchment paper if desired for easier removal.

Step 1 – Mix the Wet Ingredients

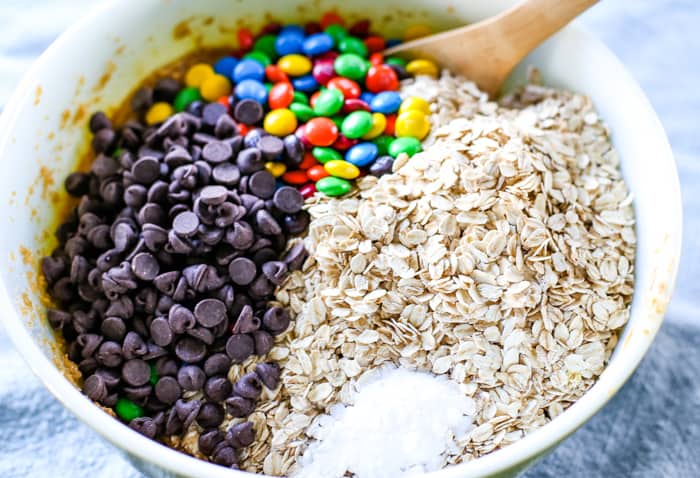
In a large mixing bowl, combine the melted butter, peanut butter, granulated sugar, brown sugar, eggs, and corn syrup. Stir until fully blended.

cookie bars ingredients in bowl

Step 2 – Add the Dry Ingredients

Add the oats and baking soda to the wet mixture. Stir until evenly combined.

Step 3 – Add the Mix-Ins

Fold in the M&Ms and chocolate chips until they are evenly distributed throughout the dough.

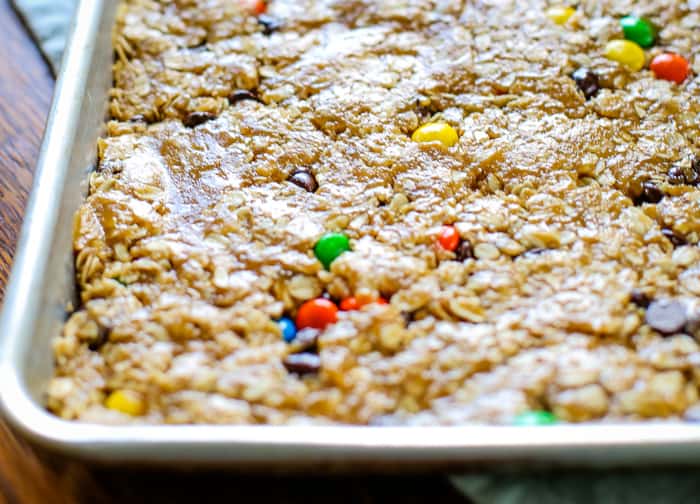
chocolate chip cookie bars in 9x13 pan

Step 4 – Press Into the Pan

Transfer the dough to the ungreased jelly roll pan. Use parchment paper or a spatula to press the dough evenly into the pan.

Step 5 – Bake

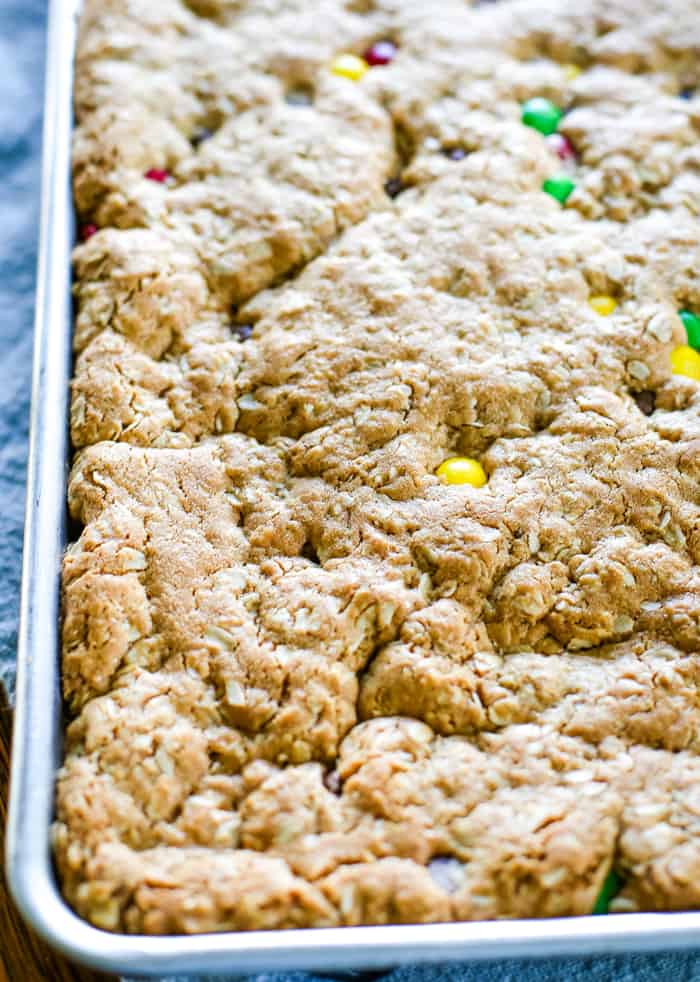
baked no flour monster cookie bars

Bake in the preheated oven for 15–20 minutes, or until the edges are golden and the center is set.

Step 6 – Cool and Cut

Let the bars cool completely in the pan. Once cool, cut into squares, rectangles, or any shape you like. Serve and enjoy!

Lynette’s Tip

I recommend thinking of this cookie bar recipe as a great base, which means you can easily swap out the M&Ms for other favorite mix-ins like chopped nuts, white chocolate chips, butterscotch chips, or even crushed pretzels. It’s a flexible recipe that’s fun to customize for holidays, parties, or whatever you have in your pantry.

Watch Me Make This Recipe

Recipe FAQs

Do you grease the pan for cookie bars?

No need to grease the pan. Because there is enough fat in the melted butter and peanut butter, the bars won’t stick. You can press the dough directly into an ungreased jelly roll pan, or use parchment paper for easier cleanup.

What’s the difference between cookie bars and regular cookies?

Cookie bars are made with a slightly stiffer dough and are pressed into a baking pan instead of scooped onto a cookie sheet. After baking, they’re cut into bars or squares. Cookies are shaped and baked individually. Cookie bars often come out chewier and are quicker to prepare since everything bakes at once.

How many people does a pan of cookie bars serve?

As many as you want! That’s the beauty of the cookie bars. You can cut them into small or large pieces. For the average size cookie bar, one jelly roll pan will make 24 average sized cookies.

m&ms cookie bar on 9x13 pan
Created by: Lynette Rice

Cookie Bars with M&Ms


Course Cookies
Cuisine American
Prep Time 15 minutes
Cook Time 20 minutes
Servings 24 cookie bars
24 cookie bars
These cookie bars are my shortcut to everything I love about cookies, without all the scooping. One bowl, one pan, and a whole lot of chewy, chocolatey goodness. Bonus: this recipe comes with M&Ms!

Video

Equipment

  • Jelly Roll Pan

Ingredients
  

  • 1/2 Cup butter melted
  • 1 1/2 Cups peanut butter
  • 1 Cup granulated sugar
  • 1 1/4 Cup light brown sugar
  • 3 large Eggs
  • 1 teaspoon light corn syrup
  • 4 Cups old fashioned oats
  • 2 teaspoons baking soda
  • 1 Cup M&Ms
  • 3/4 Cup chocolate chips

Instructions

  • Preheat oven to 350˚ F.
  • Beat together melted butter, peanut butter, sugar, brown sugar, eggs, and corn syrup using a hand mixer or stand mixer until smooth.  Stir in oatmeal, baking soda, M&Ms, and chocolate chips.
  • Press into an un-greased jelly roll pan. Bake for 15-20 minutes in the preheated oven.
  • Let cool and cut into squares.

Notes

Tip: I recommend thinking of this cookie bar recipe as a great base, which means you can easily swap out the M&Ms for other favorite mix-ins like chopped nuts, white chocolate chips, butterscotch chips, or even crushed pretzels. It’s a flexible recipe that’s fun to customize for holidays, parties, or whatever you have in your pantry.
Make Ahead Instructions: Make the cookie bars as directed, then letting them cool completely. Once cooled, store them in an airtight container at room temperature for up to 5 days.
Storing: Store cookie bars in an airtight container at room temperature for up to 5 days. To keep them soft, place a slice of bread in the container with the bars.
Freezing: These freeze well. Once cooled, cut into bars and place in a freezer-safe container with parchment paper between layers. Freeze for up to 3 months. Let cookie bars thaw at room temperature for about 30 minutes.
Reheating: Not required, but if you like them warm, microwave individual bars for about 10 to 15 seconds to soften the chocolate and enhance the flavor.

My Favorite Variations:

  • Candy Swap: Instead of M&Ms, try chopped peanut butter cups, mini marshmallows, or crushed pretzels for a fun twist on this classic mix-in.
  • Add Nuts: Stir in ½ cup of chopped peanuts, pecans, or almonds for extra crunch. It adds a nice contrast to the chewy texture of the oats.
  • Holiday Version: Use seasonal M&Ms and a dash of cinnamon or nutmeg to make these bars feel festive. They’re perfect for cookie trays and potlucks.

Nutrition

Serving: 1cookie bar | Calories: 314kcal | Carbohydrates: 38g | Protein: 6g | Fat: 17g | Saturated Fat: 6g | Polyunsaturated Fat: 2g | Monounsaturated Fat: 5g | Trans Fat: 0.2g | Cholesterol: 33mg | Sodium: 213mg | Potassium: 142mg | Fiber: 2g | Sugar: 31g | Vitamin A: 180IU | Vitamin C: 0.1mg | Calcium: 42mg | Iron: 1mg
*Nutrition provided is an estimate. It will vary based on specific ingredients used.

Short on time but love dessert?

Four simple MAKE AHEAD dessert recipes in your inbox.

5 from 1 vote (1 rating without comment)

Leave a Reply

Your email address will not be published. Required fields are marked *

Recipe Rating


2 Comments

  1. Valarie Ashley says:

    Do they go in a 9 x 13 or a jelly roll pan? Making them tonight.

    1. I recommend a jelly roll pan. You can make them in a 9×13, however, they would be thicker and need more baking time – and may not bake as evenly.