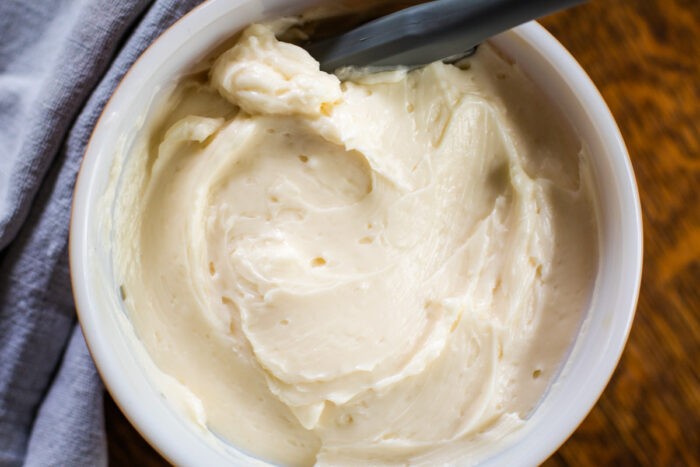
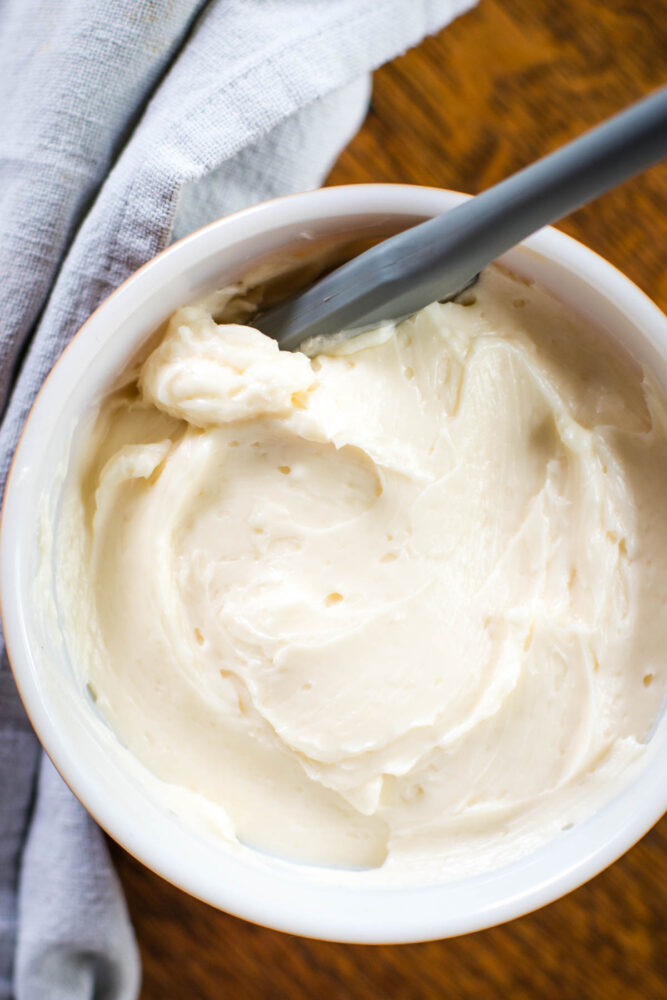
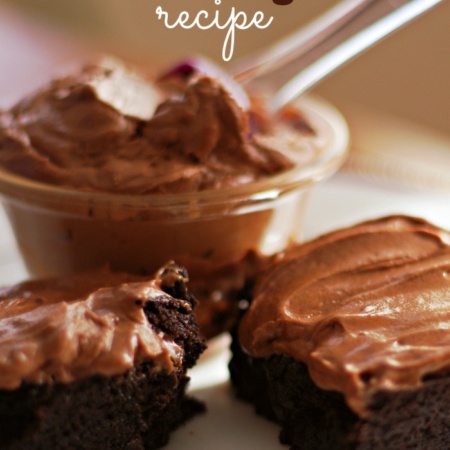
This Vanilla Frosting recipe will give you a perfectly creamy and light frosting that’s not too sweet and goes beautifully on top of your favorite dessert! It’s one of those dessert elements that can elevate any cake, cupcake, or sugar cookie to a whole new level of deliciousness!
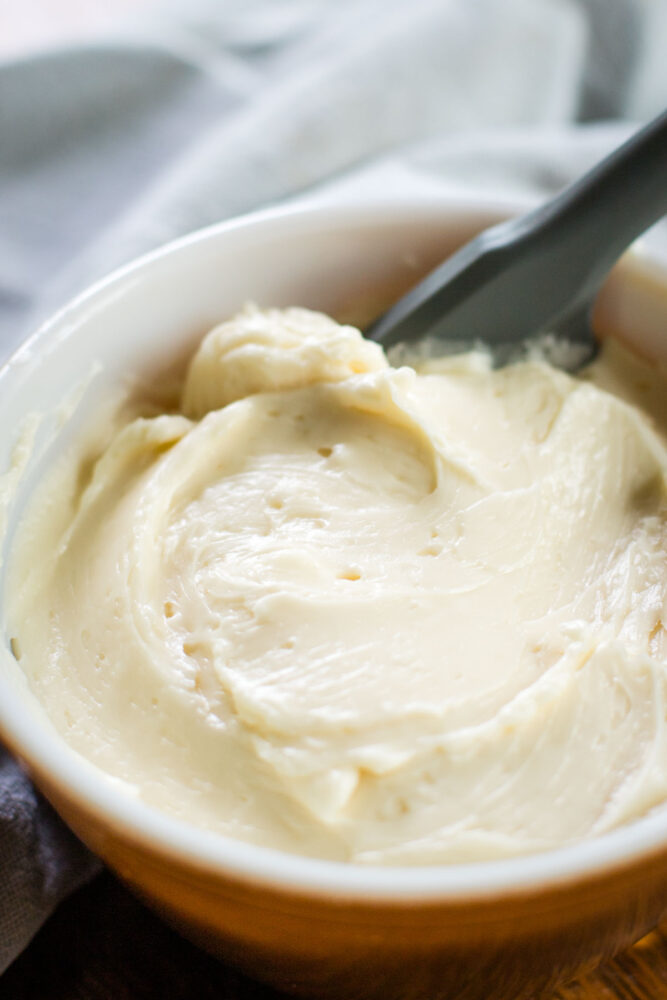
Vanilla frosting is an incredibly versatile topping that goes well on various desserts, and this recipe will become your new go-to! The creamy consistency and the light, fluffy texture of this frosting make it stand out from all the other recipes out there. I like it because it’s not super sweet. It’s perfect for decorating your homemade cakes and cupcakes or adding a bit of extra sweetness to your sugar cookies.
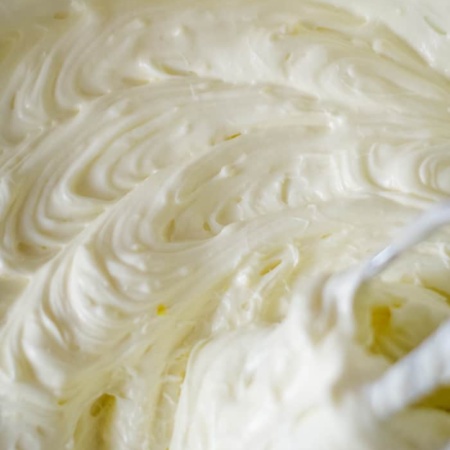
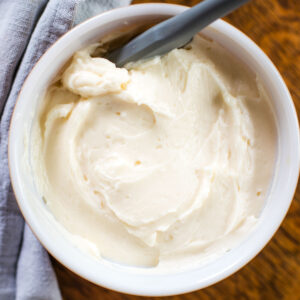
My recipe goes through exactly what you need to do for a delicious vanilla buttercream frosting every single time! The key to its smooth and creamy texture is to beat all the ingredients until the granulated sugar dissolves completely. (Yes, you use granulated sugar in this recipe.) This simple yet significant step will give you a homemade vanilla frosting that’s not just delicious but also perfect for piping.
Table of Contents
Why I Love This Recipe
Uses Granulated Sugar: Unlike most recipes, this one does not use powdered sugar. Instead using granulated white sugar, you beat the ingredients until it dissolves providing a very light and airy texture to your frosting.
Not Super Sweet: The sweet, creamy taste of this frosting is a hit with kids and adults alike. It’s not too overly sweet like store bought frostings, but just right, making it a family favorite in many households.
Easy to make: This American buttercream frosting is incredibly simple, requiring only a few basic ingredients and about ten to fifteen minutes of your time. Just beat all the ingredients together until the sugar is dissolved – it is as easy as pie!
Versatile: This frosting recipe is extremely versatile. It is perfect for a single-layer cake, but can easily be tripled for a larger, layered cake.
Want to save this recipe?
Enter your email & I'll send it to your inbox. Plus, get great new recipes from me every week!
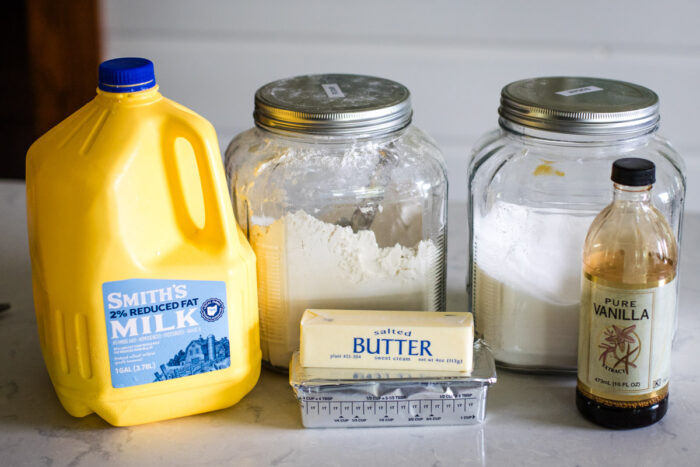
Key Ingredients
Butter: The unsalted butter, which should be at room temperature, adds a rich, buttery flavor to the frosting. It is the main source of fat in this recipe and helps achieve a smooth consistency.
Shortening: Shortening is used to create a stable structure in the frosting. It also contributes to the fluffy and creamy texture.
Granulated Sugar: This is what sweetens our frosting. It is not overly sweet, but just the right amount to compliment your cupcakes or cake. Plus, it’s something we all always have in the pantry, unlike confectioner’s sugar.
Vanilla: Vanilla extract gives your frosting that classic vanilla flavor. It is a subtle taste that enhances the overall flavor of your dessert.
All-Purpose Flour: Flour is used in this frosting recipe to help thicken it. It also helps to stabilize the frosting, making it easier to pipe onto your desserts.
Milk: Milk, warmed just enough to take the chill off, helps to smooth out the frosting. It also adds moisture, making the frosting creamy and easy to spread. It is best to use dairy milk for this recipe, as it gives the frosting a richer taste.
Equipment
Electric Mixer – This is a must-have tool for this recipe. An electric mixer, either a stand mixer or a hand mixer, will make sure that all the ingredients are well combined and the sugar is fully dissolved. With the mixer, you can easily achieve the desired creamy consistency of the frosting.
Mixing Bowl – You’ll need a good-sized mixing bowl to hold all the ingredients. This will allow you to easily combine them using the electric mixer without making a mess.
Measuring Cups and Spoons – Accurate measurements of ingredients like butter, shortening, sugar, vanilla, flour, and milk are important for this recipe. It’ll allow you to get consistent results every single time.
How to Make Vanilla Frosting
Preparation
To begin, gather all your ingredients. You’ll need butter, sugar, milk, and vanilla extract. Ensure your butter is softened at room temperature for easier mixing.
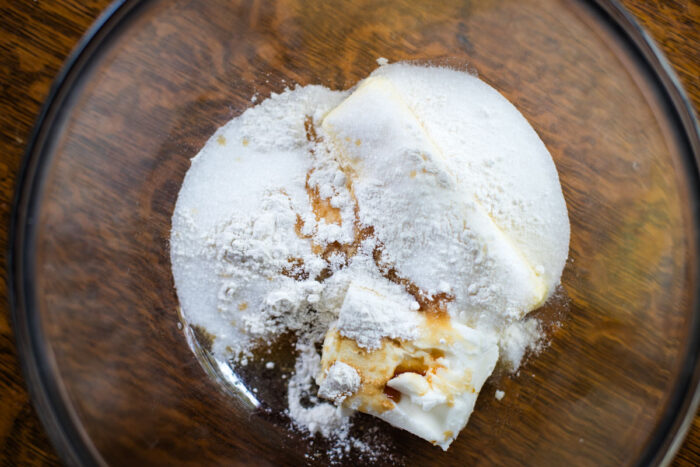
Step 1 – Combine All Ingredients
Start by putting all your ingredients together in a large bowl. This includes your room-temperature butter, granulated sugar, milk, and a touch of vanilla extract.
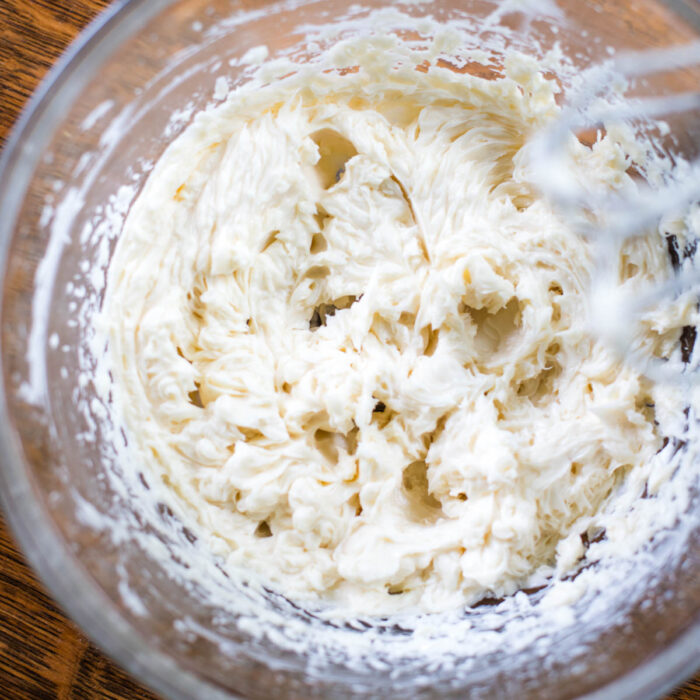
Step 2 – Start Beating
With your hand mixer or a stand mixer fitted with a whisk attachment, begin to beat all the ingredients together. It’s crucial to start at a low speed to prevent the granulated sugar from going everywhere.

Step 3 – Increase Speed and Continue Beating
Once the sugar is well incorporated into the mixture, increase your mixer’s speed. Continue beating until you achieve a smooth, fluffy consistency. This usually takes about ten to fifteen minutes.
Step 4 – Check If the Sugar Has Dissolved
The main thing to ensure at this stage is that all the sugar is dissolved. You can check this by taking a small amount of frosting and rubbing it between your fingers. If it feels grainy, continue beating until it’s smooth.
Step 5 – Adjust Consistency If Needed
Depending on your preference, you may want your frosting thicker or thinner. If it’s too thick, add a little more milk. If it’s too thin, add some more granulated sugar. Beat well after each addition.
Step 6 – Frost Your Cake or Cupcakes
Once the frosting is ready, you can start frosting your cake or cupcakes. Use a spatula or a piping bag for a more decorative look.
Expert Tips
Use Room Temperature Ingredients: Make sure your butter and shortening are at room temperature before you start. This will help in guaranteeing a smooth consistency and better blending of your frosting.
Take Time to Beat: This is not a recipe you can rush because of the granulated sugar. Beat all ingredients together for about 10-15 minutes until the sugar is dissolved. This step is crucial for achieving a light, creamy frosting.
Warm the Milk: The milk should be just warm enough to take the chill off. You can warm it in the microwave for about 20-30 seconds. It doesn’t need to feel warm, just not cold.
Adjust the Recipe According to Your Needs: The recipe as given will frost a single layer cake. If you’re making a layered cake, especially a large one, you should triple the recipe.
Sweetness to Your Liking: This recipe is designed to give you a frosting that’s not too sweet. If you prefer a sweeter frosting, feel free to add a bit more sugar. Remember, it is always easier to add more than to take it away!
Recipe Variations
Add Get Food Coloring: If you’re making a dessert for a special occasion, try adding a few drops of food color to your frosting. This will make your dessert more festive and fun. Just add the food color gradually until you achieve your desired shade.
Try a Different Extract: For a nutty twist to the vanilla frosting, add a tablespoon of almond extract. This will not only add a distinct flavor but will also give your frosting a delightful aroma. If you want less vanilla taste, try this whipped buttercream recipe.
Chocolate Twist: For chocolate lovers, this variation is a must-try. Simply add two tablespoons of unsweetened cocoa powder to the mixture. The cocoa powder will give your vanilla frosting a rich chocolate flavor that pairs perfectly with chocolate cupcakes.
What to Serve With
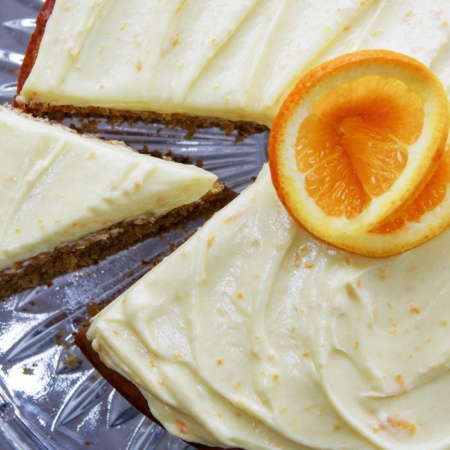
- Give your cupcakes an elegant touch by applying this vanilla frosting recipe. Its light and creamy texture will compliment the moist cupcakes, making them a hit dessert at any gathering.
- Why not try this frosting on your homemade sugar cookies? A batch of cookies with this frosting will bring a smile to anyone’s face. Plus, the vanilla flavors will add a delightful sweetness that’s just right.
- This frosting recipe can also be used to transform a simple cake into a delicious layer cake. Just spread it evenly on each layer, and you’ll have a cake that tastes as good as it looks!
- For a fun and colorful dessert, add a few drops of food color to the frosting. You can then use a piping bag and pipes to create attractive patterns on your cake or cupcakes.
- You can use this vanilla frosting recipe as a filling for your chocolate cupcakes. The combination of vanilla and chocolate flavors will create a dessert that’s irresistible!
Recipe FAQs
You should beat all the ingredients together until the sugar is dissolved. This usually takes around 10-15 minutes. Be sure to scrape the sides of the bowl occasionally to guarantee that everything is incorporated.
Yes, you can use this frosting for layer cakes. The recipe as stated will frost a single-layer cake, but if you’re planning to frost a larger, layered cake, you may need to triple the batch.
No, there’s no need to reheat the frosting. In fact, it frosts best when it is at room temperature. If you’ve refrigerated your frosting, simply let it come back to room temperature before using.

Storing and Reheating
Refrigerate: Store leftover homemade vanilla frosting in an airtight container and pop it into the refrigerator. This frosting recipe is best used at room temperature, so allow it to come to room temperature before using.
Freeze: This easy frosting recipe contains dairy and tends to separate when frozen and thawed, affecting its consistency and flavors. Therefore, I don’t recommend storing it in the freezer.
Reheating Instructions: No reheating is needed for this frosting recipe. If it has been stored in the fridge, simply let it come to room temperature and give it a good stir with a hand mixer on medium high speed to bring back its creamy consistency.
More Frosting Recipes You’ll Enjoy
Serving Size
What to Expect: This recipe as stated will make enough homemade vanilla frosting to frost a single-layer cake.
How to Scale: If you’re making a 10” layered cake, triple the recipe and follow the instructions as directed. Make sure you use a bowl that’s large enough to mix and beat all the ingredients properly. If not, you can make this frosting in batches.
Vanilla Frosting
Equipment
- 1 electric mixer
Ingredients
- ½ Cup Butter softened
- ½ Cup shortening
- 1 Cup granulated sugar
- 1 teaspoon vanilla
- 1 Tablespoon all-purpose flour
- ½ cup milk warm enough to take the chill off
Instructions
- Beat all ingredients together until the sugar is dissolved. (10-15 minutes)


Leave A Reply!