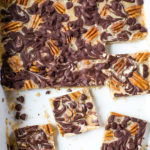
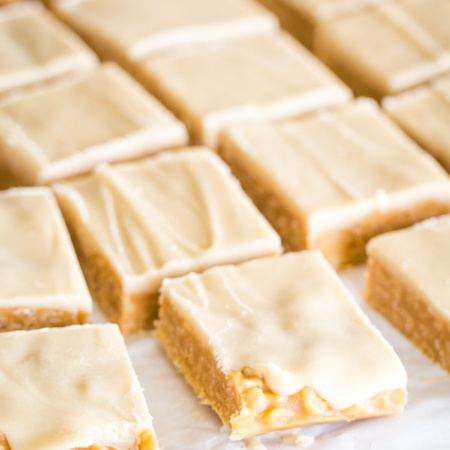
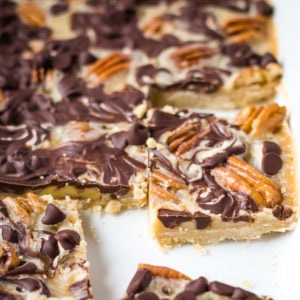
This turtle bars recipe combines chocolate, crunchy pecans, and a simple gooey caramel sauce all layered over a buttery shortbread crust! These turtle cookie bars are packed with flavor and true crowd-pleasers!
These cookie bars have that classic flavor of DeMet’s Turtles but in a cookie bar form! The caramel, pecans, and chocolate create a combination that’s hard to beat and perfect for the holidays!
If you’re a fan of these turtle bars, then you’ll definitely want to try my magic cookie bars. And if you want other sweet bars, my chewy toffee cookie bars and M&M cookie bars are also worth a try. They all share the same easy-to-make, packed-with-flavor appeal that you love in turtle bars.
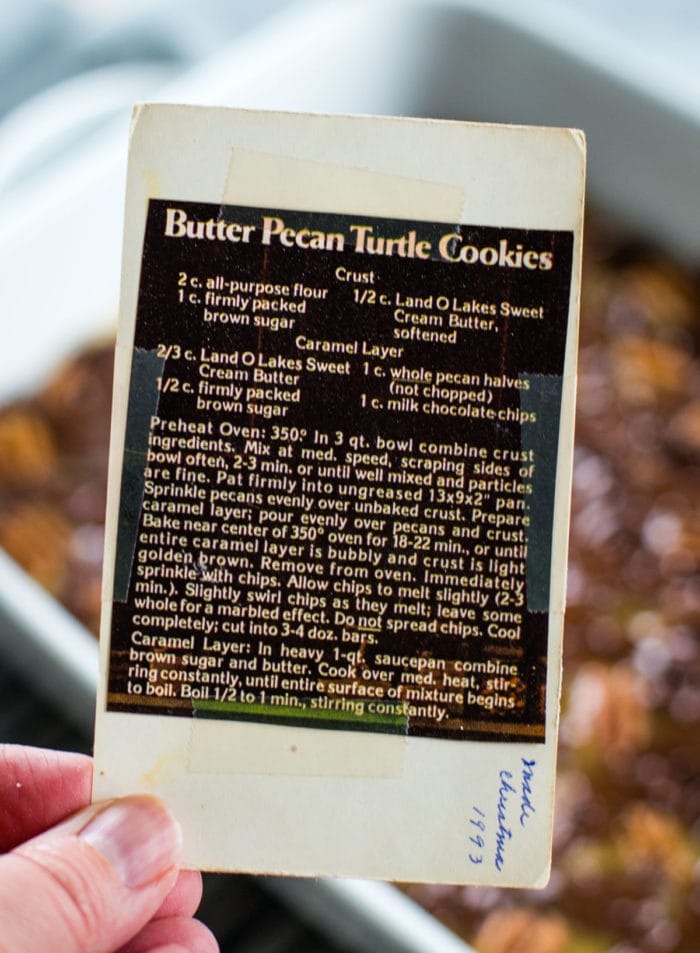
I found this recipe in my grandma’s recipe box. (Surprise. Surprise.). I’ve always loved turtle cookies so I had to give this one a try. It was a simple and straightforward recipe that was easy to make – but resulted in the most delicious bars!
Table of Contents
Why I Love This Recipe
- Classic Flavors: The combination of buttery shortbread, rich caramel, pecans, and chocolate is a timeless combo that never fails to impress.
- Family Favorite: This recipe has been a hit in my family for years. It’s a classic that everyone loves and was passed down to me by my grandma.
- Easy to Make: Despite its impressive appearance, this recipe is surprisingly simple. It’s a great way to impress without the stress.
- Perfect for Sharing: Whether it’s a holiday gathering or a simple potluck, these bars have always been a hit. Plus, they’re easy to transport and share.
Want to save this recipe?
Enter your email & I'll send it to your inbox. Plus, get great new recipes from me every week!
Key Ingredients
- All-purpose Flour: This is the main dry ingredient that forms the base of our turtle bars, giving them structure and a bit of a crumbly texture.
- Light Brown Sugar: It adds a rich, caramel-like sweetness to both the shortbread base and the homemade caramel sauce.
- Salted Butter: This ingredient is used in both the shortbread base and the caramel sauce. It adds a buttery richness and helps to achieve that perfect gooey texture in the caramel.
- Whole Pecans: These will be sprinkled over the crust, adding a delicious crunch and a nutty flavor that compliments the sweet caramel and chocolate.
- Milk Chocolate Chips: After the caramel is baked, these are sprinkled on top. Once melted, they add a creamy, chocolatey layer that balances the sweetness of the caramel and pecans.
Equipment
- 13×9-inch baking pan- This is where you’ll pat the shortbread crust and pecans, and where the entire turtle bars recipe will come together. Make sure to grease it before adding the ingredients to prevent sticking.
- Mixers- You’ll need either a hand mixer or a stand mixer to combine the ingredients for the shortbread base. This will help achieve a smooth and well-mixed texture.
- Heavy Saucepan – This is essential for making the homemade caramel sauce. It allows you to control the heat and stir the ingredients constantly, guaranteeing perfect caramel consistency.
How to Make Turtle Bars
Preparation
Start by preheating your oven to 350˚ F. This will help make sure that it’s at the right temperature when you’re ready to bake your turtle bars.
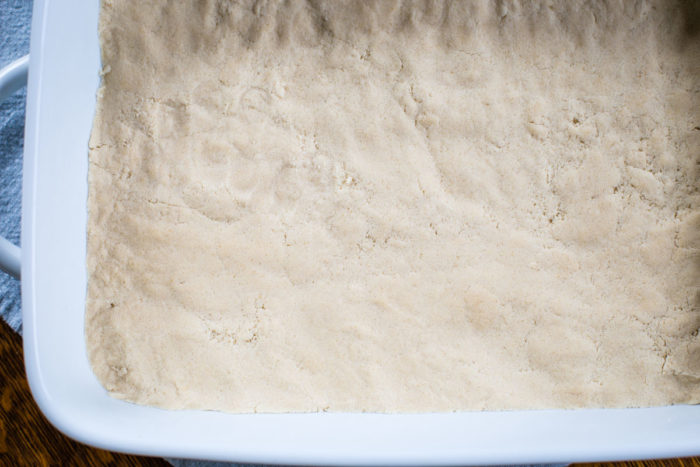
Step 1 – Prepare the Crust
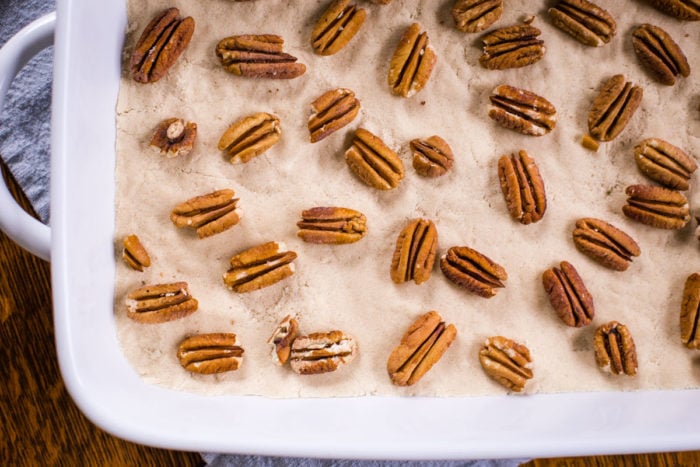
Combine flour, brown sugar, and softened butter. Mix until well combined, then press this mixture into your greased 13×9 baking pan. After that, sprinkle the pecans over the crust and set it aside.
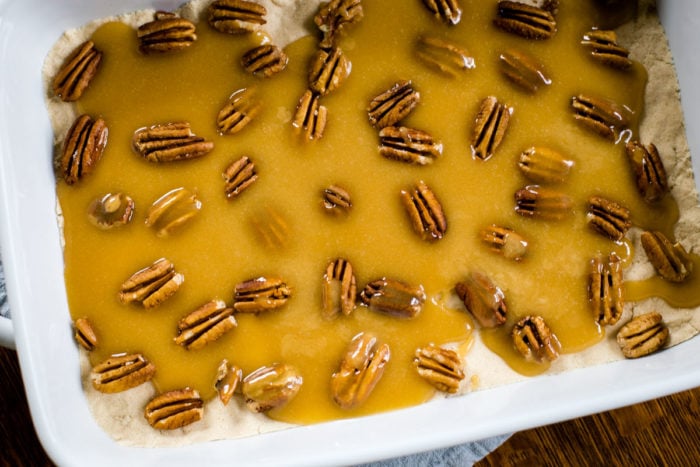
Step 2 – Make the Caramel Sauce
In a heavy saucepan, mix brown sugar and butter. Cook this mixture over medium heat, stirring constantly, until it starts to boil. Let it boil for 1 minute, continuing to stir constantly. Once done, pour the caramel mixture evenly over the pecans and crust.
Step 3 – Bake the Bars
Place your baking pan in the preheated oven and bake for 18-22 minutes, or until the caramel is bubbly. Once baked, remove the pan from the oven.
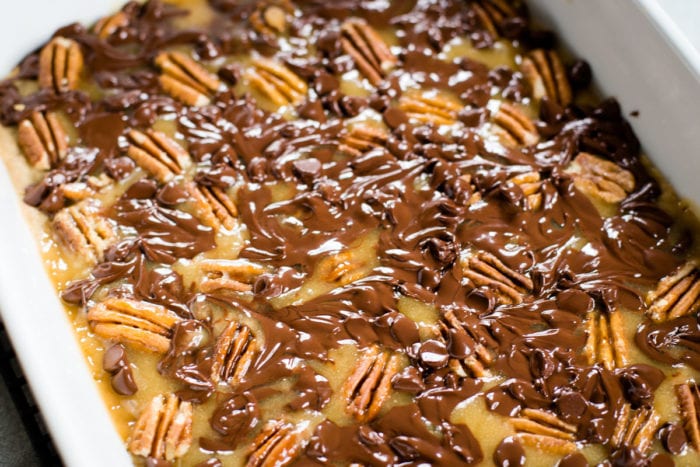
Step 4 – Add the Chocolate
Immediately after removing the pan from the oven, sprinkle chocolate chips over the hot caramel. Let them sit for 2-3 minutes to melt, then swirl the melted chocolate into the caramel.
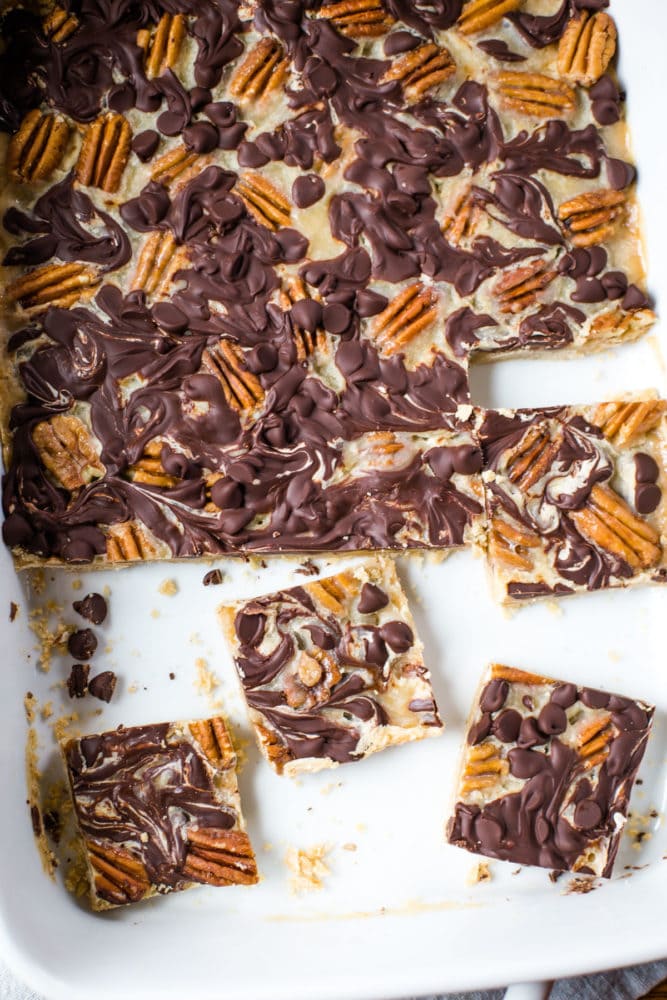
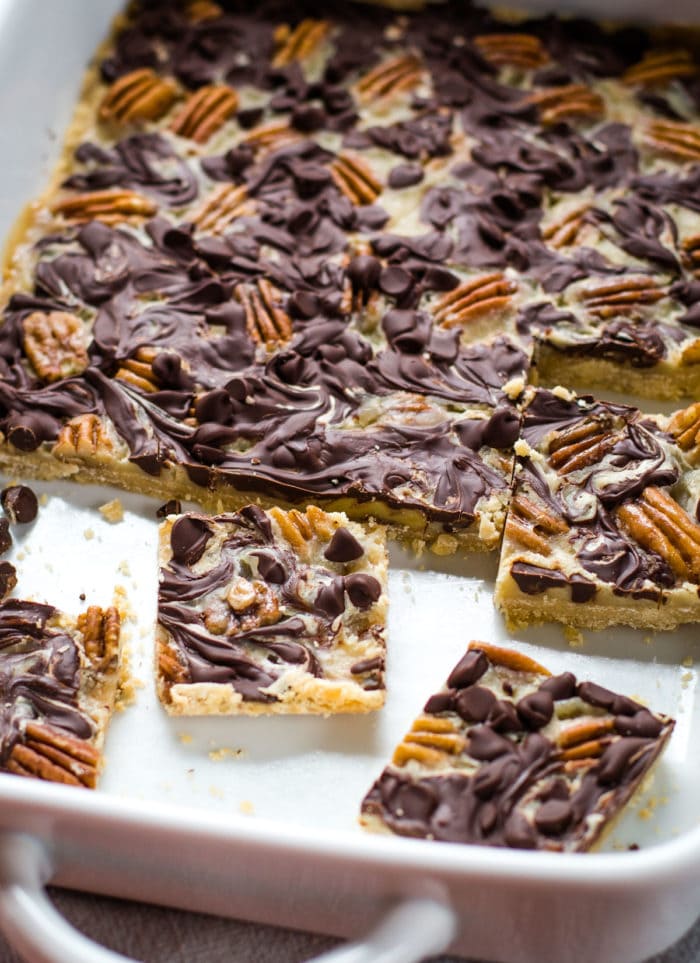
Step 5 – Cool and Serve
Allow your turtle bars to cool completely before serving. This will help the caramel and chocolate set, making it easier to cut the bars into neat, delicious squares. Enjoy your homemade, gooey, chocolatey, caramel turtle bars!
Expert Tip
When making the caramel layer for your turtle bars, make sure that the entire surface is boiling before counting to one minute. Stir constantly throughout the process to prevent the caramel from burning and guarantee a perfect, gooey texture.
Recipe Variations
- More Nuts: If you’re a fan of nuts, feel free to add more to this turtle bars recipe. Try mixing in some chopped walnuts or almonds with the pecans for a nuttier flavor.
- Dark Chocolate: While this recipe calls for milk chocolate chips, you can easily swap them out for dark chocolate if you prefer a richer, less sweet flavor.
- Salted Caramel: For a saltier, more complex flavor, add a sprinkle of sea salt over the caramel layer before baking. This will contrast beautifully with the sweetness of the chocolate and pecans.

What to Serve With
- For a classic dessert presentation, serve your turtle bars with a scoop of vanilla ice cream. The creamy, cool ice cream complements the rich, gooey bars perfectly.
- If you’re hosting a brunch, these turtle bars make a great addition to your dessert spread. Pair them with a cup of strong coffee for a delicious treat.
Recipe FAQs
A good crust for turtle bars should be a little crumbly, yet sturdy enough to hold the caramel and pecans. In this recipe, the crust is made with a mix of flour, brown sugar, and softened butter, which is then patted firmly into the baking pan.
The caramel is done when the entire surface is boiling. Once it starts to boil, let it continue for one minute, stirring constantly. This makes sure that the caramel is the right consistency for your turtle bars.
Yes, you can! While this recipe calls for pecans, feel free to use any nut you prefer. Walnuts or almonds would work well in this recipe.
Storing and Reheating
- Storing: Once your turtle bars have cooled, cut them into squares and store in an airtight container at room temperature for up to 3 days.
- Freezing: These bars also freeze well. After they have cooled completely, cut them into squares and store them in an airtight container in the freezer for up to 3 months.
- Thawing: When you’re ready to enjoy your bars, simply let them thaw at room temperature. They’ll be just as delicious as the day you made them.
More Dessert Bar Recipes You’ll Enjoy

Serving Size
- What to Expect: This turtle bar recipe yields a deliciously sweet treat that’s enough for 36 servings.
- How to Scale: If you’re looking to serve a larger crowd, you can easily double the recipe and follow the instructions as directed. Just make sure to use a larger baking pan to accommodate the increased quantity.
Butter Pecan Turtle Cookie Bars
Ingredients
Bottom Crust
- 2 Cups all-purpose Flour
- 1 Cup light brown sugar firmly packed
- 1/2 Cup salted butter softened
- 1 Cup whole pecans
Caramel Sauce
- 2/3 Cup salted butter
- 1/2 Cup light brown sugar packed
Top Layer
- 1 Cup milk chocolate chips
Instructions
- Preheat oven to 350˚ F. Grease a 13×9 baking pan.
- In a bowl, combine flour, 1 cup brown sugar, and 1/2 cup softened butter. Mix at medium speed for 2-3 minutes or until well mixed. Pat firmly into greased 13×9 baking pan. Sprinkle pecans over the crust. Set aside.
- In a heavy saucepan combine 1/2 cup packed brown sugar with 2/3 cup butter. Cook over medium heat, stirring constantly until the entire surface starts to boil. Let boil for 1 minute stirring constantly. Pour the caramel mixture evenly over the pecans and crust.
- Bake for 18-22 minutes at 350˚ F or until the caramel is bubbly. Remove from oven.
- Immediately sprinkle with chocolate chips. Allow the chips to melt (2-3 minutes) and then swirl into the caramel. Cool completely before serving.


Comments & Reviews
I found it needed a little more butter/surger mix for a 9×13 pan. Also I did boil it as stated but after baking for full time I put chips on and waited for them to melt . They did not melt well and did not swirl well with Carmel part as I do not think there was enough carmel to begin with.
hello, I had troubles with this recipe that the milk chocolate chips wouldn’t stick to the crust. They also didn’t want to “swirl”. have you had this problem?
Hmmm, did you let the chocolate chips melt a bit? They are supposed to melt since you put them on as soon as you take the rest out of the oven. If they don’t start to melt within a few minutes you could pop them back into the oven for 2 minutes to help them along. Hope they help!
My Mother (98 yo) started making these in 1988 for Christmas, and I have been doing the same most of my adult life (70 yo). Everybody loves them. A few years ago Nestle’s chocolate chips stopped swirling for me. For a different recipe, same with Nestle’s butterscotch and semi-sweet. I tried melting them in the oven, didn’t work well. Grainy and unattractive. I assume they changed their formula or recipe at Nestle. They still melt in the microwave per instructions on the package. I tried Ghirardelli chips and they swirl beautifully.